I’ve teamed up with a group of talented ladies to bring you a monthly Thrift Store Decor Upcycle Challenge. Each month we will create a new home decor piece from an item(s) we’ve found at a thrift store, yard sale, ReStore, etc. There is no budget or specific theme so we are free to let our creativity run wild!
Amanda | The Kolb Corner Chelc | Inside the Fox Den Erlene | My Pinterventures
Kim | Made in a Day Sara | Twelve on Main Debra | Shoppe No. 5
Shirley | Intelligent Domestications Marie | DIY Adulation Lindsay | Crazy Organized
Michelle | Our Crafty Mom Julie | Live From Julie’s House Colleen | Life on Kaydeross Creek
Maureen | Red Cottage Chronicles Pili | Sweet Things Sherry | Savvy Apron
Ann | Duct Tape and Denim Dru | Polka Dot Poplars
Megan | C’mon Get Crafty Jennifer | Hydrangea Hippo
You can also follow our board on Pinterest for more upcycled decor inspiration!
If you’re a regular reader, you know I like my wine. I also like wine racks, and I always check them out when I’m shopping.
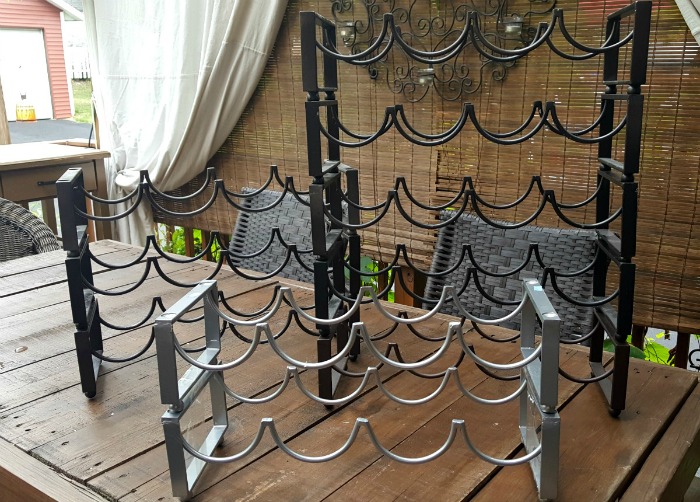
I’ve been collecting these stackable wine racks from the thrift store for about 6 months.
They are sold at Target for $20 for 2 and at Pier 1 for $15 each, but they show up at the thrift store pretty regularly for $4.99 for 2 or 3. I didn’t have a definite plan for them other than just stacking them in my living room, but I thought maybe I could come up with something cool.
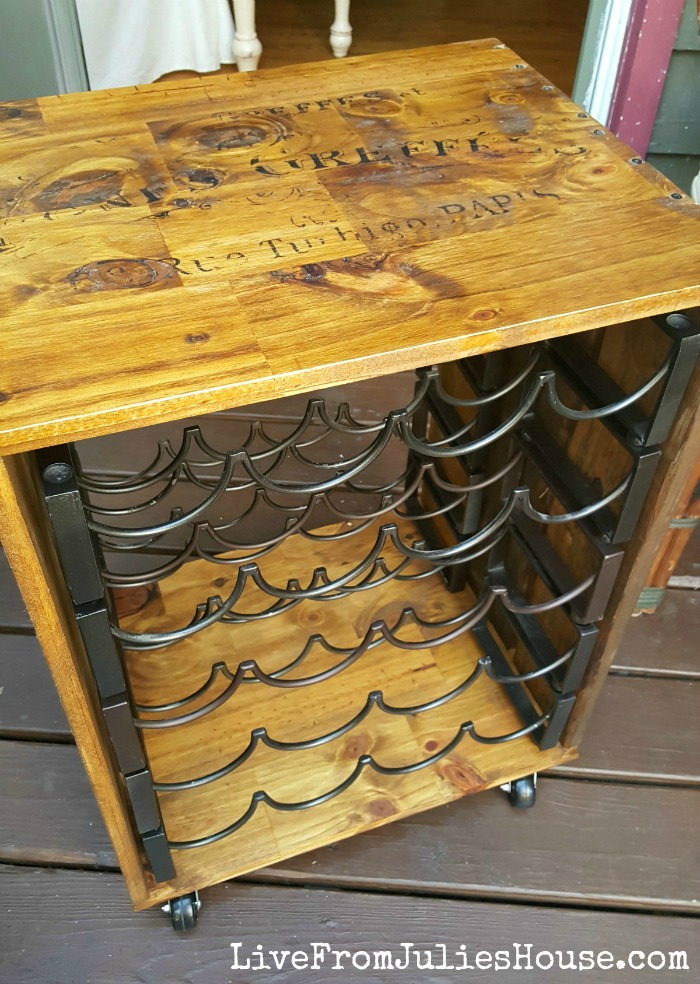
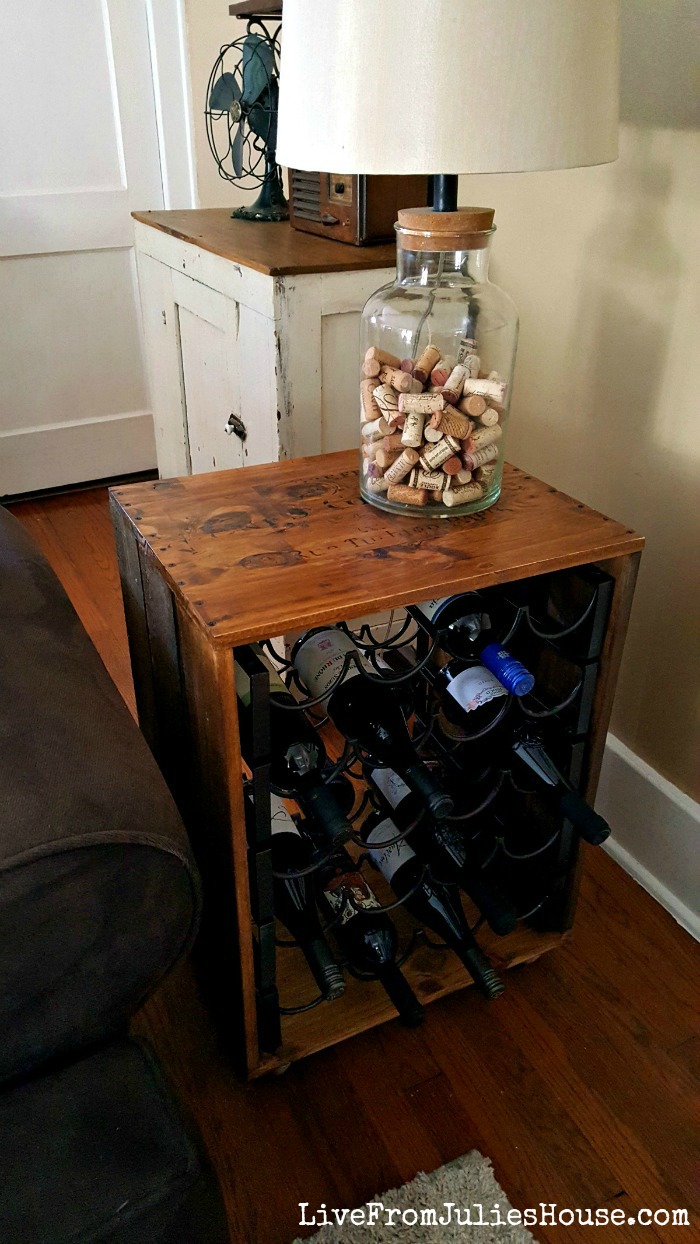
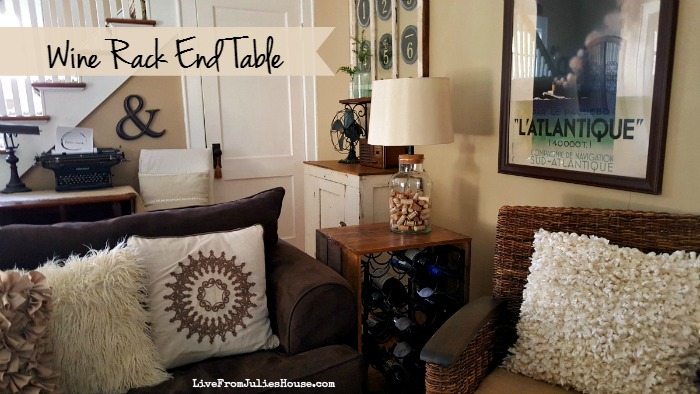
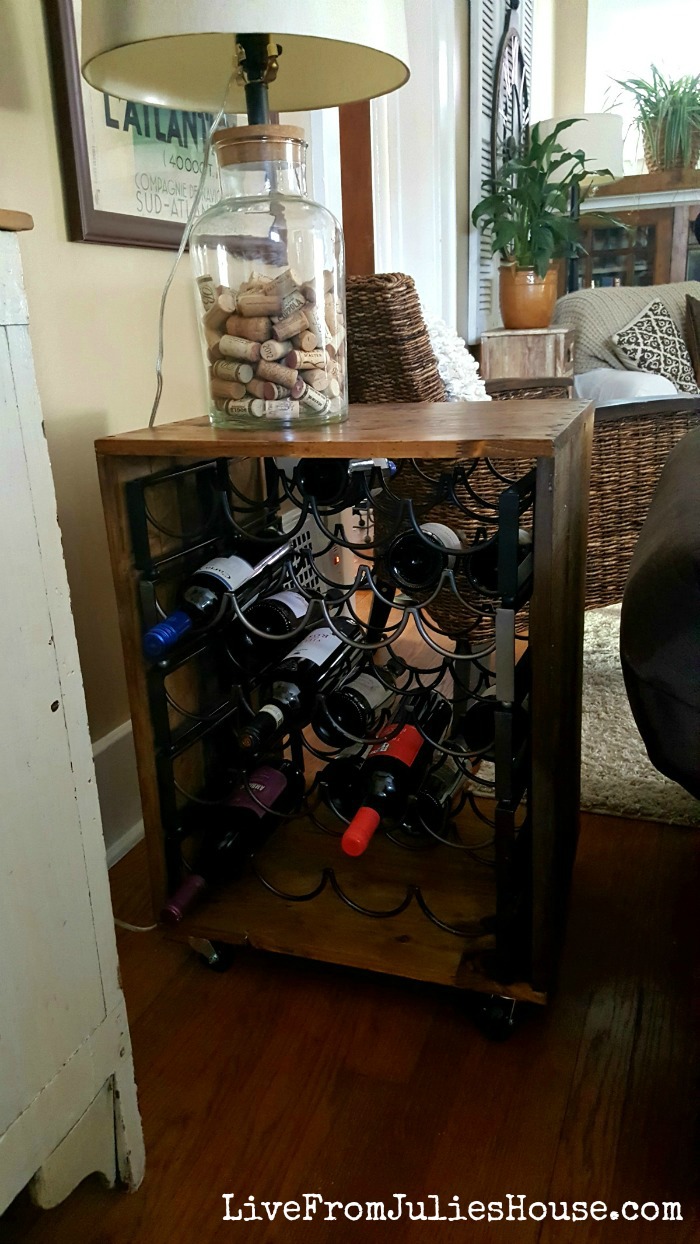
The plain stack was kind of boring, so I decided to turn them into a custom end table by building a wooden box that looks like a wine crate and adding wheels. Easy right?
(This post contains affiliate links. You can find my complete policy HERE)
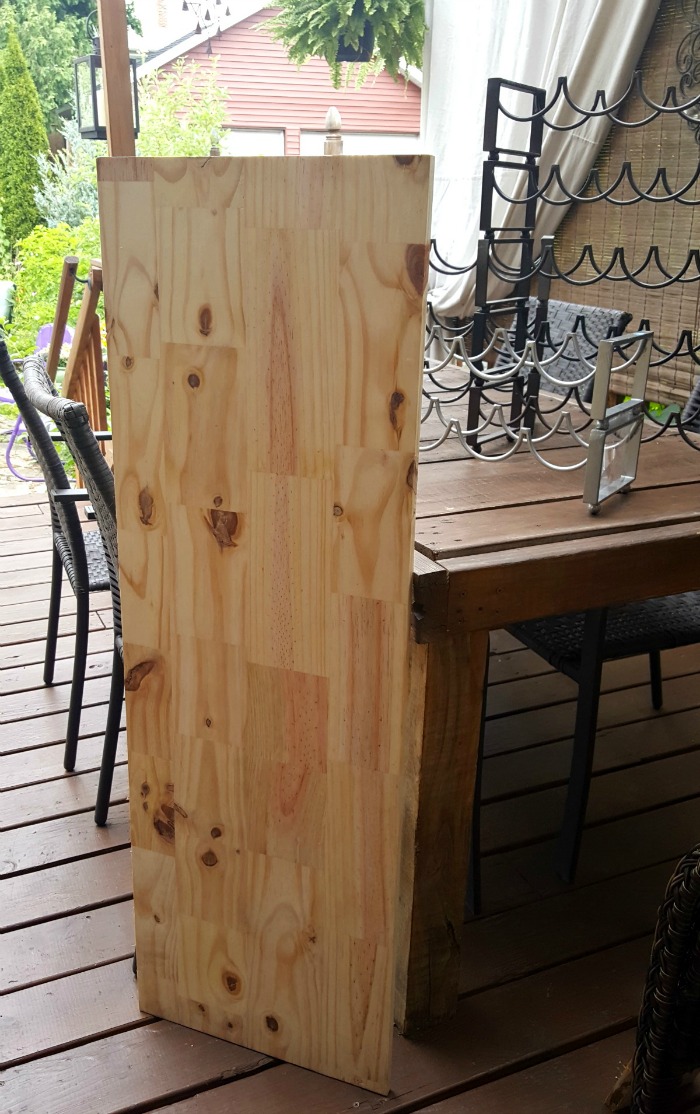
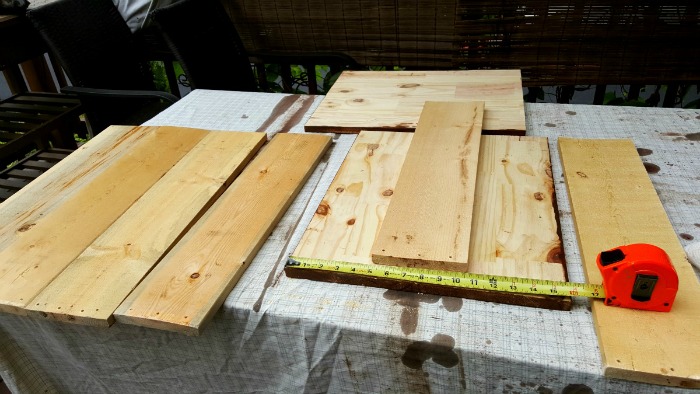
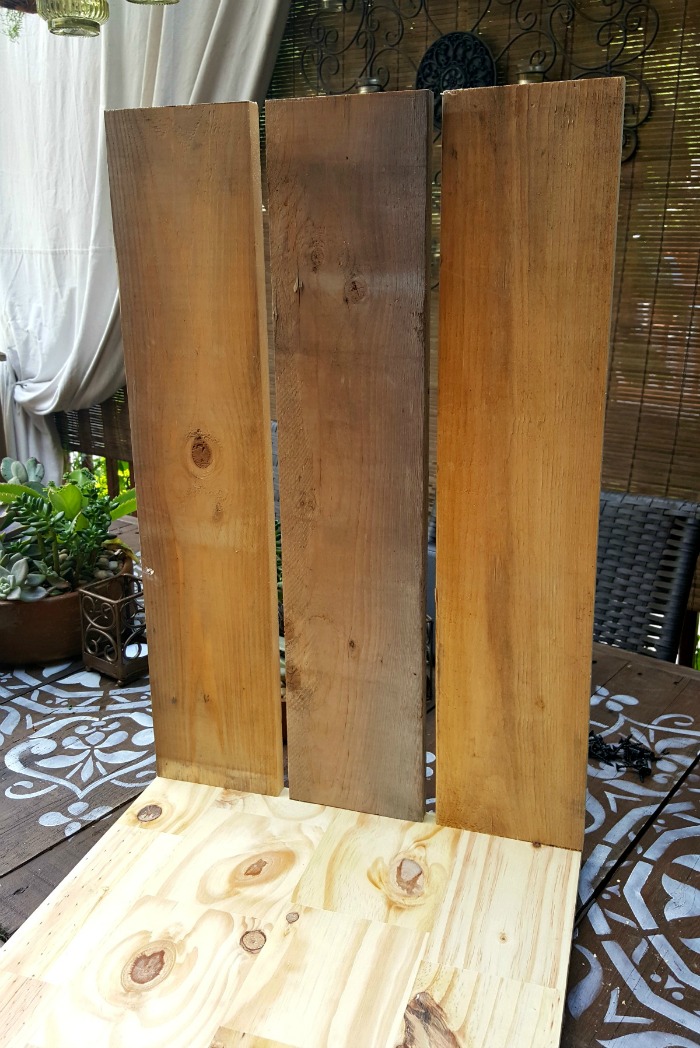
I already had a stack of pallets in my driveway and I knew the pallet boards would be perfect for the sides. But, the top and bottom needed to be sturdy so I picked up a 4′ long pine board for under $10.
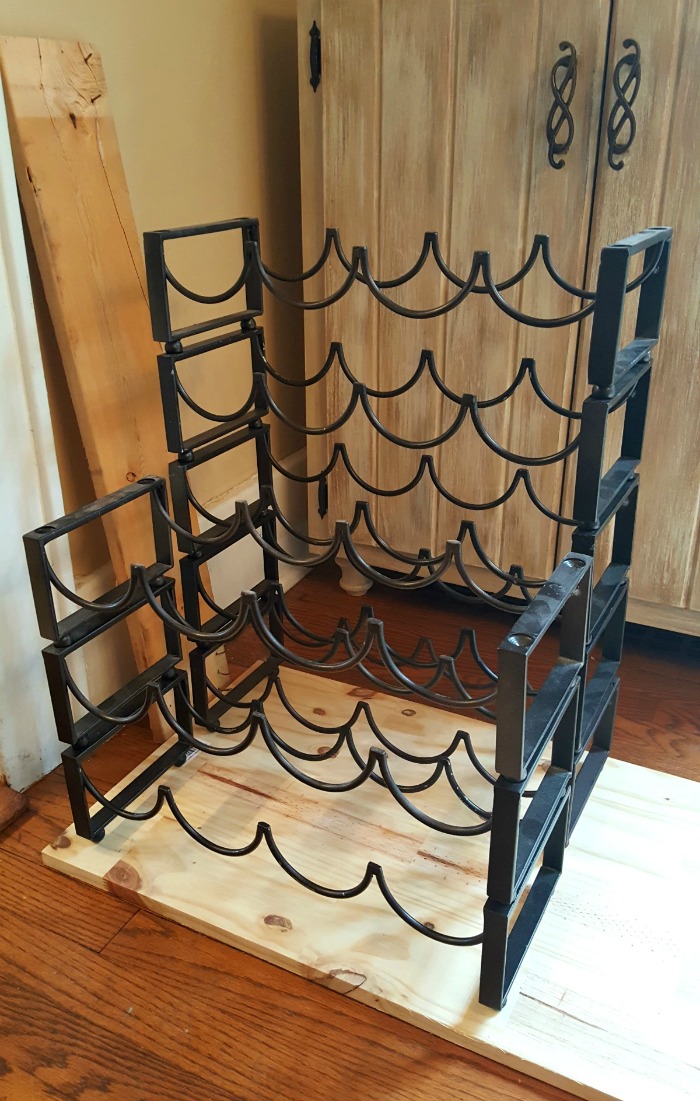
The crate had to fit the wine racks and I needed it to be the right height to sit next to my sofa.
This is a very easy project, but the measurements and how much cutting you do will depend on what you’re working with. But if we can handle this, ANYONE can.
(I got some assistance from the DRG on this one, but as I’ve mentioned before his forte is electrical and plumbing – NOT so much the carpentry. Luckily, he’s a great sport. )
My pine board was 16″ wide, which was perfect for putting 2 rows of wine racks back to back. I was hoping I wouldn’t have to cut the pallet boards, but they would have been a couple inches too tall for my sofa, so we took some off with the chop saw. The pine boards needed to be 20″ wide so we cut them to size with a circular saw.
DIY Confession:
I actually did this project TWICE. In my first attempt, I used Minwax Dark Walnut Stain, which looked too dark between my brown sofa and a dark wicker chair. As a stand alone piece, it was fine. But – my living room is all neutrals and it has a lot of different wood tones going on. Keeping the room from looking too light or too dark is a delicate balancing act.
And one that I fail regularly. 🙁
Wine Rack End Table #1
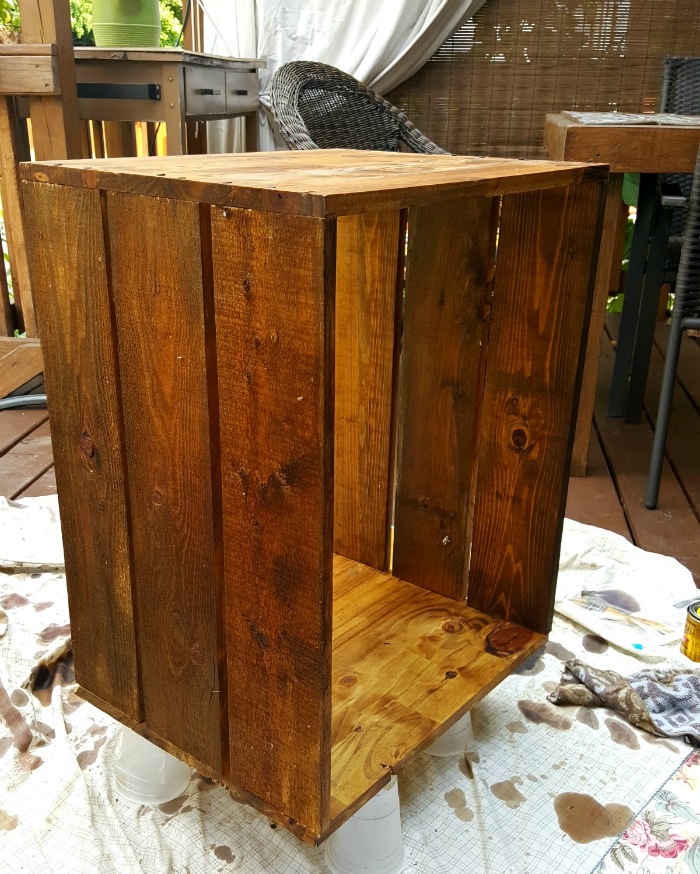
I assembled my wine crate, being sure to put the rough side of the pallet boards on the outside to keep the rugged look.
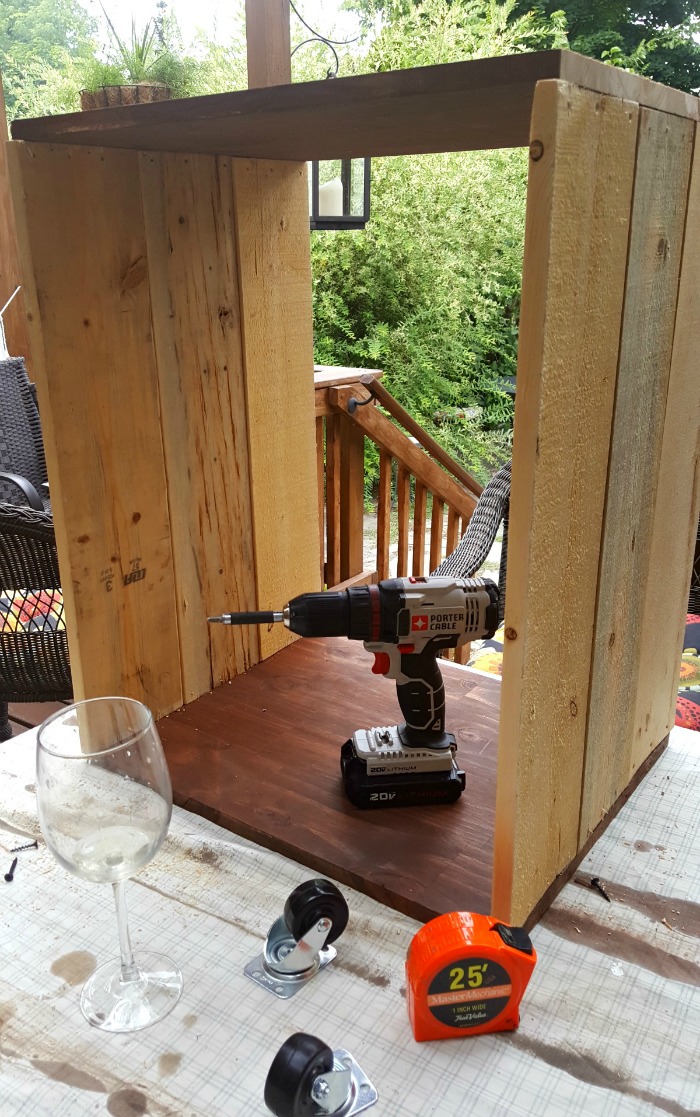
The three boards on each side were just a hair too wide for the pine top and bottom, but I wanted a rough, authentic wine crate look – so I didn’t mind it.
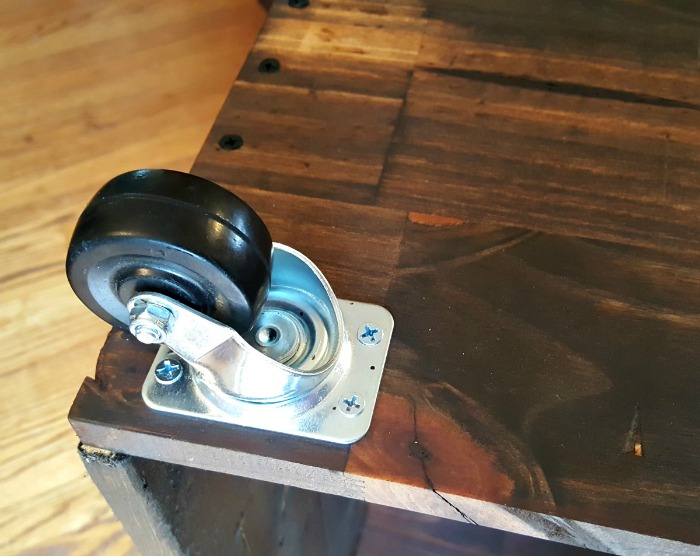
Once I stained the crate, I added caster wheels. Be VERY careful what kind you buy – you want them to rotate all the way around, not just forward and back. You’ll need some very short stubby screws to make sure they don’t poke through the other side of the wood.
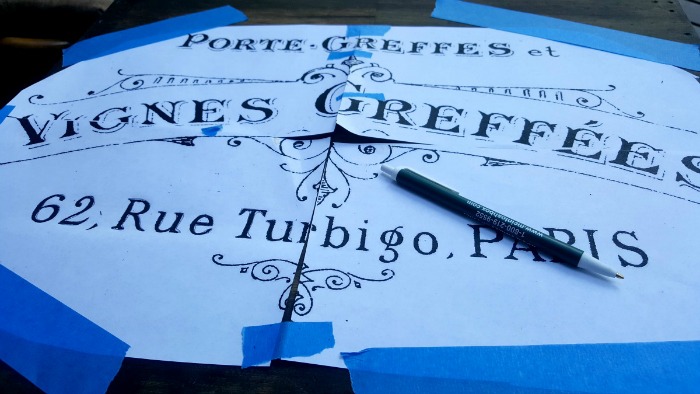
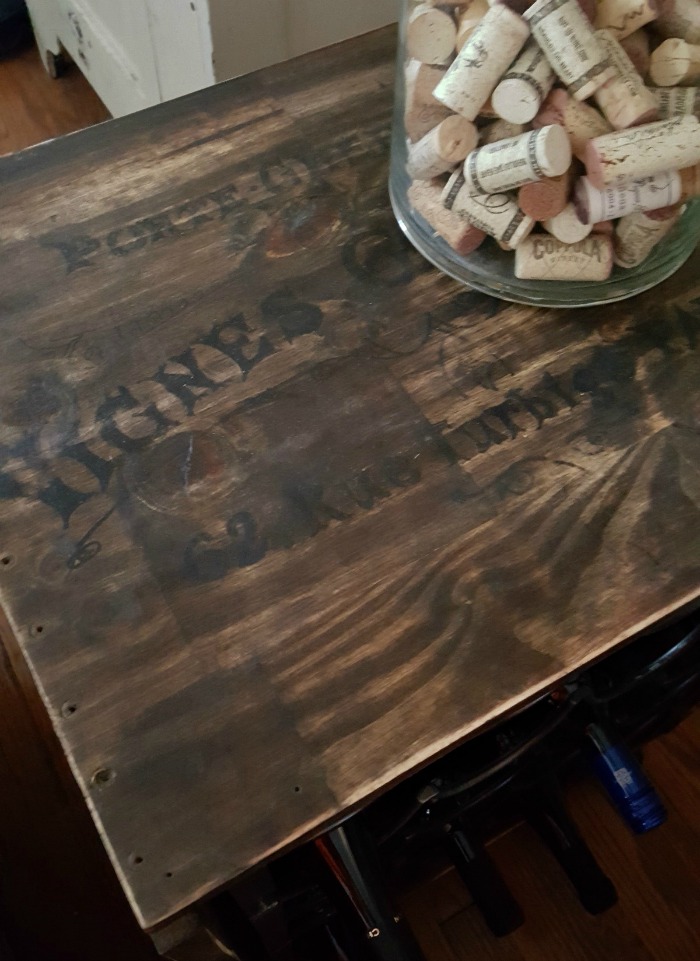
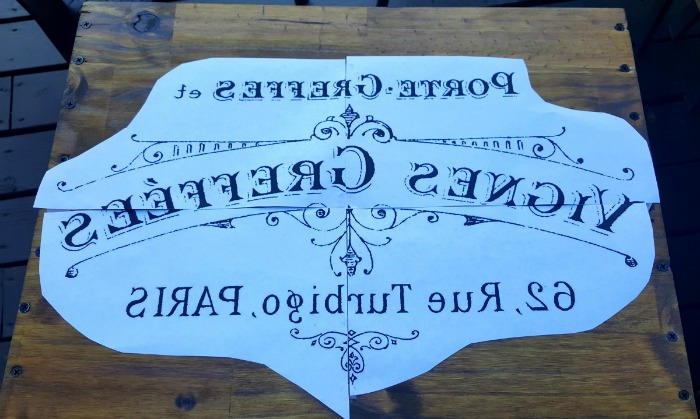
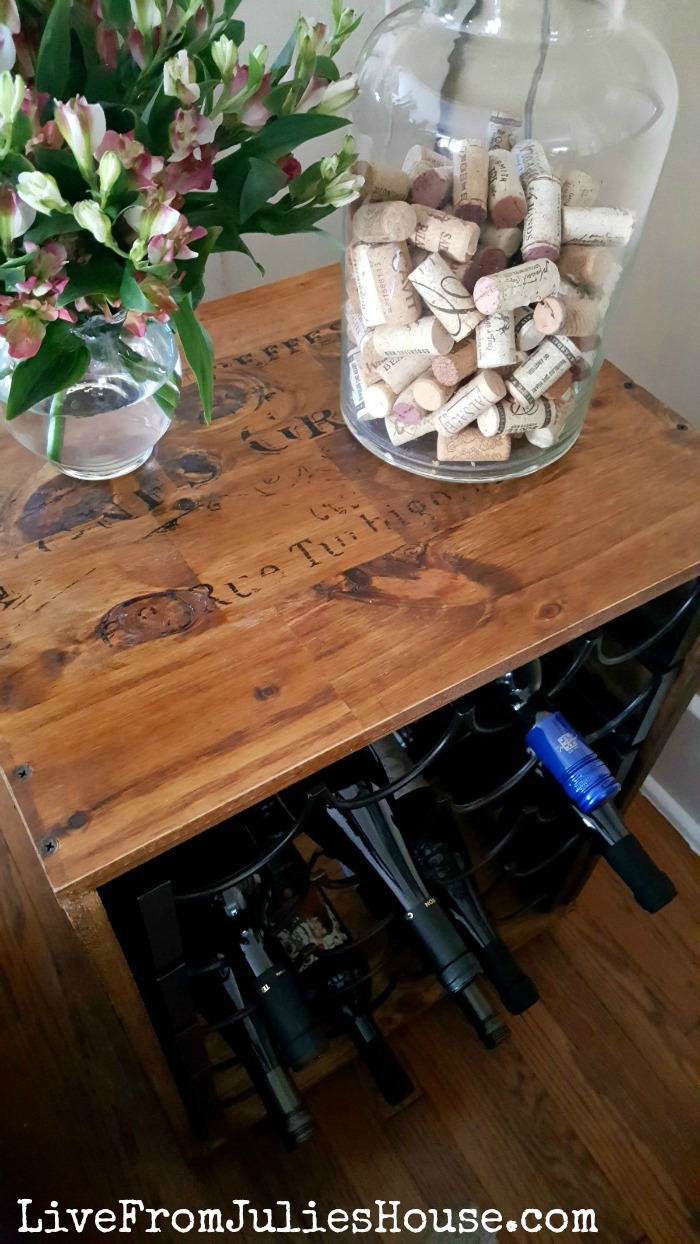
I wanted to make my “wine crate” look authentic, so I decided to transfer a French winemaker logo to the top using a method I haven’t tried before. I found a free French winemaker image HERE, but it wasn’t quite big enough for the table top. I headed over to Block Posters and enlarged it so it would print on 4 regular pieces of paper.
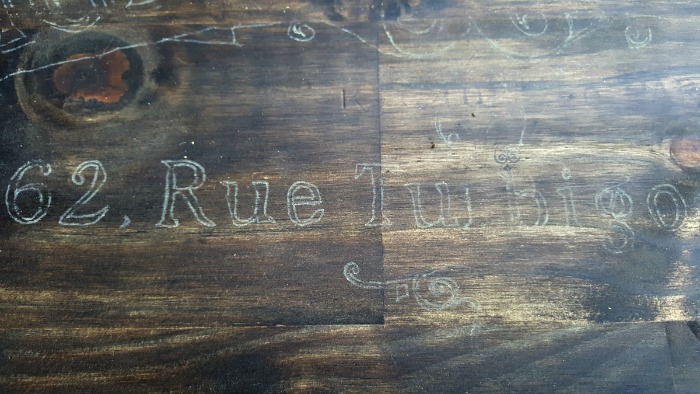
I used THIS tutorial from the Graphics Fairy to do my transfer. I rubbed a pastel stick on the back of my transfer and then traced everything with a regular pen. This will give you an outline of your image that you can fill in using a small paint brush or paint marker. I opted for the paint marker.
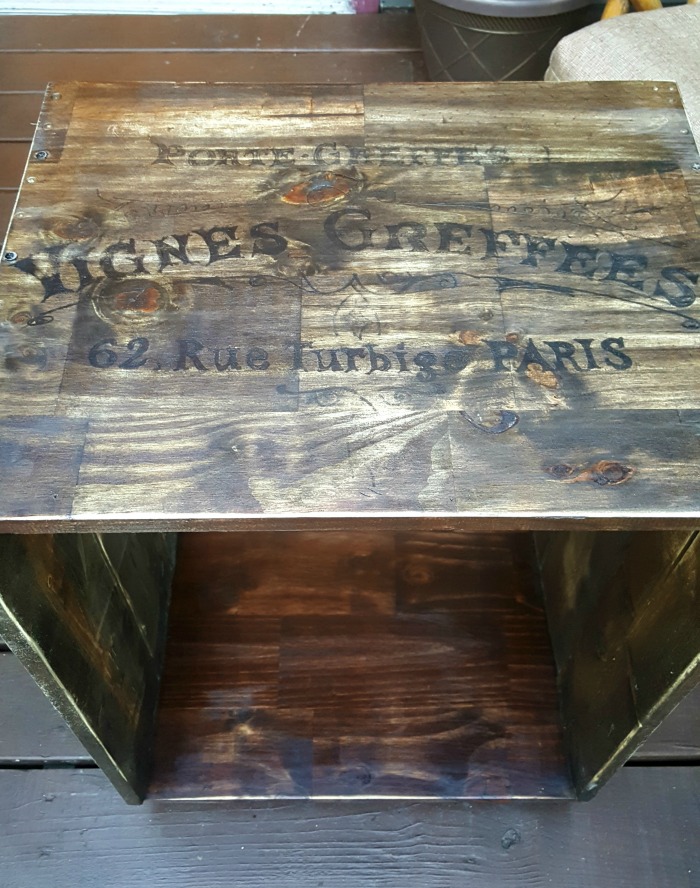
After it was done I cleaned up my pastel stick outline, distressed the top and gave it a final coat of poly.
It’s not bad, but if you look close it looks like a 6-year old did the lettering. If you have neater handwriting (or more patience) than I do, you will probably get better results.
But – if you aren’t inspecting it closely it’s not so bad.
Unfortunately, there was a bigger issue:
Once I set it up in the living room it looked like too much dark brown in that corner…it felt like a black hole. I lived with it for a couple of weeks, but eventually decided to redo it.
Which brings me to –
Wine Rack End Table #2
This time around we wanted to make the pallet boards a little narrower so there would be a small gap between them. We ripped the boards down about 1/4″ with a table saw.
I used Minwax Golden Oak, which is more of a mid-tone color.
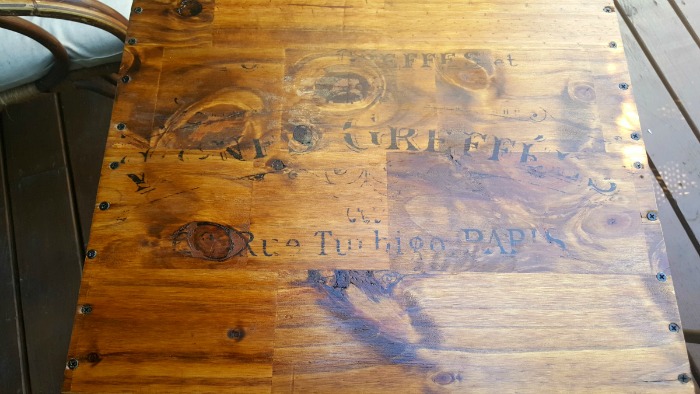
I also decided to try a different method for the French wine transfer. I used THIS tutorial from the Graphics Fairy and the Crafts Man. Basically, you give the piece a coat of polyacrylic, place the reversed image on the top, let it dry, then use water to get rid of the paper and reveal the transfer.
I ran into a couple of issues.
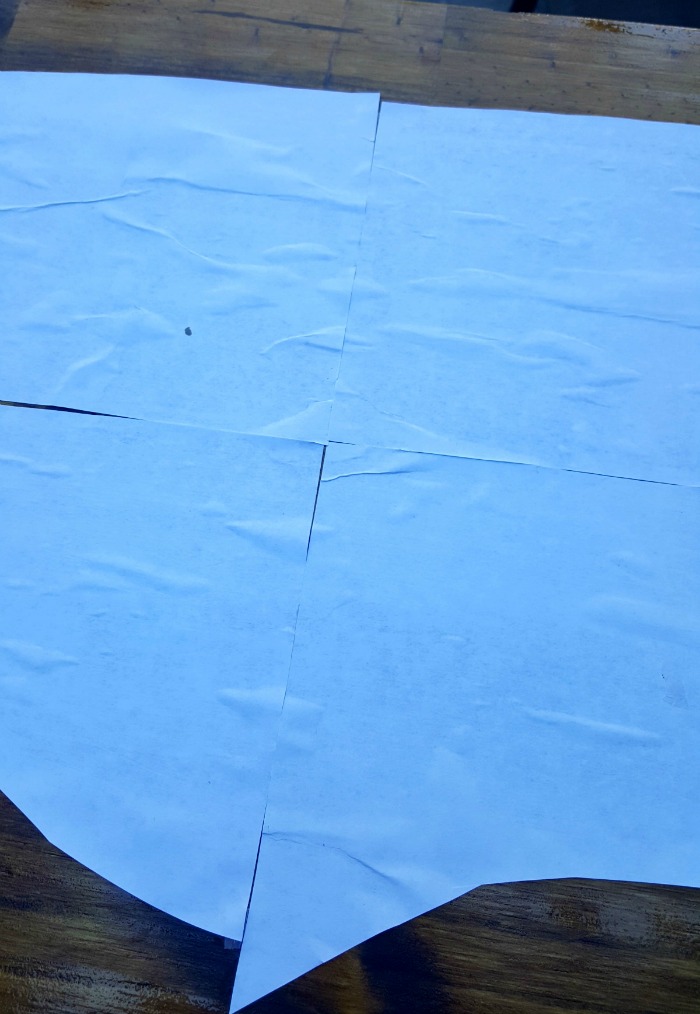
For one thing, I had a terrible time getting my reversed image on 4 sheets of paper to line up. It’s hard enough to get the transfer perfectly flat onto the poly, but having 4 sheets moving around made it nearly impossible.
This does not look good…
I could not get the bubbles out for the life of me. But what are you going do? I powered on.
I let it dry for a couple of hours and then poured water on top.
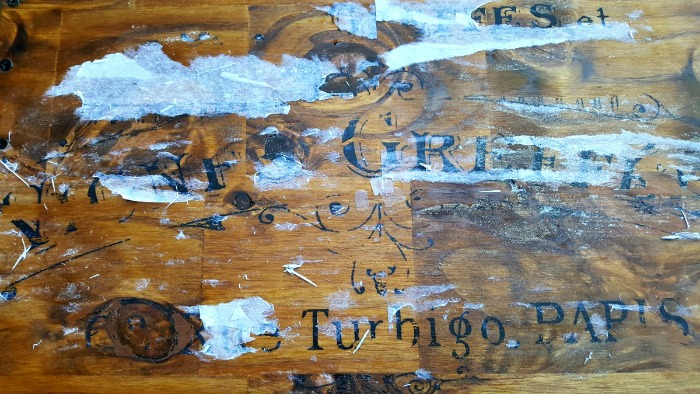
Parts of the image did not transfer, probably because I had so many air bubbles. I wasn’t super concerned about it for this project because I want an aged and distressed look – I would have sanded some off anyway.
What I did mind was the residue that I couldn’t get off:
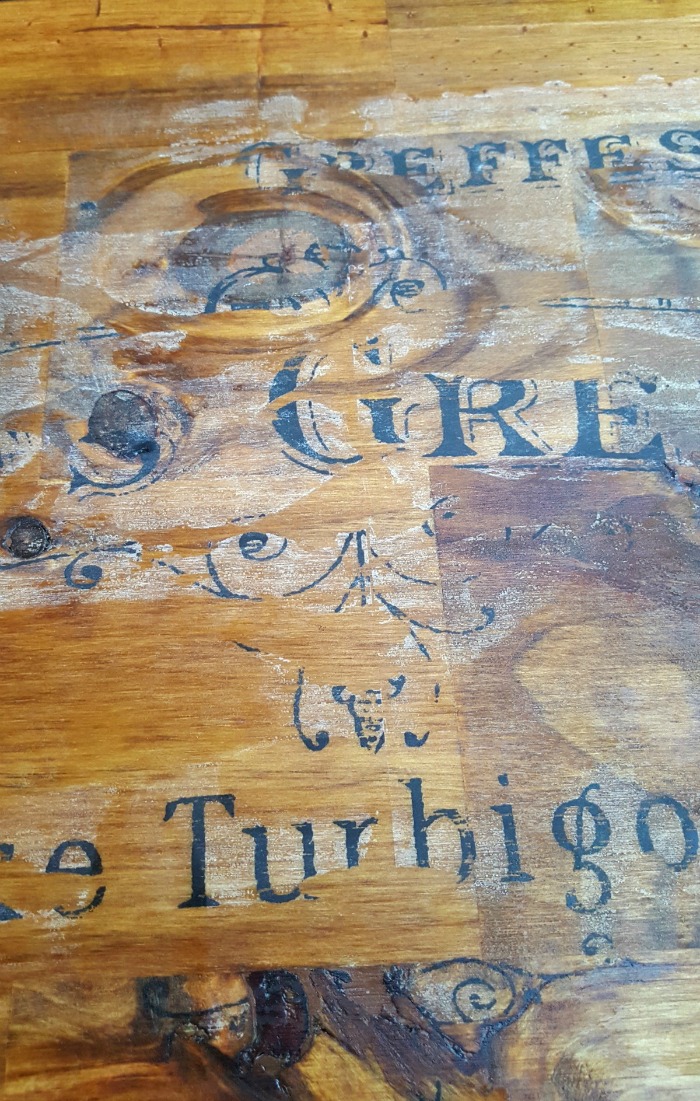
I added more water and managed to get rid of some of it, but it was pretty stubborn. Finally, in desperation, I took a very small amount of stain and rubbed it over the design with a rag.
It worked pretty well. The residue is still there, but now you can’t see it. I gave it a final coat of poly and smoothed it over one last time with some steel wool.
If I had to do it again, I would have had it printed on a single 11×17 piece of paper. And practicing on a smaller piece of wood first would have been the smart thing to do.
I think this is a pretty legit looking “wine crate”, don’t you?
Loaded up and ready to roll…
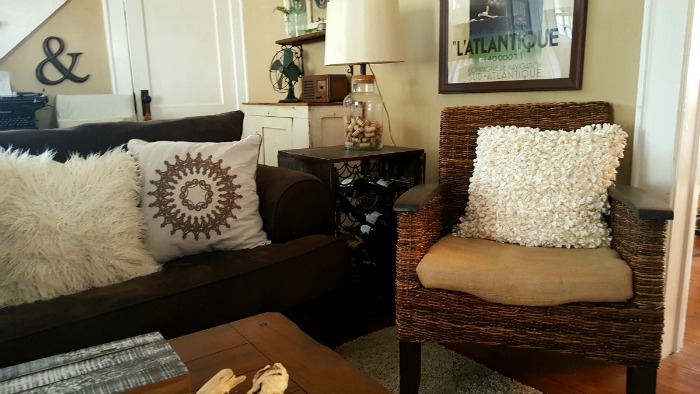
So much better.
I know the lighter stain does not make a colossal difference, but I think it’s a lot more balanced now. It’s probably not even something that the average person would notice, but the darker table would have driven me crazy.
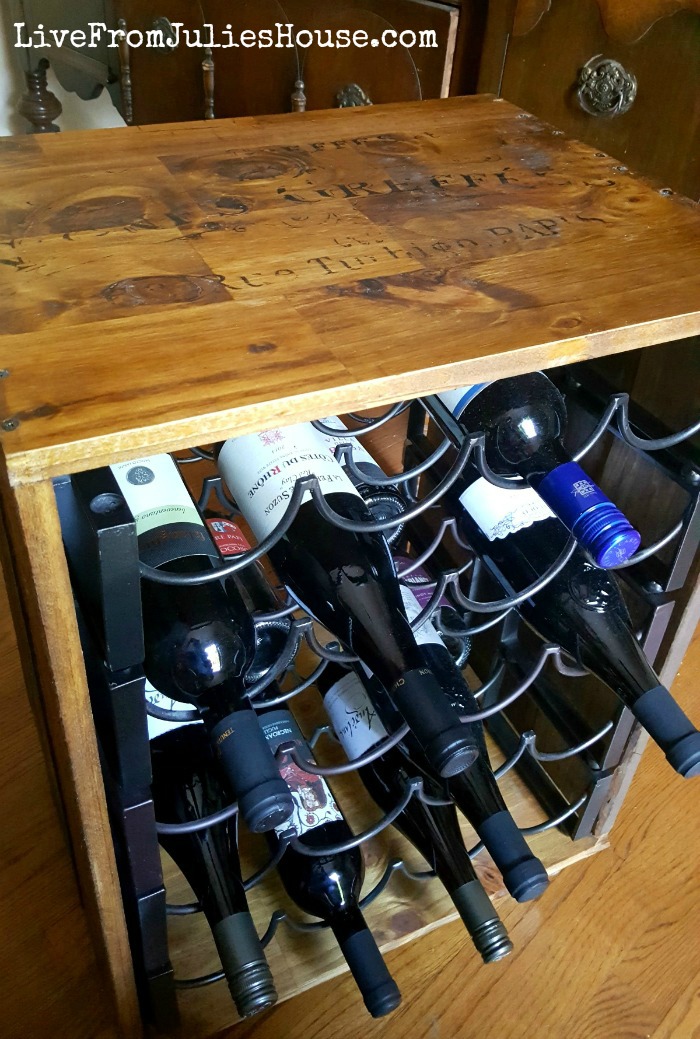
I’m so glad I opted for wheels instead of feet for this piece. I have easy access to restock on the back side:
I’m pretty happy with how it came out, not to mention – it holds a whopping 40 bottles of wine.
Clearly, I have some shopping to do. 😉
Wine Rack End Table Price Breakdown
10 stackable wine racks – $20-25
1 16″w x 4′ pine board – $9
4 caster wheels – $20
I had everything else on hand, so my custom-made one of a kind end table came in at about $54.
(And I am now the proud owner of an extra wine crate table minus the wine racks. I’ll add it to my stash of extra side tables in the attic and hope I can figure out what to do with it. )
I’m linking this project up at some terrific blog parties – you can find my complete list of places I party HERE.
Be sure to check out all of the other creative upcycle projects my fellow bloggers have come up with!

