Phase #3 of the #NeverEndingReno is chugging along, and like most of my bigger projects, it’s taking WAY longer than I’d like.
It’s tough when the entire main floor of your house is total chaos, you know?
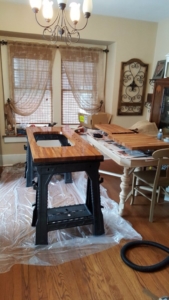
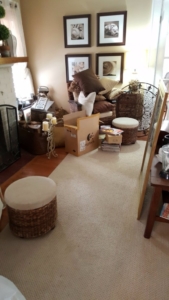
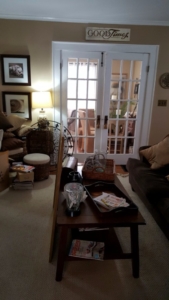
The dining room is being used as a workshop and home for the fridge, and the living room and sun room are housing furniture and accessories stripped out from the kitchen and dining room.
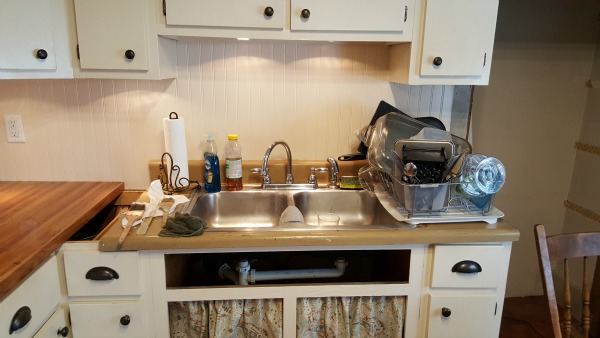
And then there’s the kitchen….check out this sad situation:
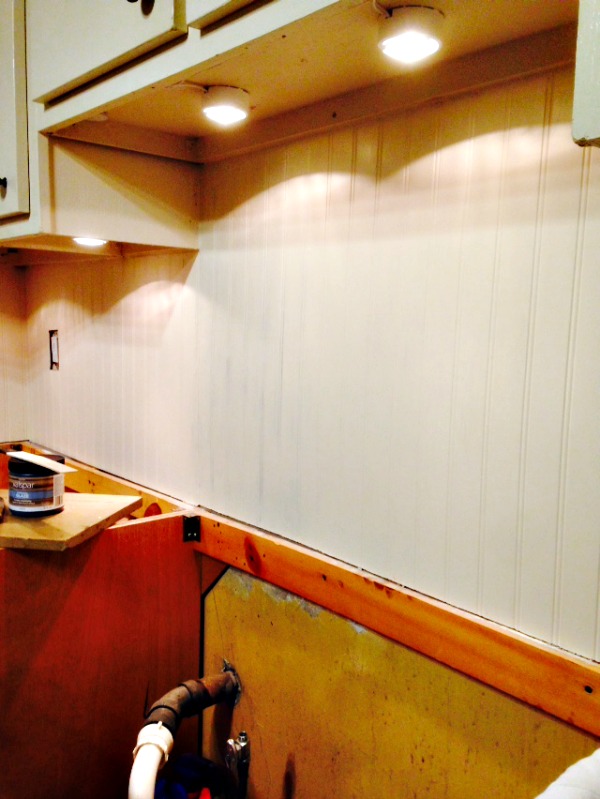
We cut the old counter so we could disconnect and reconnect the sink while we were working on the bead board back splash – we had it on and off 3 or 4 times. Now that it’s done, it will stay in place until the counter cures and we can install it. The panel under the sink had some water damage, so that’s being replaced.
When you’re up to your eyeballs in a project that is sucking the life out of you, I think it helps to look back and see how far you’ve actually come.
(I just realized that we started this on Thanksgiving….holy crap, no wonder I’m ready to throw myself into traffic….we’re coming up on 8 weeks!!)
To see where this kitchen started, check out Kitchen Reno Phase 1 & 2 HERE
Anyway…
PHASE #3
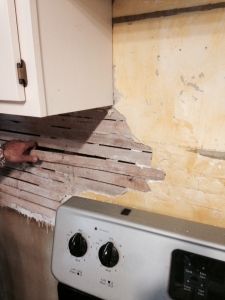
After a couple glasses of Pinot Noir on Thanksgiving day we decided to pull the laminate off the wall behind the stove.
(Because it’s not a holiday at my house without a wine-fueled, unplanned demo project)
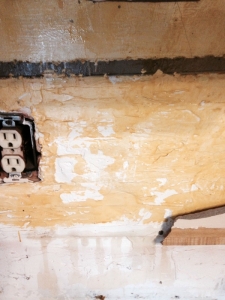
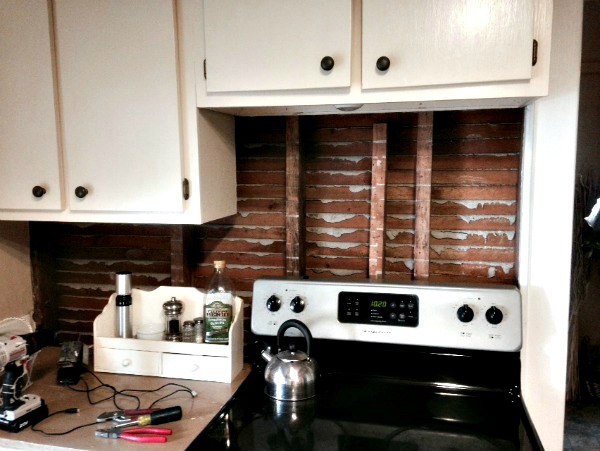
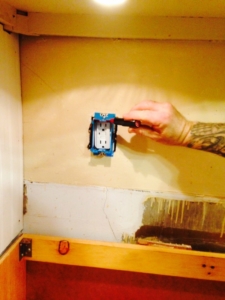
Back when I bought the house my home inspector said, “I don’t know what’s back there, but I’m willing to bet it’s nothing good”. I painted over it and forgot about it for 10+ years, but since I’m planning to tile that area at some point, we knew we were going to have to deal with it sooner or later. Sure enough, it was a huge mess….gobs of sheet rock mud (I think?) applied directly to the old lathe. We ripped everything down, fixed the electrical outlets and put up new sheet rock. Phase #3 of the #NeverEndingReno was officially underway.
We moved the fridge and the free standing pantry into the dining room and dove right in.
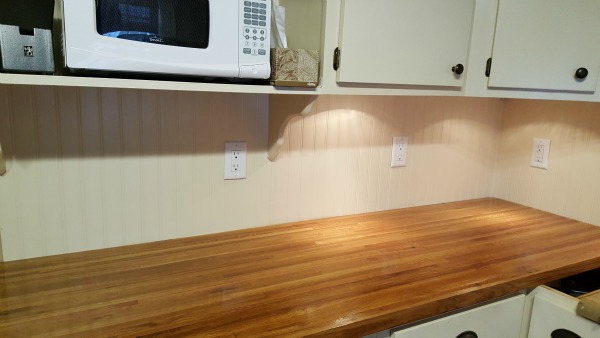
We replaced all the electrical outlets – they match now!
We added wooden brackets underneath the open shelf where the microwave sits.
The bead board back splash is up and painted. This was NOT a fun project, but I did learn a neat trick from the DRG:
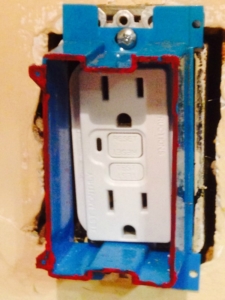
Do you know about the lipstick trick? If you’re trying to cut something out like an outlet, outline an extender with bright red lipstick. Once you’ve got the main piece cut to fit, press the bead board over your lipstick-ed outlet and you’ll have an outline of where to cut. Pretty slick, right? This would also work for hanging pictures with 2 hangers.
We installed under-cabinet LED lights:
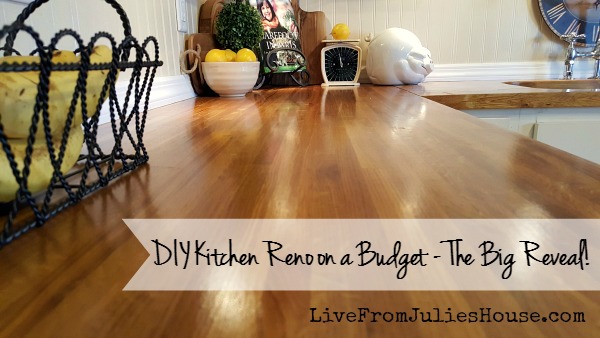
The butcher block counters were cut to fit and coated with 3 Waterlox base coats and 2 satin finish top coats. I did a ton of research and as far as I can tell, just about every single person on the internet with a butcher block counter recommends this stuff. I could not find it locally, so I ordered it from Amazon:
(this post contains affiliate links from the merchants I purchased some of my materials from)
Waterlox Original Satin Finish, Quart
We have wait 7-14 days before we can really put anything on them, so all food prep is happening on the kitchen table.
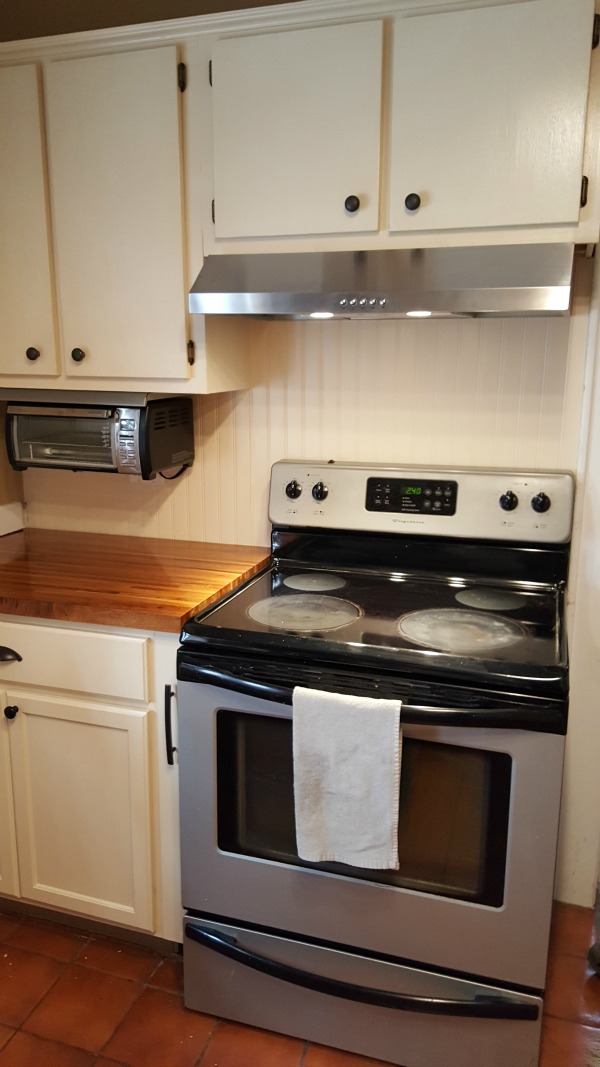
We installed a range hood with lights and an under mount toaster oven, which was a lovely and welcome Christmas gift from my mom.
These aren’t very common for some reason, I can’t imagine why. This is literally the ONLY model I could find locally or online:
The original cabinet next to the stove was moved over to the “L” shaped run of cabinets so that they would all match. When I started this project a couple of years ago, I installed a cheap unfinished cabinet that was pretty flimsy and it ended up looking like crap, even after I painted it….so we relocated that to my laundry area in the basement and picked up a better quality unfinished cabinet to go next to the stove. I got a great price on it because it had a chunk missing out of the side, but nothing you can see once it’s installed. I decided that I would rather have decent quality even if the doors don’t match rather than something that looked like garbage but has matching doors.
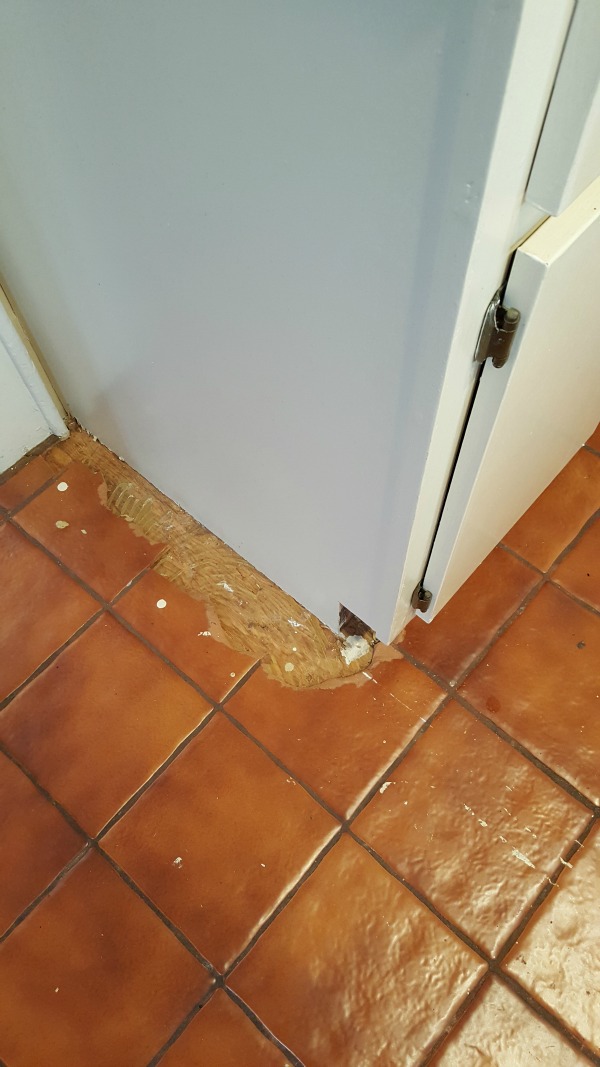
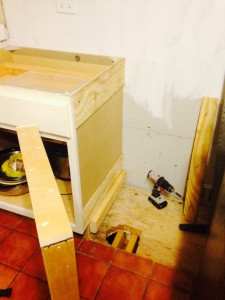
The switch-a-roo with the cabinets meant that we had to dig up the ceramic tiles to get the cabinet on the same level as the cabinets next to it.
The fridge used to be in that spot, so the floor was tiled in that area. Ripping up the tiles means that we are now committed to replacing the floor and as you can see, we’re not being very careful painting now that we know the floor is going away. 🙂
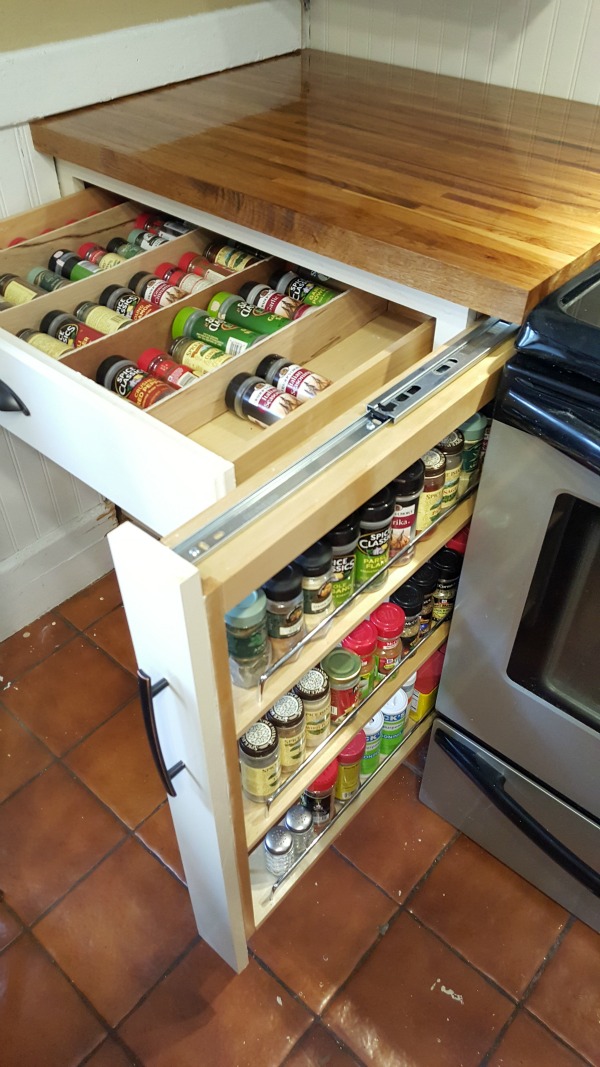
We found a great solution to the 3-inch gap between the cabinet and the stove – a slide out spice rack and drawer. You can get more details about this project HERE.
Now all my seasonings are right next to the stove, which I love.
While I’m waiting for the butcher block to cure, I’m working on some smaller projects to keep myself from going crazy.
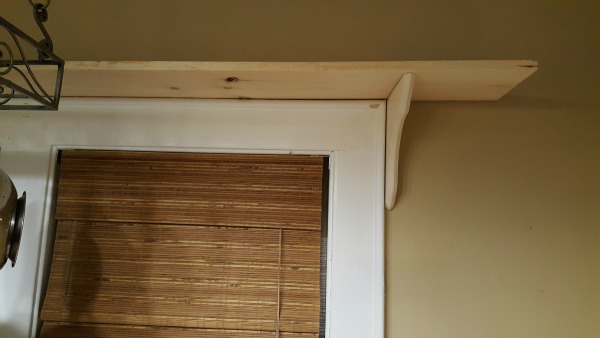
I’m thinking about mounting a shelf over the window. I’ve really been wanting to put some open shelving in the kitchen, but with the limited space I was totally stumped on where to squeeze it in. I propped a board up there to see how if I like it, and I think it just might work…


