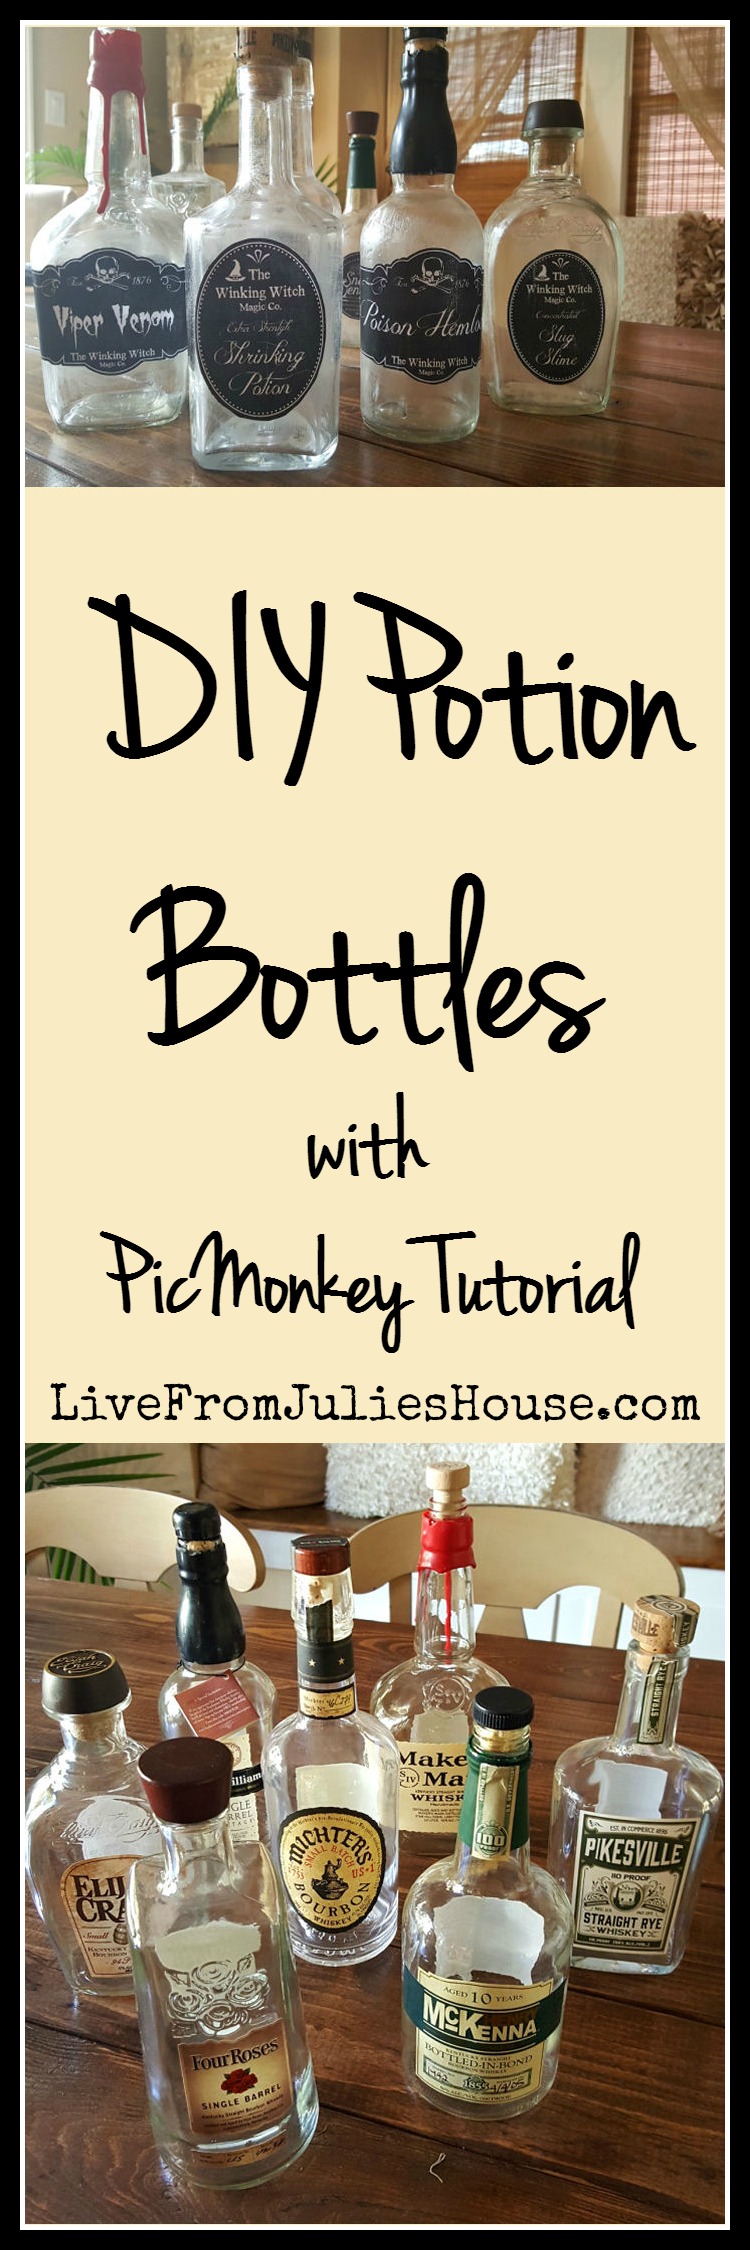
One of my restaurant clients is having a Halloween party this year, so I’ve been crazy busy DIY-ing all kinds of spooky decor. I’m trying to keep the budget low and luckily there are lots of neat things you can make with thrift store finds and things you have around the house. Today I’m sharing how I made DIY Potion Bottles with a tutorial on making fast and easy customizable labels using PicMonkey.
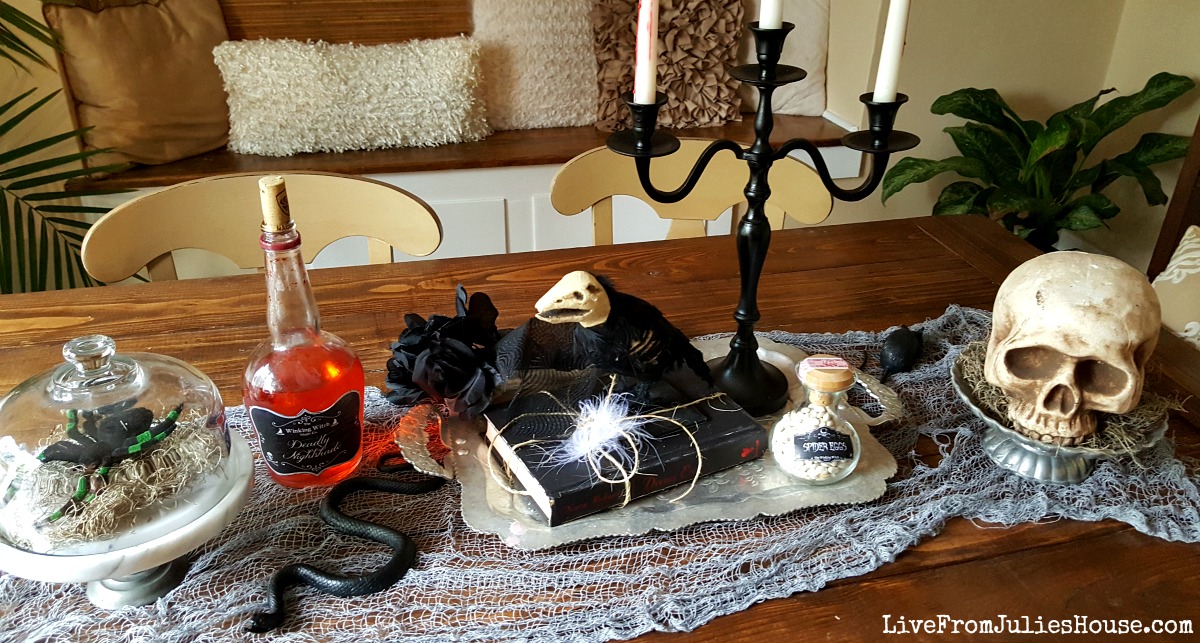
The restaurant has about 24 tables, plus there will be a buffet table – so I need LOTS of table decorations. My plan is to set up a spooky vignette on each table using lots of black and silver: candlesticks, trays, old books, creepy creatures, potion bottles and other vintage looking goodies. Each table will be a little different, but I’ll keep the theme cohesive throughout.
(This post contains affiliate links. For my complete policy, go HERE)
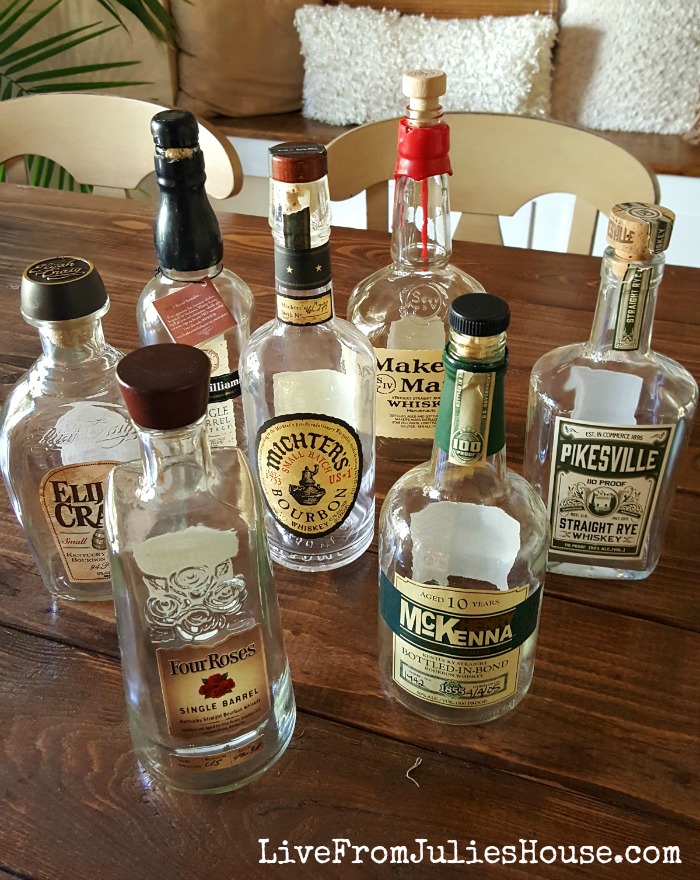
My first project was DIY Potion Bottles. The DRG is an avid bourbon drinker and he’s always bringing home new bottles to try. I’ve been saving them for the last couple years because the bottles are beautiful and I thought I might be able to make something cool out of them. Most of them have nice cork stoppers too.
I researched the best way to get the labels off without tons of scraping and Goo Gone, and one of the ideas I found was throwing some baking soda into a sink of hot water and letting them soak. Since it was non-toxic and I had it in the house, I gave it a shot. According to the articles I read, the labels were supposed to just “float off”.
Uh, no…
They definitely did not float off on their own, but they did scrape off easily with a straight edge razor scraper the next day. I’m not sure if it was the baking soda that made a difference.
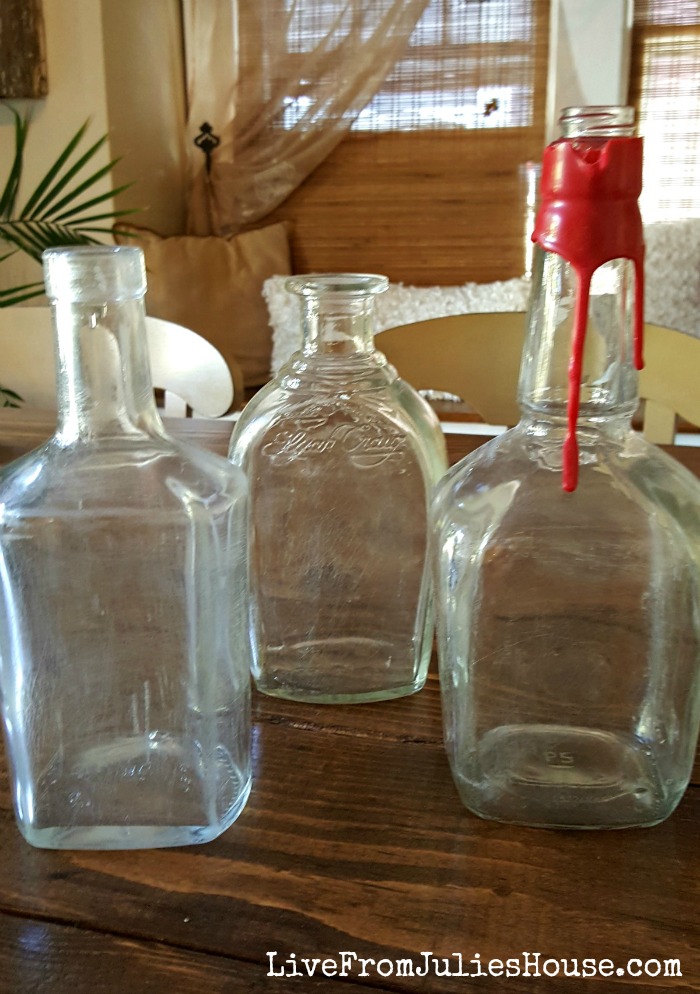
I wanted to distress the bottles a bit, and I found THIS great tutorial from the Kim Six Fix. She pointed out that you can stop at any point during her 3 step tutorial and still have good results, and she was right. Her first step was to rough up the bottles with sandpaper before aging them further with paint. I decided to stop here, mainly because I’m really pressed for time and I have TWENTY FOUR TABLES to decorate. ACK!
The sandpaper gives the bottles a cloudy, aged look. I focused extra attention on the ridges and details of the bottles. I like the way they look as-is, and if I decide to circle back later and add some paint, the sandpaper roughed up the surface enough so that it will stick.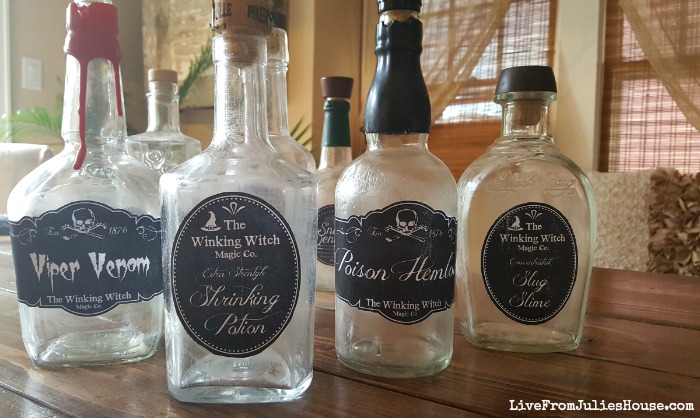
They came out pretty good! Want to know how I made those cute labels? They were easy, and once I figured out a system, they took just a couple minutes to make.
The tricky part about making your own labels is that you need to make them the right size for the bottles you’re using. So, whipping up a few sheets of the same size labels probably won’t work. Also, I wanted to make a template so that I could quickly and easily add more labels as I collected more bottles.
DIY Potion Label Tutorial in PicMonkey
- Head over to PicMonkey and click on DESIGN at the top of the page.
- Go to THEMES, then WITCHES and pick out a label from POTION LABEL section. I’m going to keep the image nice and big so it’s easy to work on and see what I’m doing.
3. Next, create your “apothecary company”. I decided to call mine The Winking Witch Magic Co. Keep in mind that when you’re mixing fonts that it will look better if you keep one font on the plain side to balance something fancier. I decided to use Times New Yorker because it’s fairly plain, but still has a vintage vibe to it.
4. I decided to add a little witch hat, but there are all kinds of cute and creepy options for your “logo”:
5. Perfect! This will be the basic template. The background should be transparent, so go over to CANVAS COLOR and choose TRANSPARENT CANVAS.
6. I’m going to leave this image big so that when I’m ready to print my labels I can adjust it according to how I’m using it. Make sure you save the image as a PNG to keep your transparent background.
7. Close out of this design, then open it back up again using the EDIT button. This will make your template a flattened image, so you won’t accidentally move your “logo”. Now the fun part…you can get creative with your potion names! PicMonkey has lots of spooky fonts to choose from plus creepy little icons to dress them up. Make as many as you like and save them as PNGs.
8. Now we’re going to create a page of labels to print. Go to DESIGN, then resize your canvas to fit a regular sheet of paper – 1700 x 2200, or reverse it if you want it oriented the other way.
9. Go to OVERLAYS, then ADD YOUR OWN. Now you can upload your labels and size them any way you like.
10. Keep in mind the size of your bottles when you’re doing this. 
 Once you make your templates, you can design a new label in a minute or two. I was worried I was going to get bogged down in a big time-consuming project trying to design the labels, so I was pretty psyched that wasn’t the case. Saving them all as separate files means that you will always be able to resize them as needed, which has worked out perfectly for me. I’m adding bottles as I find them and doing them in batches.
I used matte ModPodge to attach the labels. I only use ModPodge about once or twice a year, so I always forget this critical tip:
Attach the back of your paper with ModPodge and be sure to let it dry for 10-15 minutes before you apply the top coat to seal it. If you try to do both steps at once your label will immediately wrinkle up.
I’m linking my DIY Potion Bottles up at some terrific blog parties – you can find my complete list of places I party HERE.

