One of my resolutions this year was to actually DO something with my stash of old windows and doors. At a certain point you’re not “saving it for a project” – you’re just going down that slippery slope to being a hoarder. So, I figured I was overdue for an old window upcycle project, plus I had a little corner of my living room that needed an update.
I have about a half dozen old windows piling up in my garage that I’ve picked up on the side of the road over the last few years. I did try to turn one into an outdoor chalkboard for my deck a while back, but the paint wrinkled up after a few weeks of being exposed to the elements. I dug it out and decided to use it for a frame of some sort after I scraped the paint off, so I hung it my living room with nothing in it for a few weeks while I waited (impatiently) for inspiration to strike.
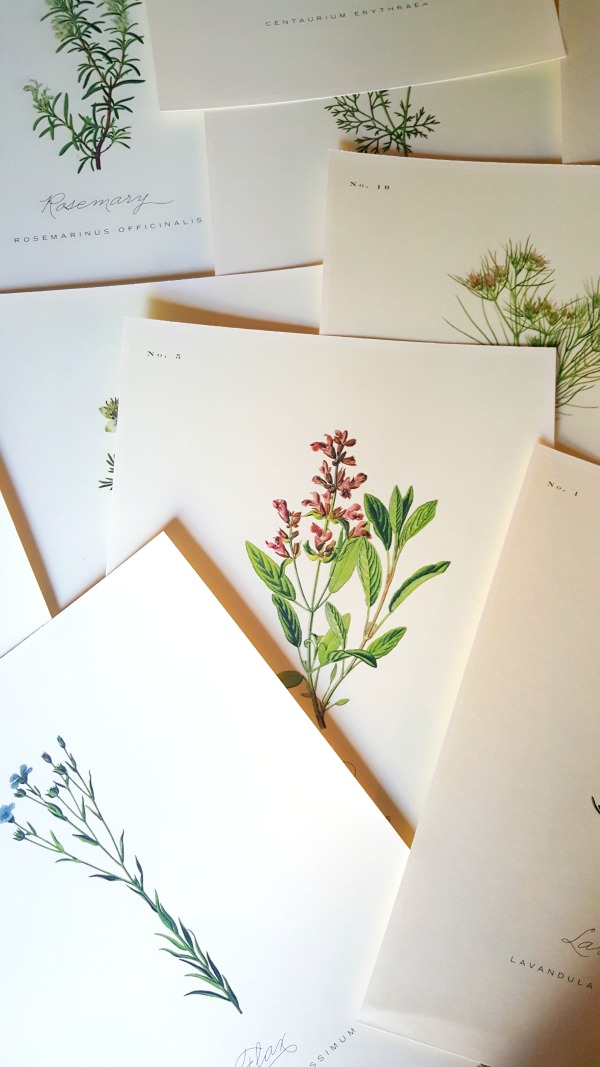
I’ve been playing around with these gorgeous botanical prints:
The 12 botanicals were a FREE download that I printed out on ivory card stock. Aren’t they fantastic? You can find them HERE.
They really looked beautiful in my window, but they weren’t quite right for the room I had it hanging in – I hate when that happens! So I decided to use the botanicals in the dining room and continue my quest for something unique for the living room. I have a vintage travel poster hanging on the same wall and the botanicals just seemed a little too soft and pretty, know what I mean?
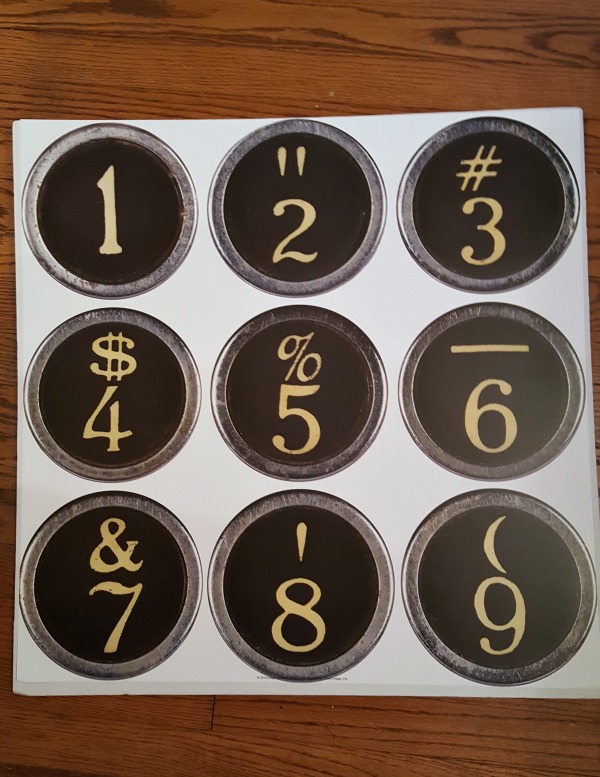
I was in Hobby Lobby picking up supplies for another project, so I thought I would look around in their poster section. I still had no idea what direction I was going in, but I found this and thought I might be able to do something with it.
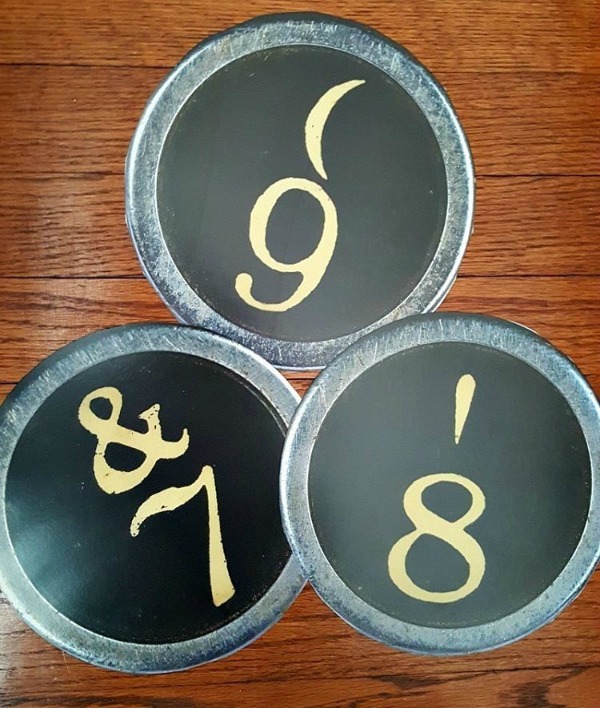
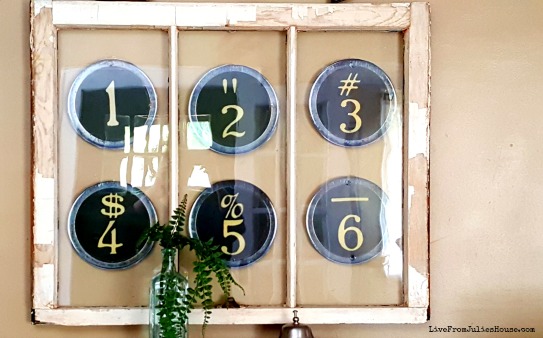
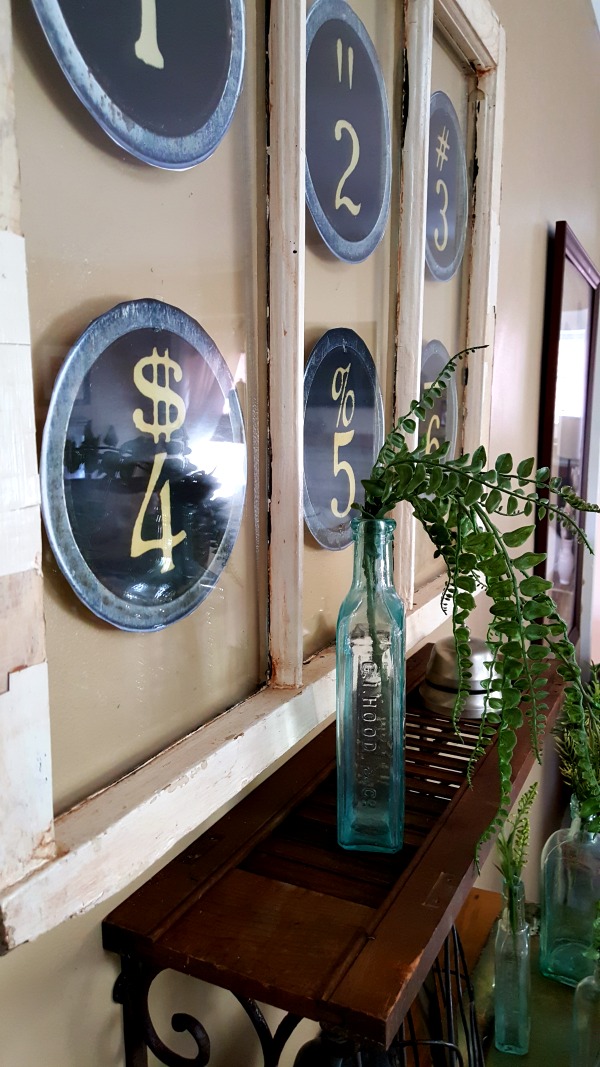
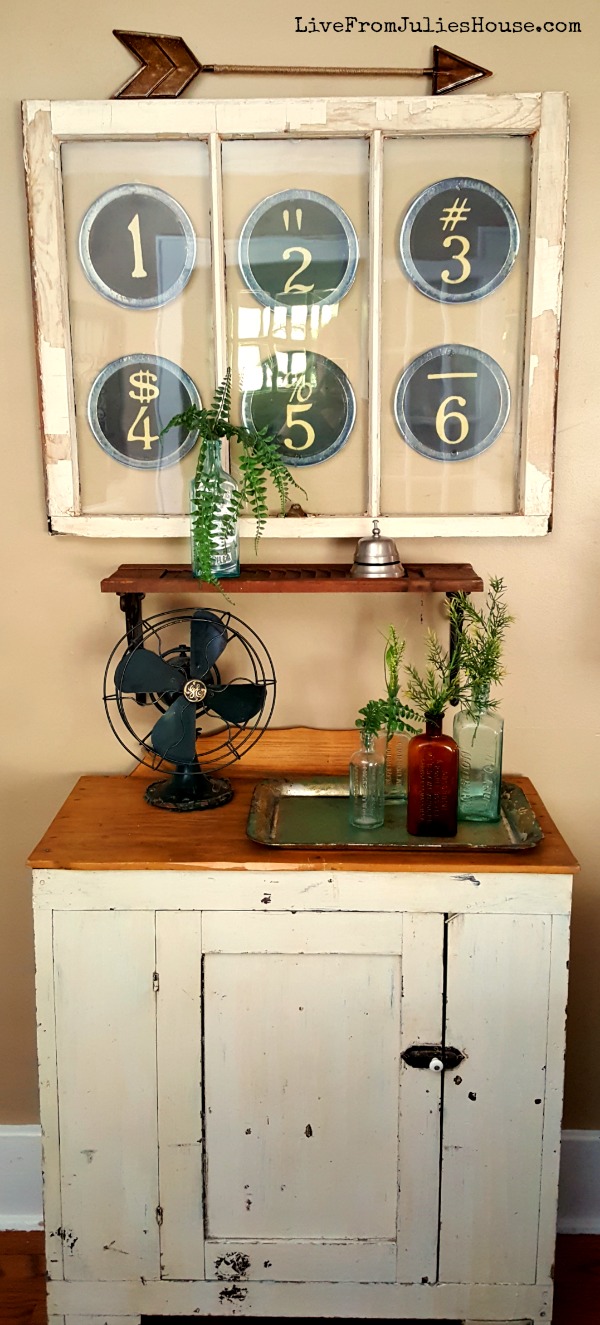
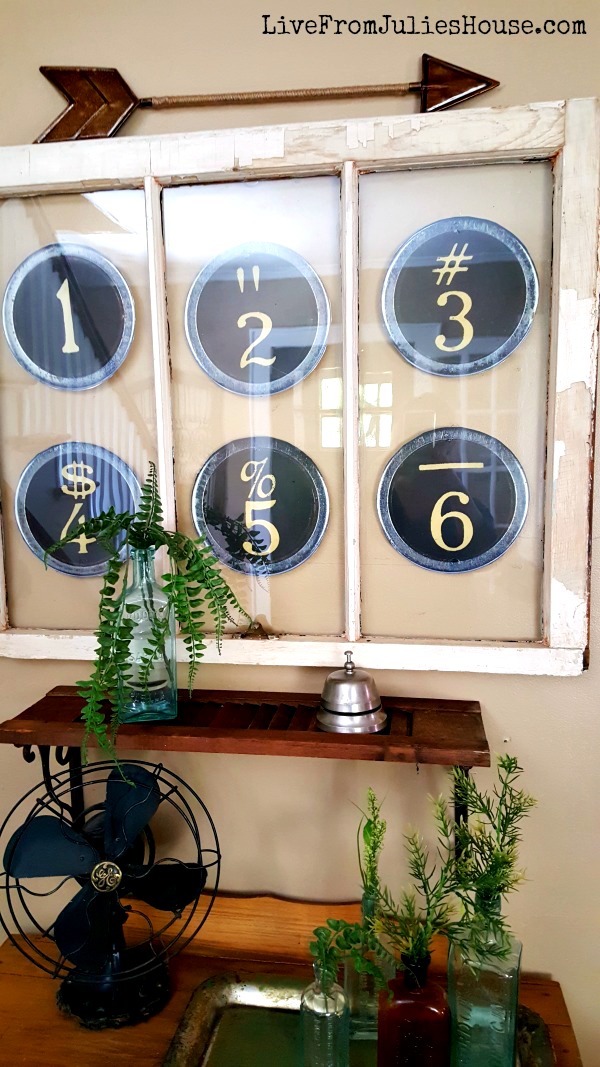
I cut all the circles out and laid them out on the window. 1-6 fit perfectly.
Not sure what I’m going to do with 7-9. 🙂
I tried using glue dots to attach the numbers to my window, but they didn’t hold so I switched to clear packing tape – it’s nearly invisible.
It was SO hard to get a decent a picture of this, between the glare from the glass, the reflection and the sun coming in the front of the house…..ARGH!
You could DIY something pretty close to this using the “Backspacer” font in PicMonkey (affil link).
I wanted to put a shelf underneath the window and I had a bunch of scroll-y metal brackets I picked up at Hobby Lobby over a year ago that I never did anything with. I didn’t have a piece of wood the right size for them, but I did have some wooden shutters that came out of kitchen during the renovation. I took them apart and a single shutter ended up being the perfect size.
The window and shelf hang over an old cabinet I picked up at flea market 15 years ago for about $30.
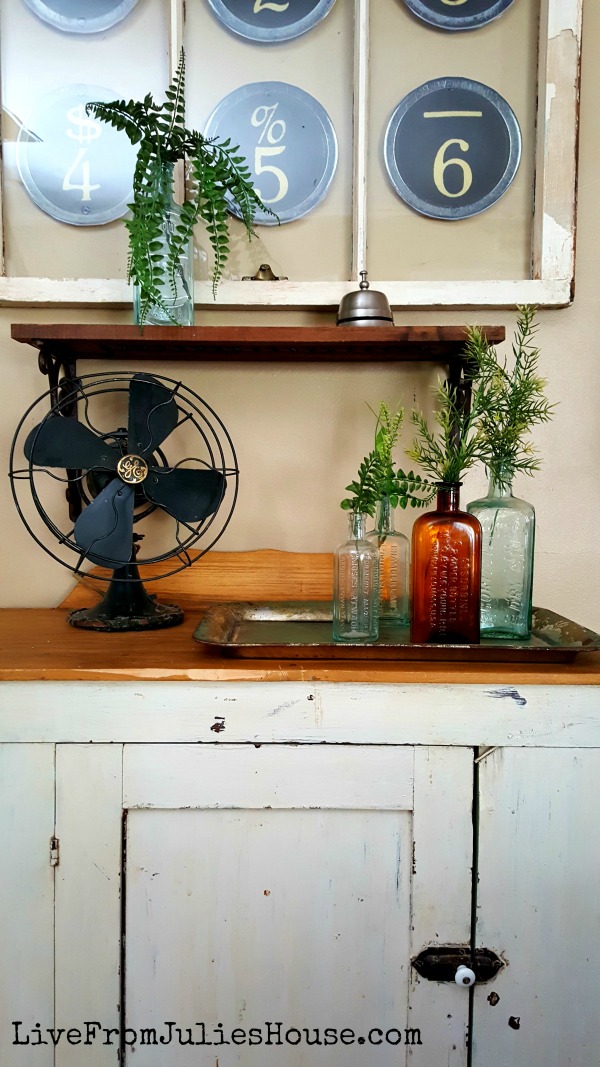
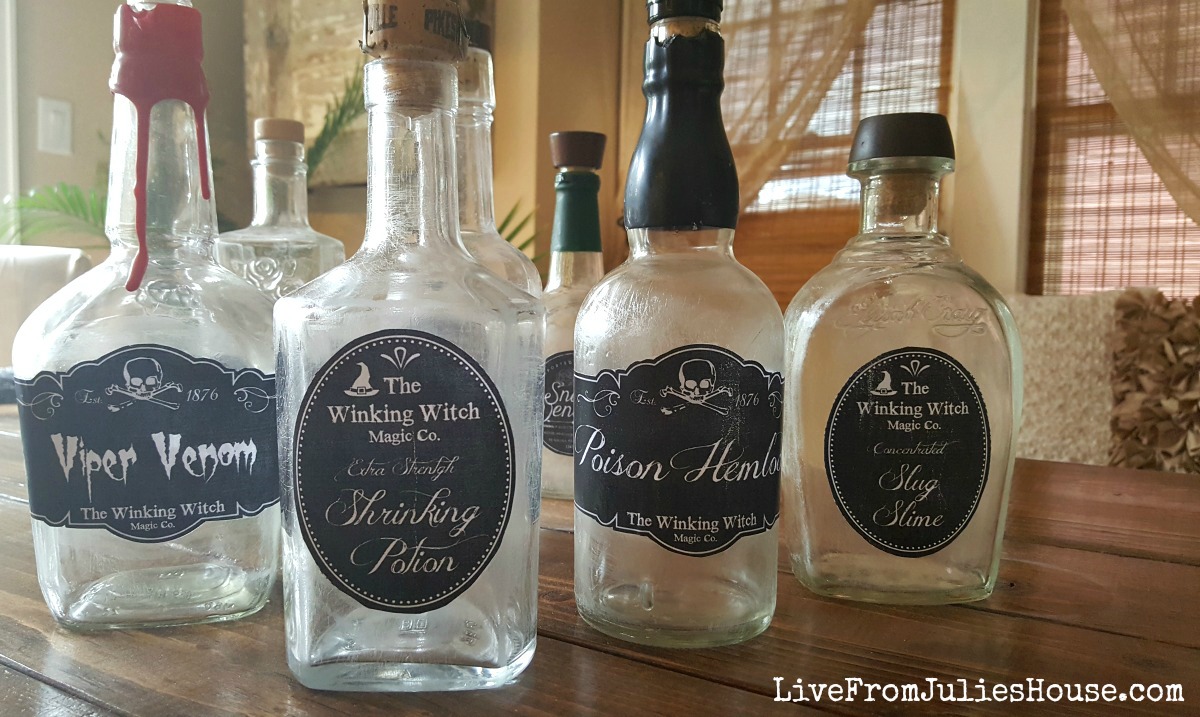
I added some old glass bottles that I got from my step father, a flea market tray and vintage fan that I’ve had forever and I stuck some faux greenery into the bottles.
I’m not 100% sold on the arrangement on the top of the cabinet, but I think I’m getting close. 🙂
The only items I purchased for this little redo were the vintage typewriter key poster ($12.50 at 50% off) and the arrow ($6.50 at 50% off), both from Hobby Lobby.
As I was finishing this post up, I came across this awesome list of “100 Ways to Use Old Windows” over on the Remodelaholic blog. If you’re looking for some old window ideas and inspiration, head over there and take a look – it’s packed full of really creative window ideas, including a ton that I haven’t already seen a million times. Since I still have too many a few windows in my garage, I’m definitely going to grab some inspiration from the list.
I’m linking this project up at some terrific blog parties – you can find my complete list of places I party HERE.


