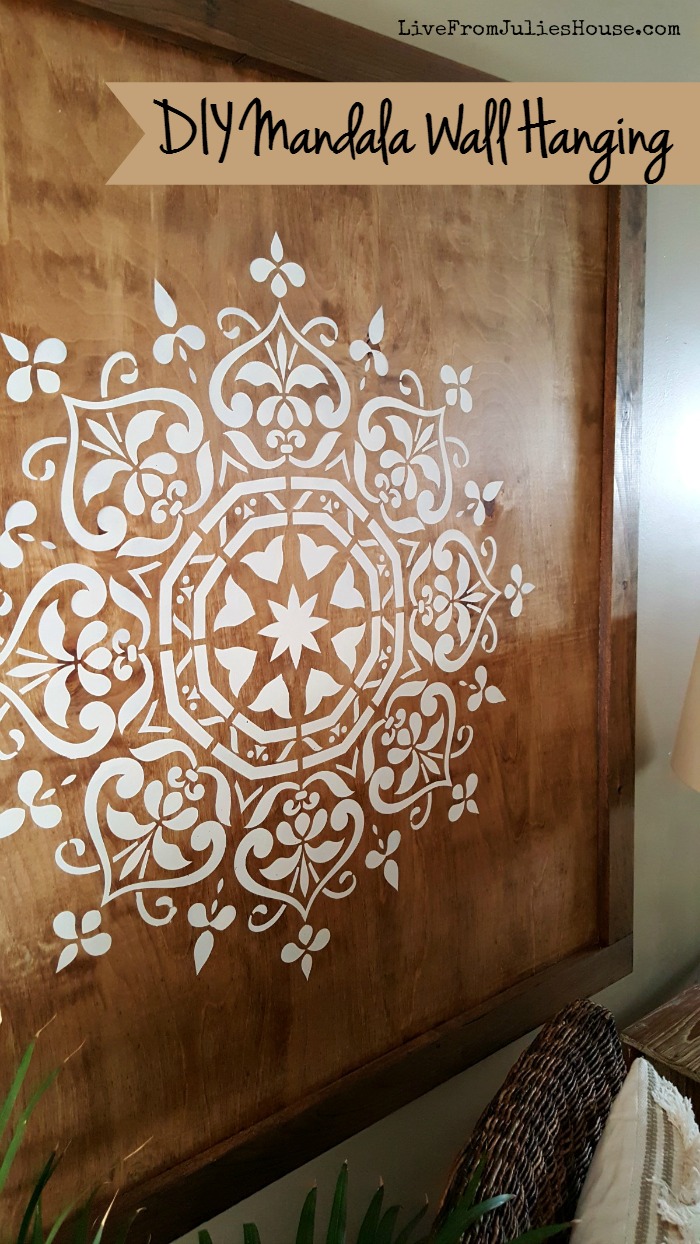
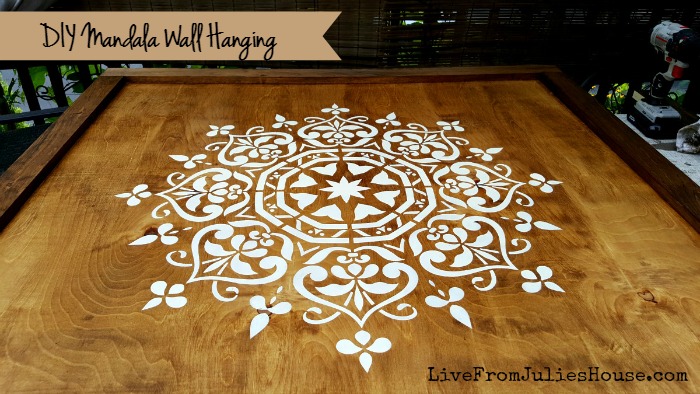
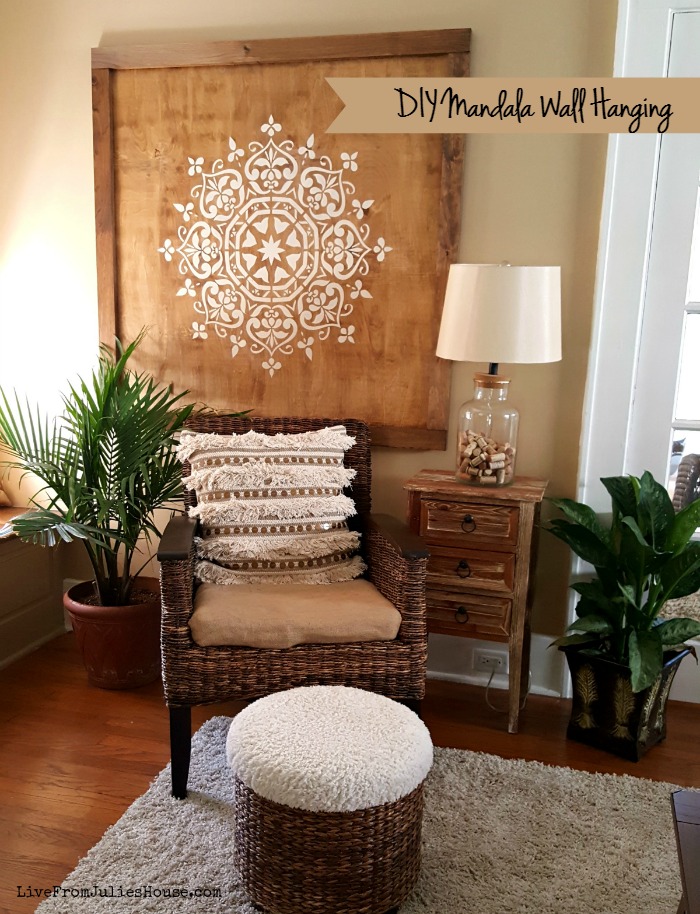
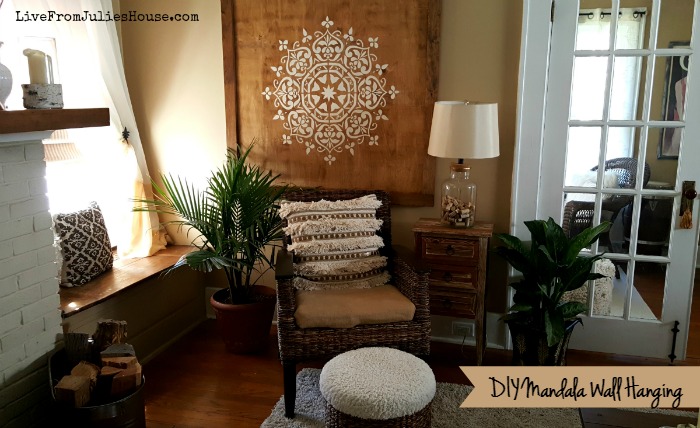
If you’re a regular reader, you know a couple weeks ago I had a revelation that farmhouse decor just isn’t my thing. Once I stopped fighting it, I embraced a more eclectic and bohemian vibe in my house (you can read more about that HERE. I gave my sunroom an inexpensive boho update, then turned my attention to the living room. One of my goals was to replace a set of seashell prints I’ve had for years with something with a little more boho flavor, so I decided to create a DIY Mandala Wall Hanging.
This post contains affiliate links for your convenience. For my full disclosure policy, go HERE.
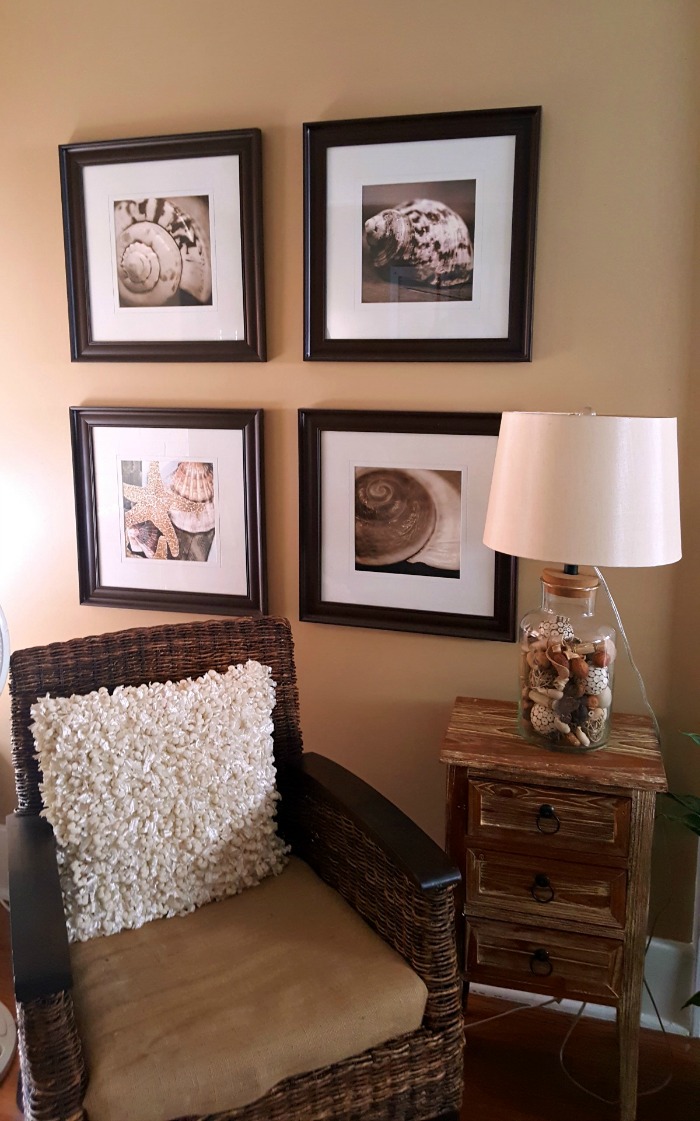
This is what I started with:
The set of four seashell prints were fine, but kind of vanilla and I was more than ready for a change. I wanted to make some kind of large-scale wall hanging with a mandala on it.
(a mandala is a spiritual symbol of the universe)
My original plan was to use pallet wood as a base because I have a big stack of pallets in my driveway at the moment. But – the seashell prints were about 3.5′ x 3.5′ (as a group) and I wanted the new piece to be roughly the same size. The pallet boards were too short and I would have had to piece them together. Plus, I was nervous about stenciling on such a rough surface. After some thought, I decided to go in another direction.
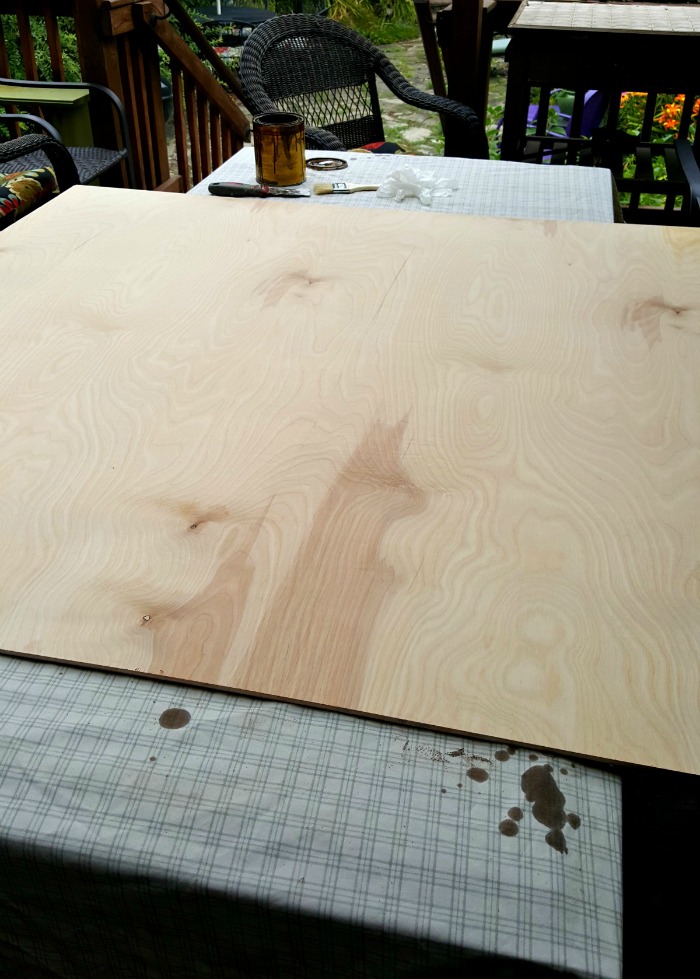
I scoped out the home improvement store and stumbled on 4′ x 4′ pieces of birch plywood for $17.99 each.
They are very thin and lightweight, so I thought they might be just the ticket.
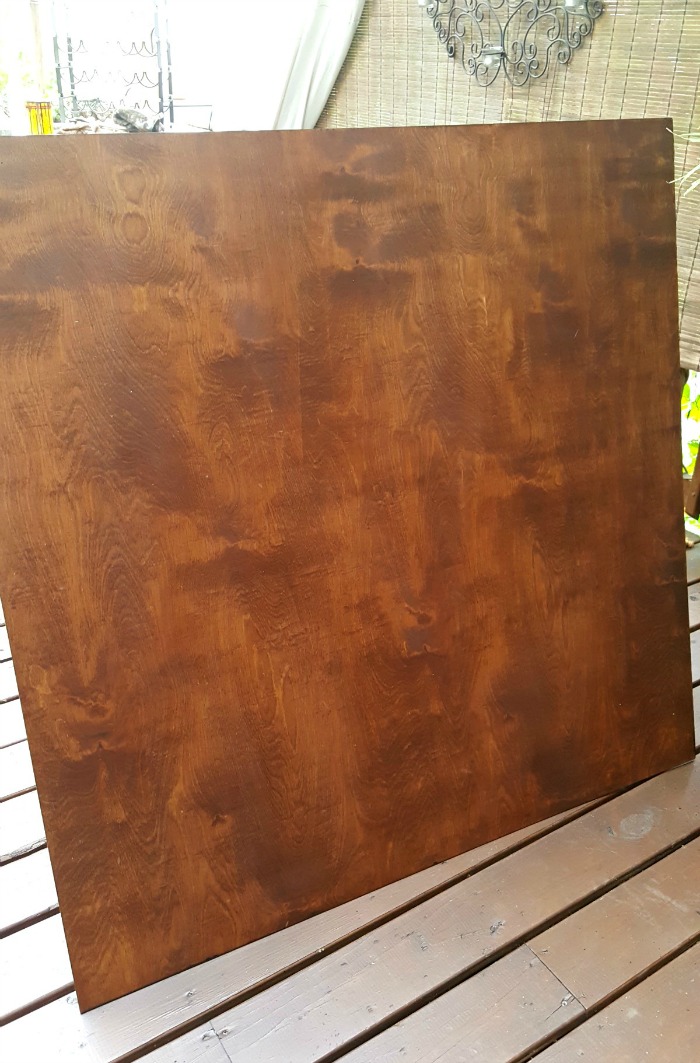
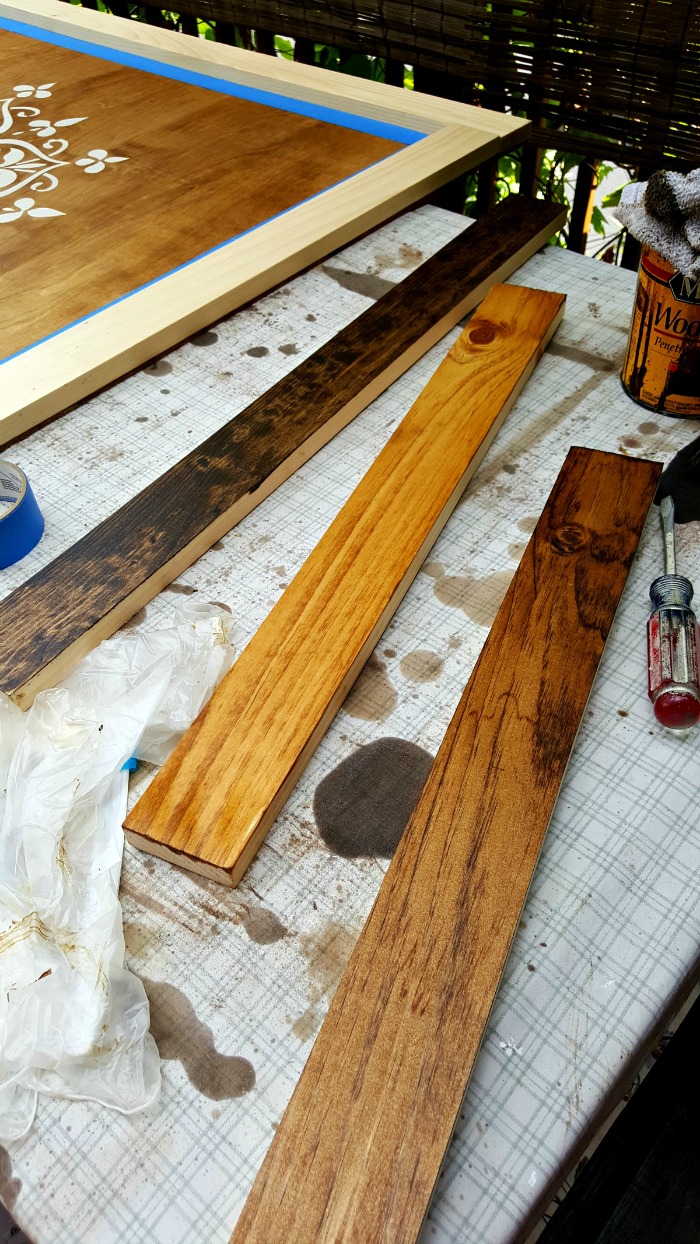
My first stab at staining the plywood was Minwax English Chestnut:
This color was perfect for my DIY Farmhouse table in the dining room but looked orange on my living room wall.
<sigh…>
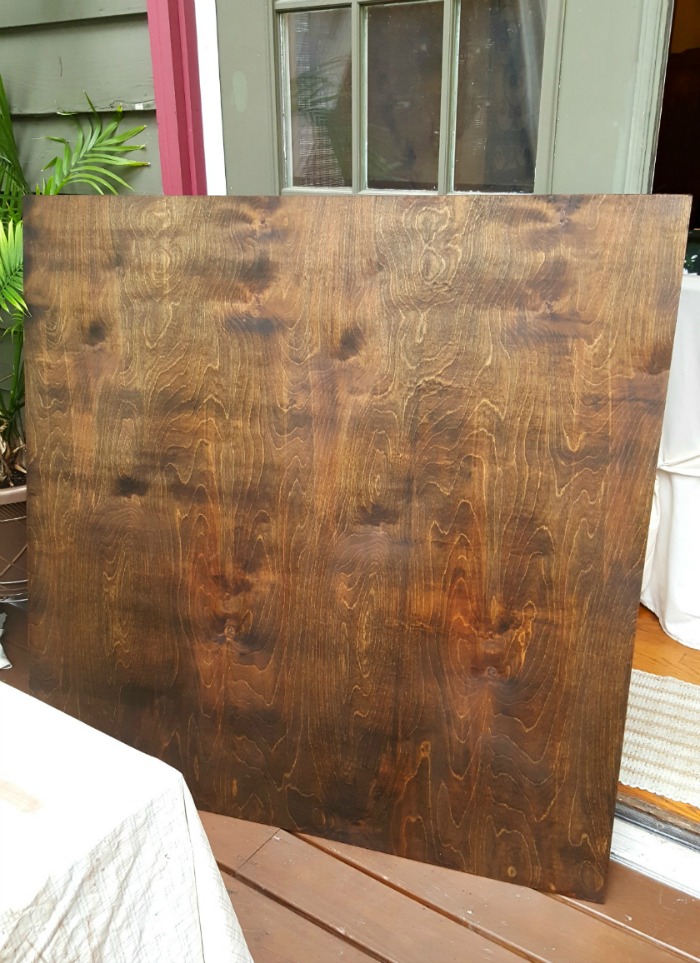
I flipped it over and tried Minwax Dark Walnut:
The Dark Walnut was the “right” color as far as meshing with the other furniture in the room, but…it’s a tiny space and it was just too dark for something that size.
Drat!
The plywood took the stain beautifully too. I knew it wouldn’t look great in the room, so I headed back to the home improvement store to pick up another piece along with some lighter stain options.
In related news: I’ve come to realize that I am TERRIBLE at picking stain out. I don’t know why because I’m great at paint colors, but my instincts absolutely suck when it comes to wood tones.
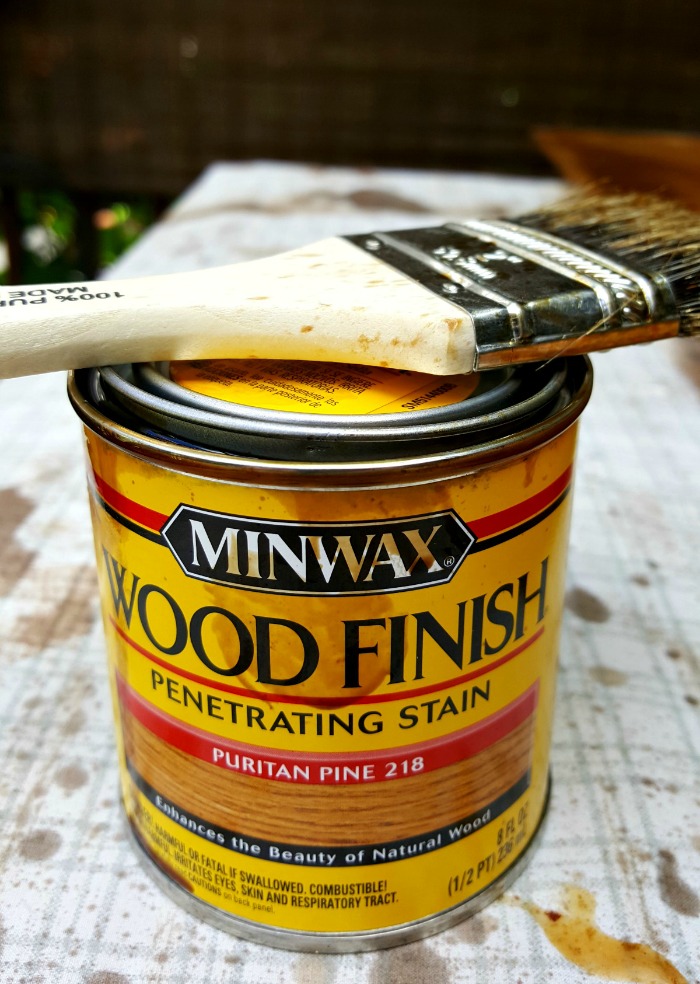
Minwax Puritan Pine ended up being perfect. Third time is the charm. 😉
Once the stain dried, it was time to attempt the stencil.
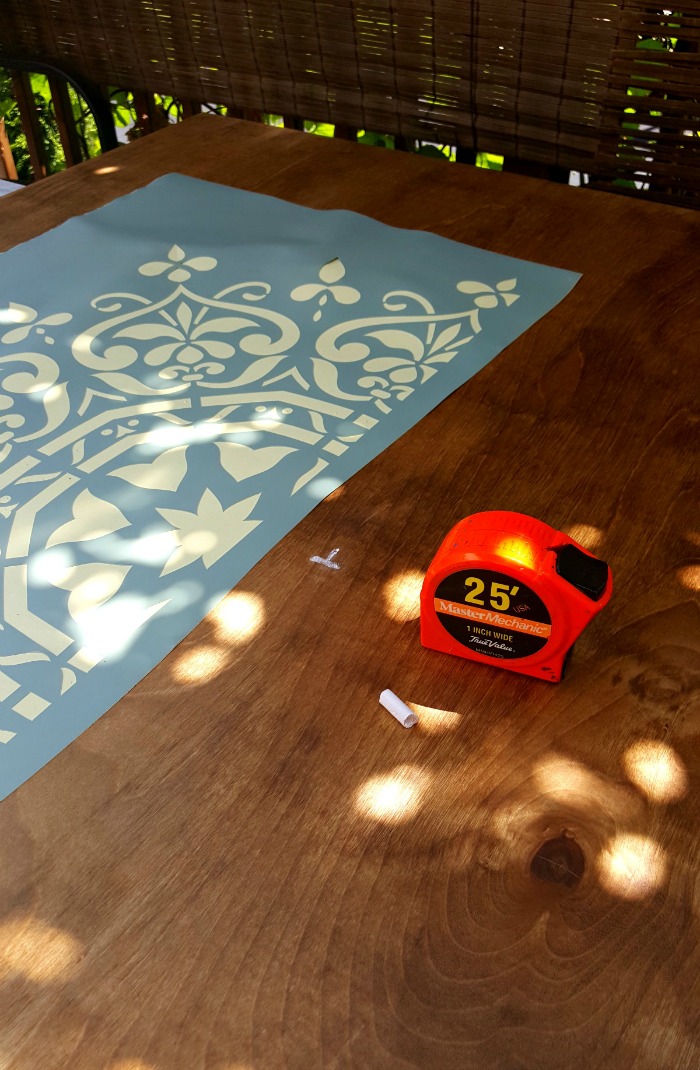
I ordered the 32″ mandala stencil from Stencil Lab on Etsy. The stencils are custom made to whatever diameter you want.
I was sooooooo nervous about the stenciling! I haven’t done a ton of it and I didn’t want to mess up another piece of wood. The first step was to find the center of the plywood.
Hot DIY Tip: Did you know that a 4′ x 4′ piece of wood isn’t actually 4′ x 4′? Mine was + 1/4 inch on one side and + 1/2 inch on the other. Be sure to measure!
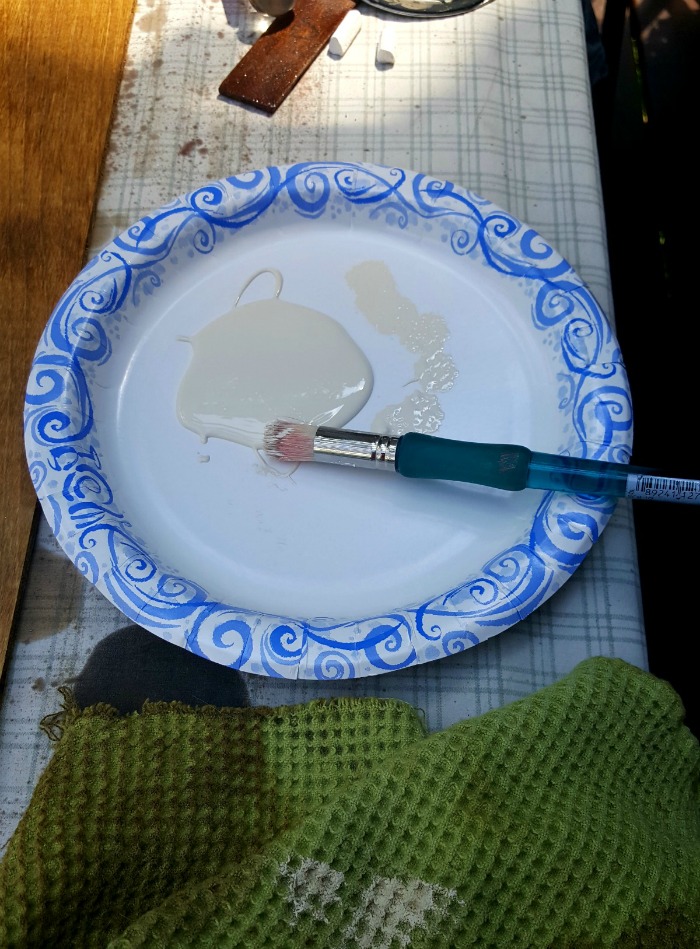
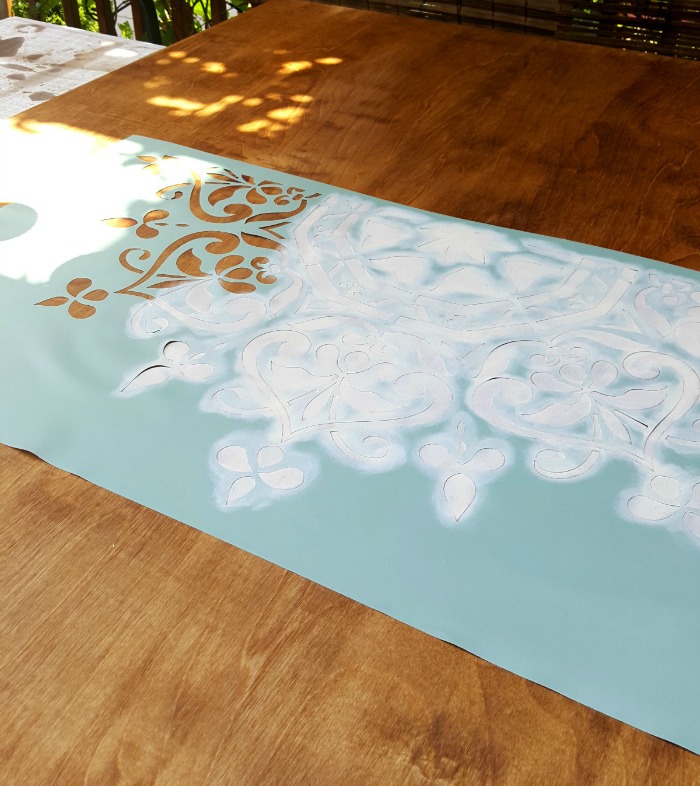
I used some ivory paint I had in the basement. It doesn’t take much at all – I put a little blob on a paper plate and used a stubby stencil brush. You’ll want to dip the brush, dab it on the plate, then dab it again onto a rag. This is definitely a DRY brush technique.
After I pressed the stencil into place (the back is sticky), I started applying the paint using a swirling, circular motion.
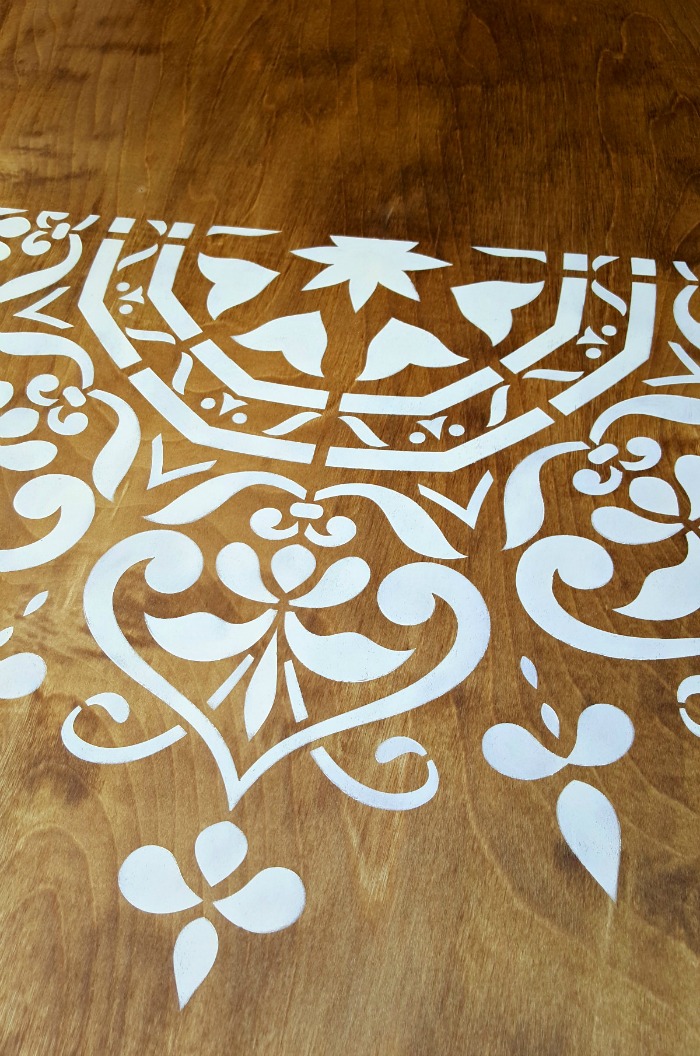
You want to use a light touch so the paint doesn’t bleed through the stencil. I wanted pretty opaque coverage, so I did the whole thing once and then circled back and went over it again, which seemed to work pretty well.
IT WORKED!!
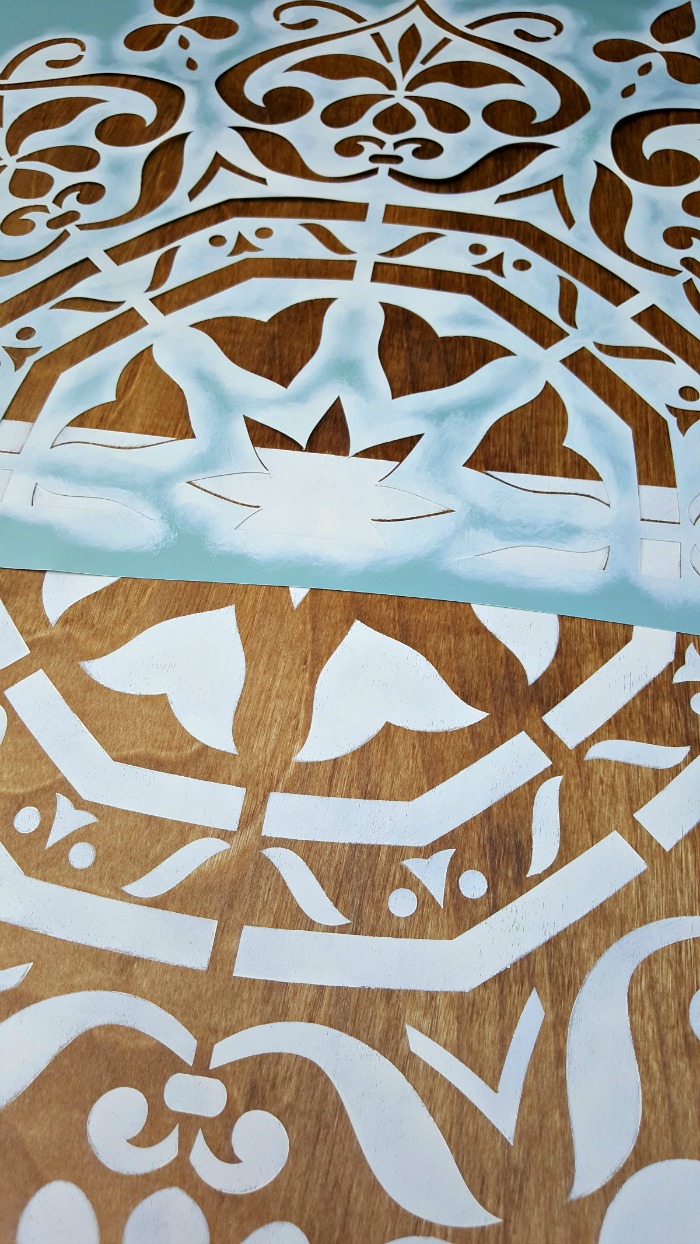
When you order larger stencils they come in halves, so you have to flip the stencil around, line up the design, and do the other side.
This was trickier than I expected. The stencil is not rigid, so you have to adjust the stencil every couple inches to get it lined up correctly.
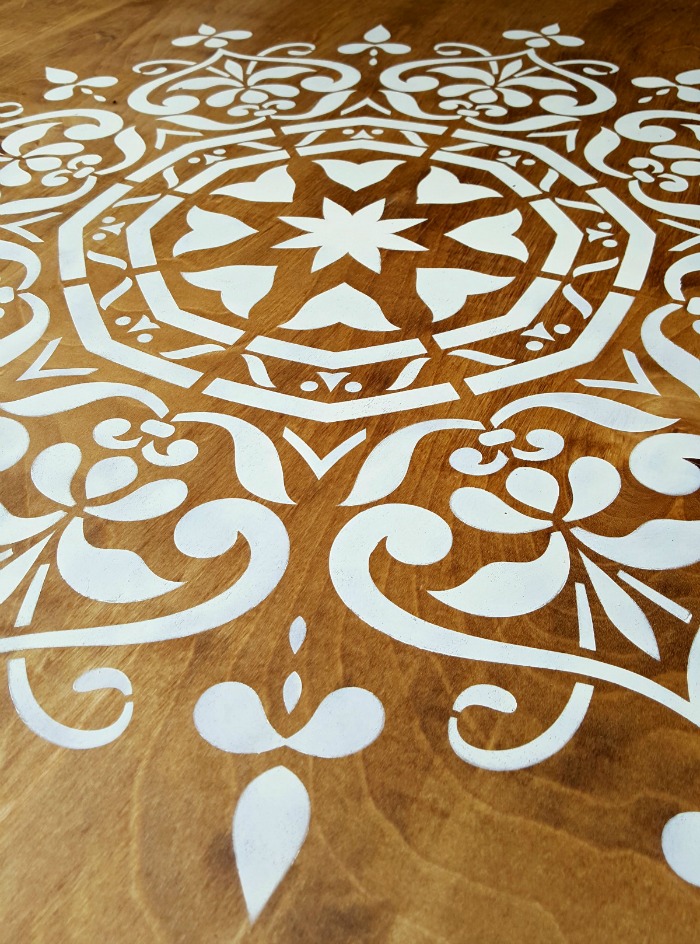
It came out pretty good! There were a couple blobby spots where I got a little over-zealous with the paint, but I was able to make them look like part of the design.
I was hoping changing the size of my base wouldn’t make a huge difference but of course, it did. Once I finished the stencil I realized that there was too much negative space around the design. So – I decided to add a simple frame to visually reduce the space around the mandala.
Back to the home improvement store I went.
If you’re keeping track at home, that’s THREE trips so far.
I found some 1″ x 3″ pieces of pine that I thought might work. I didn’t want anything that looked like fancy molding, just something very simple and I didn’t want to worry about mitering the corners
Then I did something really dumb.
See how I’ve got the unfinished wood attached to the plywood?
Yeah…..DON’T DO THAT.
It’s an idiot rookie move.
In my defense, I was originally planning to stain the trim the same color as the plywood. Luckily, I tested out a few colors on scrap wood and figured out it looked better with Minwax Provincial, which is a couple shades darker than the Puritan Pine. But staining the trim was more stressful than it needed to be because I had to worry about the stain getting under the painter’s tape.
Which it did, of course.
I was able to clean it up enough so that it doesn’t show, but do yourself a favor and stain the trim BEFORE you attach it.
Duh, I know…
The trim wasn’t part of my original plan, but it solved my dilemma about how to hang the piece on the wall. The plywood is very thin, and attaching any kind of screw to the back would show in the front. I picked up some Command strips, but with the addition of the trim I was able to use basic D-rings without any problems.
What do you think? I like it a lot, but I really wish I had ordered a bigger stencil – 40″ would have made a much more dramatic piece. And I might still do that. For now, I’m happy to have the seashells gone and a fresh new look in place.
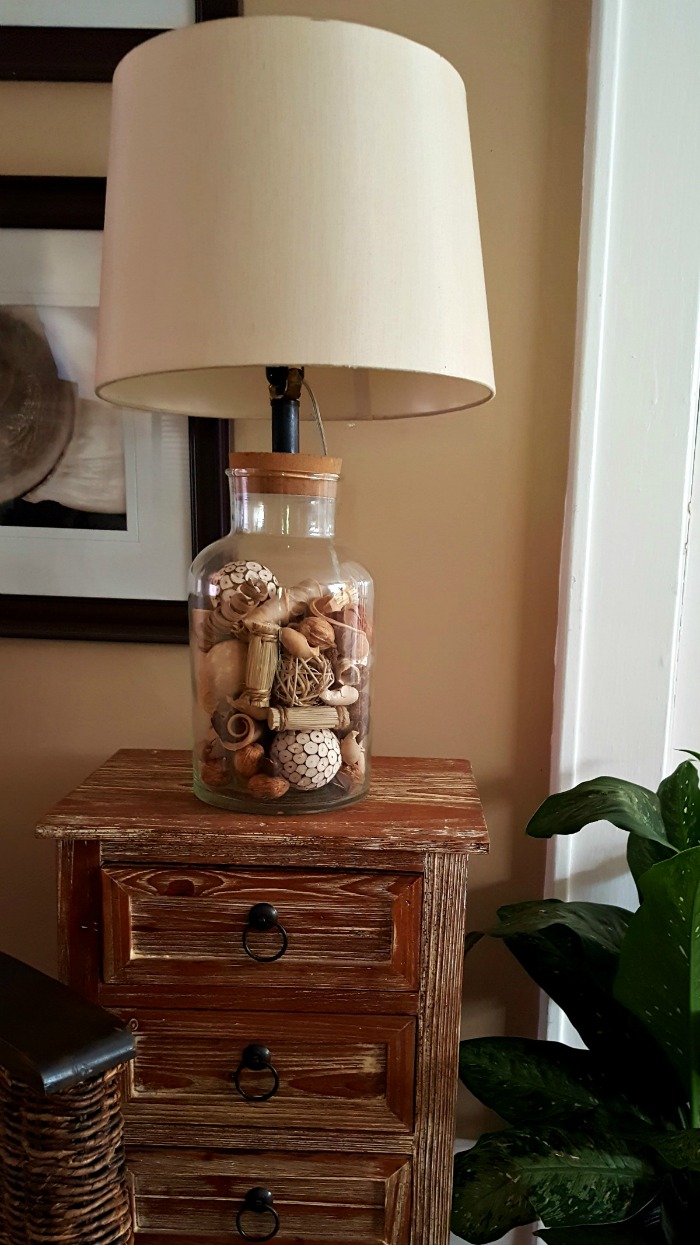
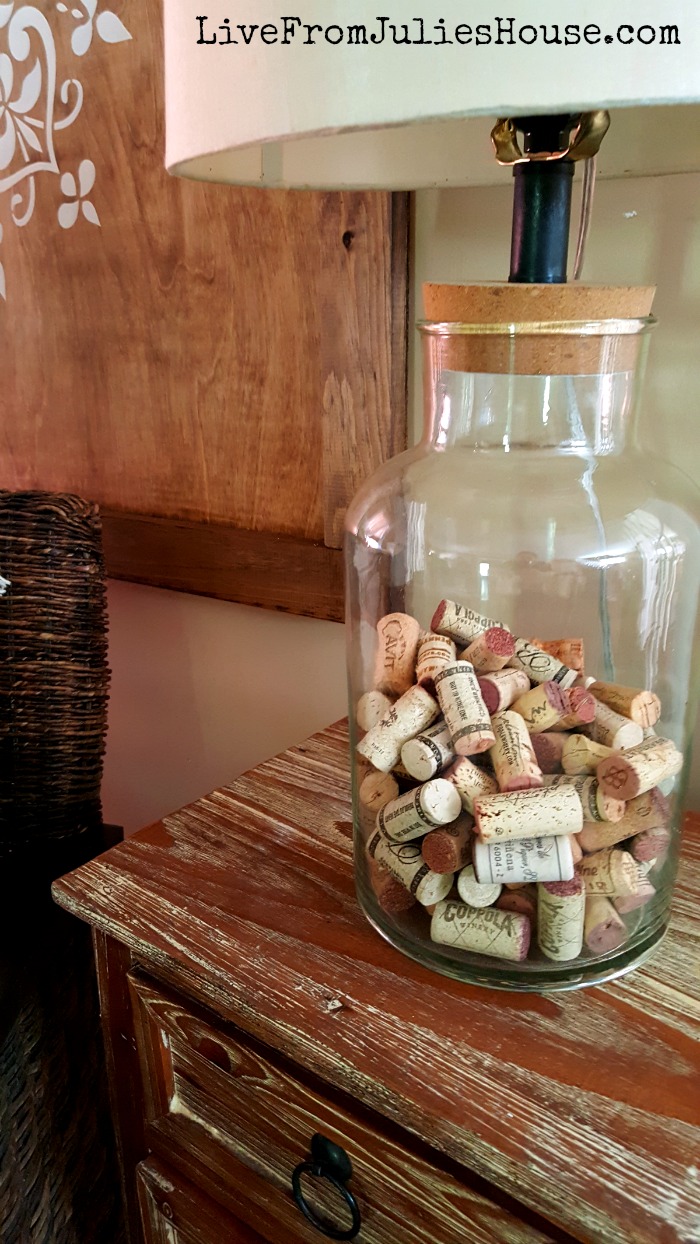
I’ve been debating about what to do with these lamps. I’ve had them for years, they were a smoking deal at Christmas Tree Shoppes – just $25 each.
I didn’t like the vase filler I had in there, so I swapped it out for some wine corks.
Yes, as a matter of fact, I DO have an endless supply of wine corks. 😉
I’m trying to decide if I want to keep them in this room. If I do, should I put something else in them? Leave them empty? Or maybe color them green? I’ve been shopping around for a new set and haven’t found anything I love, so I might just leave them. I’m trying to make a decision as I wrap up my last project in this room – a very cool end table/wine rack that will go next to the couch.
I think these pieces of plywood have all kinds of neat possibilities. If you want an inexpensive, large scale art piece they make a terrific base. You could stain them any color, and if you didn’t want to go the stencil route you could tape off a design with different shades of stain, decoupage a mixed media design or maybe freehand a favorite quote.
DIY Mandala Wall Hanging Project List
4′ x 4′ birch plywood
16′ 1″x 3″ pine boards (be sure to measure your plywood – you may need a bit more)
2 coordinating stain colors (I used Puritan Pine and Provencial)
Mandala stencil of choice (36-40″ for a piece of plywood this size)
Latex or acrylic paint
paper plate and rag
short wood screws
Cordless drill (THIS is the one we have)
2 D-rings
The plywood was $18, the trim was about $16 and the stencil was $36 – everything else I already had in the house. $70 is pretty reasonable for a customized piece of this size, don’t you think?
Beginner Stencil Tips
- Be sure your brush is DRY. If you use too much paint your edges will bleed.
- If you want more opaque coverage for your stencil, plan on 2-3 coats of paint rather than one thick coat.
- Use a stubby stencil brush. A regular paint brush won’t work nearly as well.
- Take your time. You will be much happier with your results if you don’t rush through the project.
- The hardest part of a stencil project is lining up the stencil correctly on your base. Again, don’t rush through this – you don’t want to spend the time doing the stencil only to discover that your placement is wonky. This isn’t a hard project at all, but you have to take your time.

