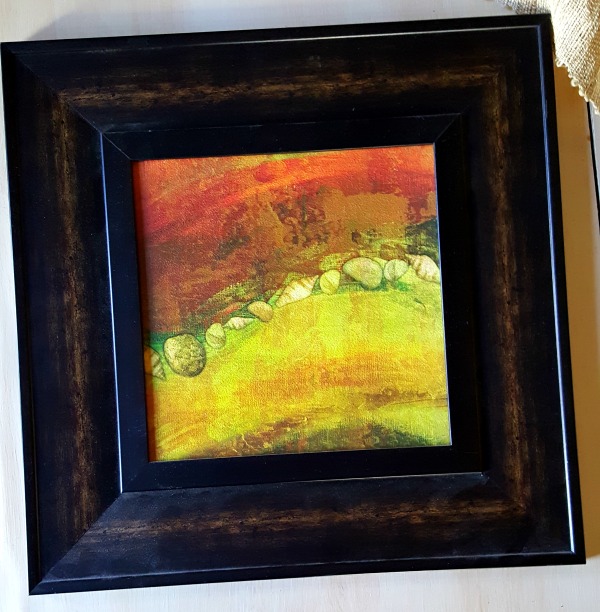
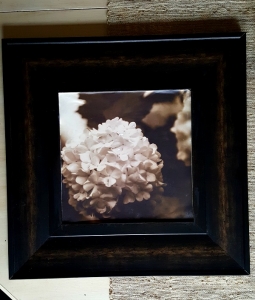
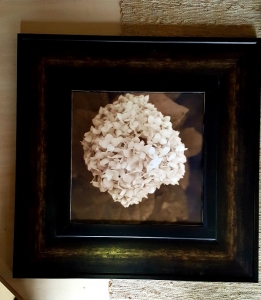
Do you have any ugly art hanging around that’s as hideous as this?
Several years ago I was doing home staging, so I had a stockpile of contemporary non-taste specific art. I found a pair of these at TJ Maxx on clearance pretty cheap, so I added them to my inventory.
They came in handy in a few of the houses I staged, even though I didn’t personally love – or even like – them.
Fun Fact:
Staging is the polar opposite of decorating. When you’re decorating your home, you are putting tons of your own personality into the space (hopefully). When you’re staging to sell, the goal is to take all that personality out so a potential home buyer can picture themselves living there. Nondescript artwork like this works perfectly.
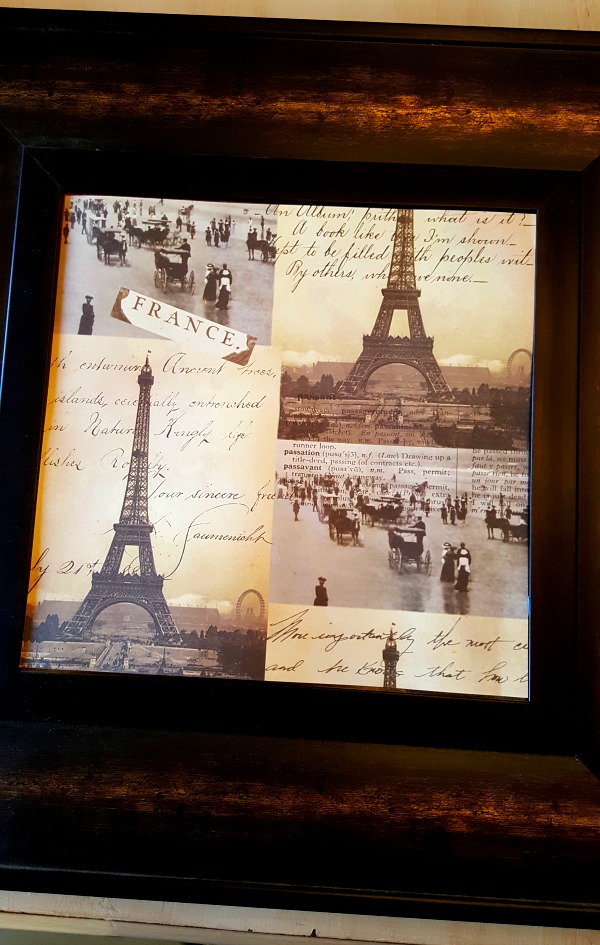
When I closed the business I sold most of my props and decor on Craigslist and in a series of garage sales, but I hung onto these pictures because I thought the frames were really nice. A few years ago when I went from deep dark colors in my house to light and airy neutrals I had to redo the gallery wall that runs up my stairway, and I popped them into the mix with scrap booking paper slapped on to cover the ugly art.
Literally, just Scotch taped in there…kind of embarrassing, especially since I left them up like that for a couple of years.
I decided last week that it was time to do something a little more permanent and I really liked the way my stock photo artwork for my bedroom came out (find the details HERE), so I thought I would do something similar in these frames.
ModPodge Stock Photo Artwork Tutorial
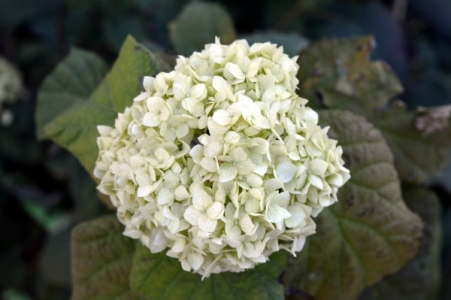
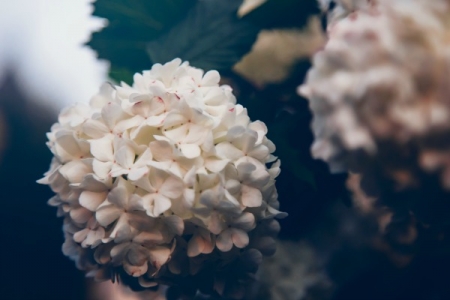
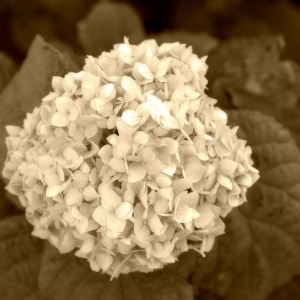
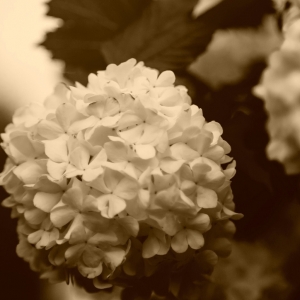
I found a couple photos of hydrangeas that I liked on a free stock photo site, I think they both came from Pixabay. I cropped and sized them for the openings in my frames.
They were both originally color photos and I used the Sepia filter in PicMonkey (affilink) before I sent them off to my printer.
Looking for free stock images? Check out this awesome list from Olyvia.co of sites where you can find terrific free images to use as you like. If you’re a blogger, you should be following Erika anyway – her site is a killer resource. .
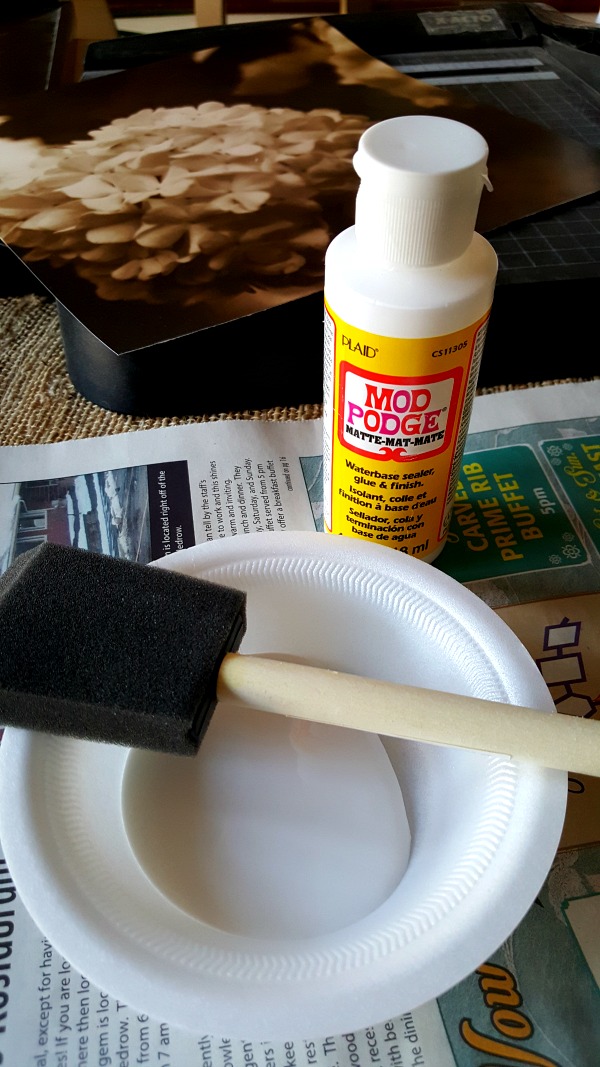
I used ModPodge and a foam brush to affix the flowers right over the old artwork.
I discovered that it works a little better to brush the ModPodge onto the old artwork rather than the paper. Also, you should be generous with the ModPodge, as this will reduce the wrinkling – my second picture looks much better than the first one. 🙂
Once the new artwork is in place, spread another layer of ModPodge over the top and smooth it out, being careful not to tear the paper. I put plastic gloves on and just did it with my hands.
Voila! New artwork that I like MUCH better for just a few bucks.
I see super-ugly art in thrift stores all the time that would be great candidates for this kind of project. Next time you’re out, look past the “Dogs Playing Poker”, “Hideous 1980’s Flowers” and the “Live Laugh Love” plaques and check out the FRAMES.


