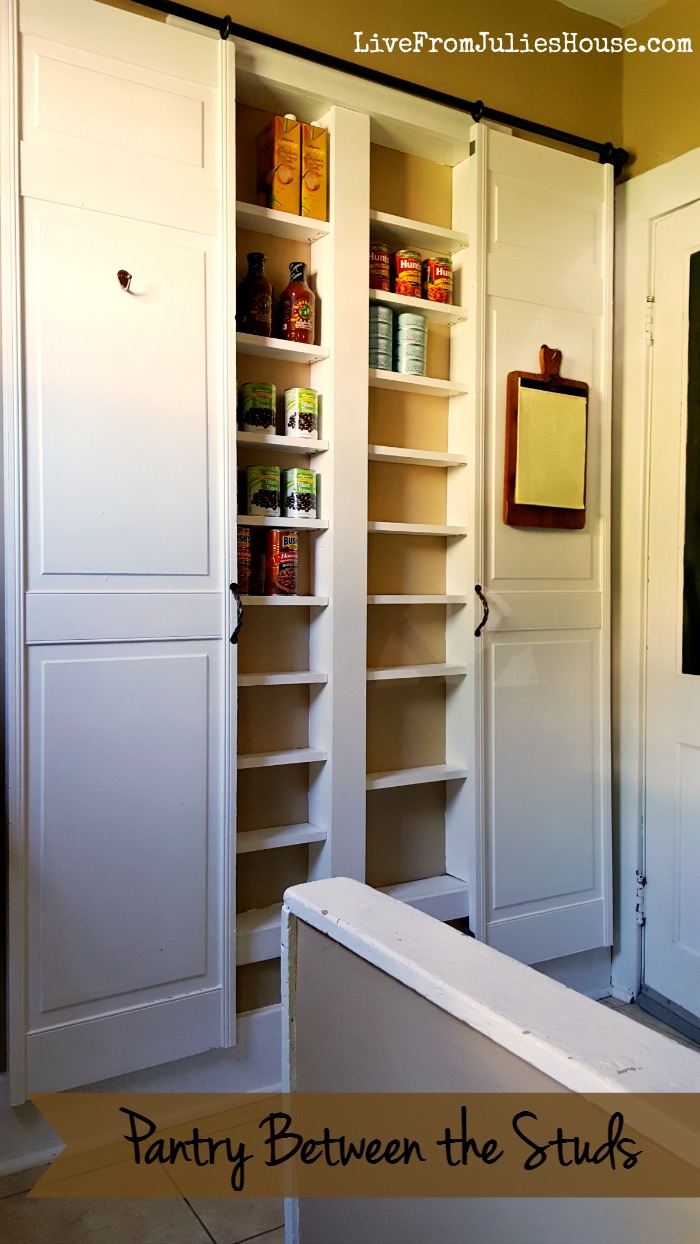
It’s done….FINALLY! Our Pantry Between the Studs project has been limping along in the background since we finished up the big kitchen reno back in March. My kitchen is just 10′ x 10′, so while I packed a lot of clever space saving storage ideas into it, I just couldn’t squeeze in a pantry. So – we decided to do the next best thing and add a pantry between the studs just outside the kitchen in the pass through between the back door and the kitchen door.
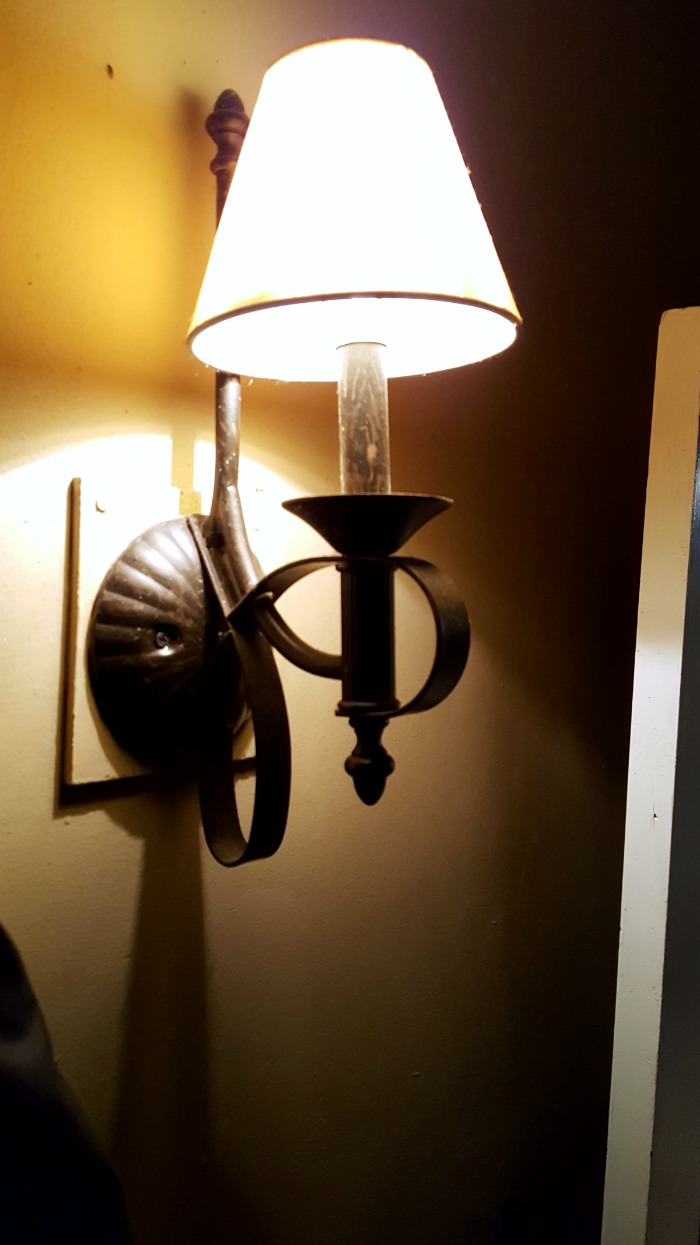
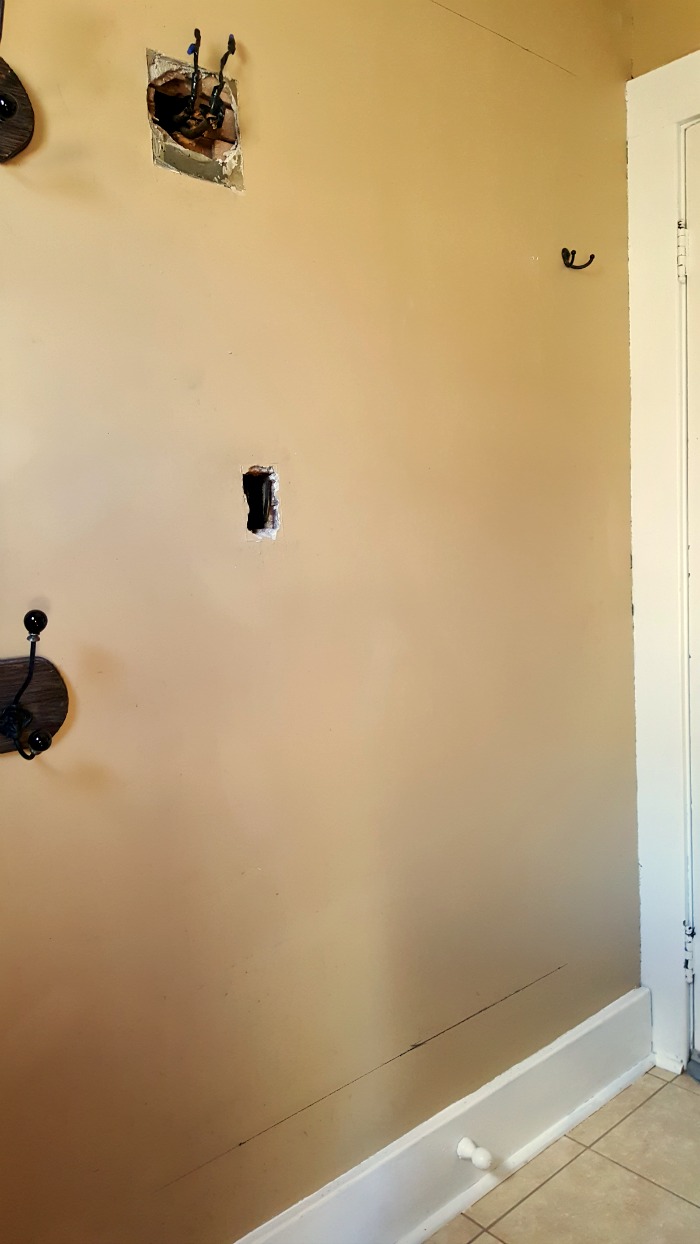
Before we launched into the demo for this project, we relocated this old light fixture and the switch for the basement lights to another wall.
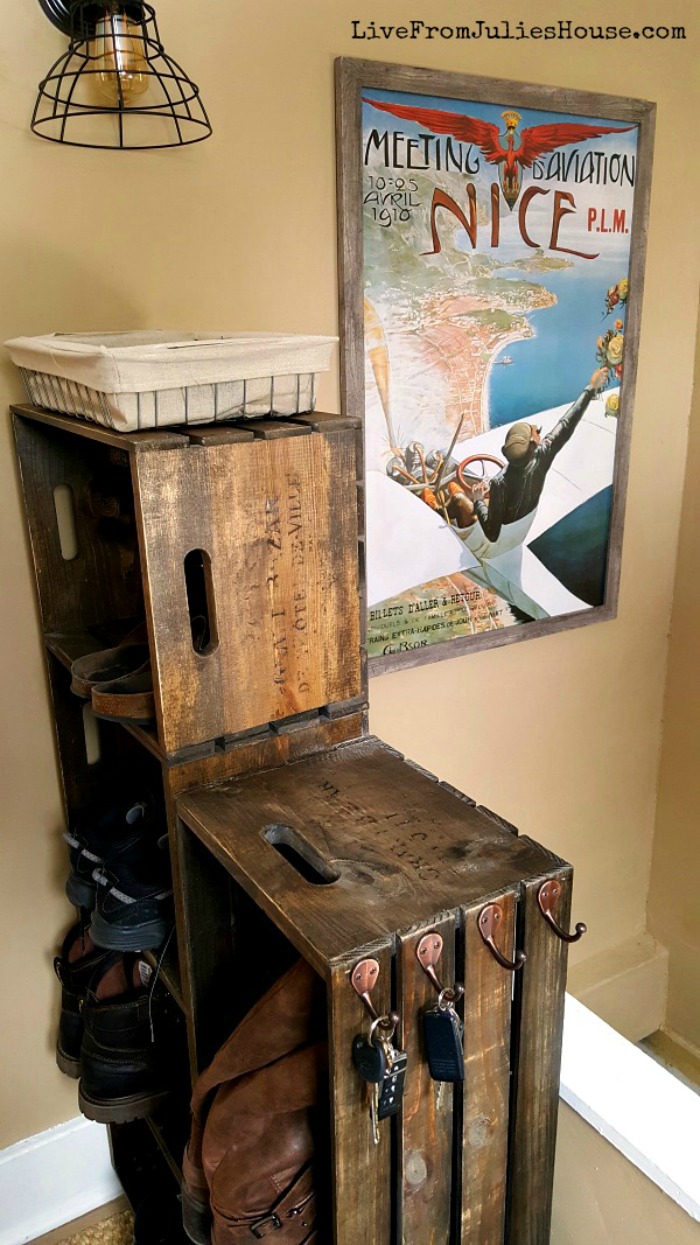
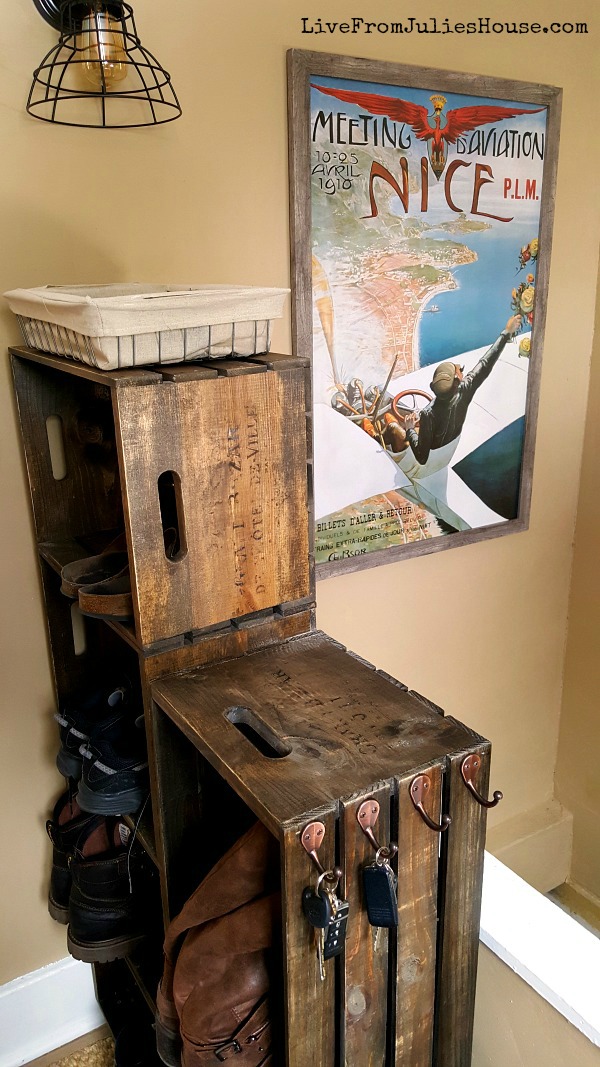
You can see it in my post about my DIY Wooden Crate Shoe Rack.
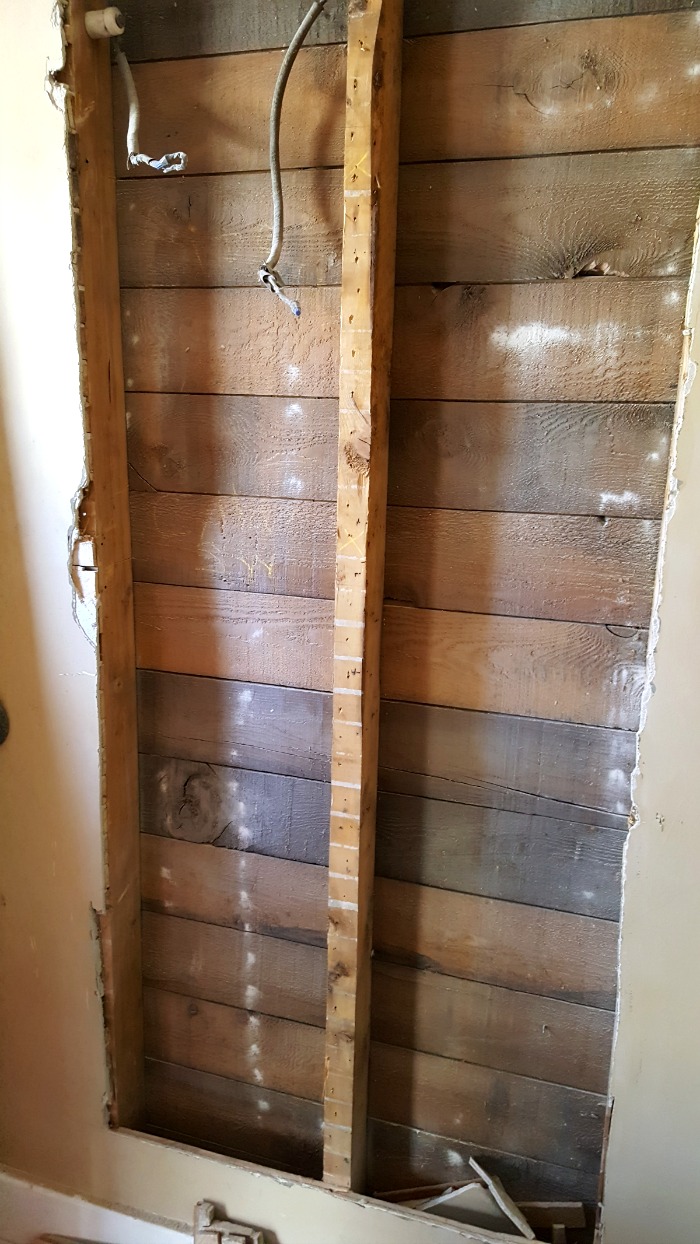
My house was built in 1924, so I knew from experience that we might find just about anything once we opened the wall up. Crusty old knob and tube wiring? Check. Crumbly lathe and plaster? Check.
Over the years I’ve replaced some of the original lathe and plaster in this house with drywall, but this wall was still original. If you’ve ever tried to cut a nice neat hole into an old wall like this, you know it’s a dicey proposition. The other thing I was worried about is the studs. From what I’ve seen having other walls opened up, the studs range from 12″ to 16″ apart – so there was no telling how far apart these two would be. If you’re going to tackle this project, remember that the width is totally dictated by where your studs are located.
Luckily, these two were fairly uniform and the demo went pretty well with a minimum of crumbling plaster.
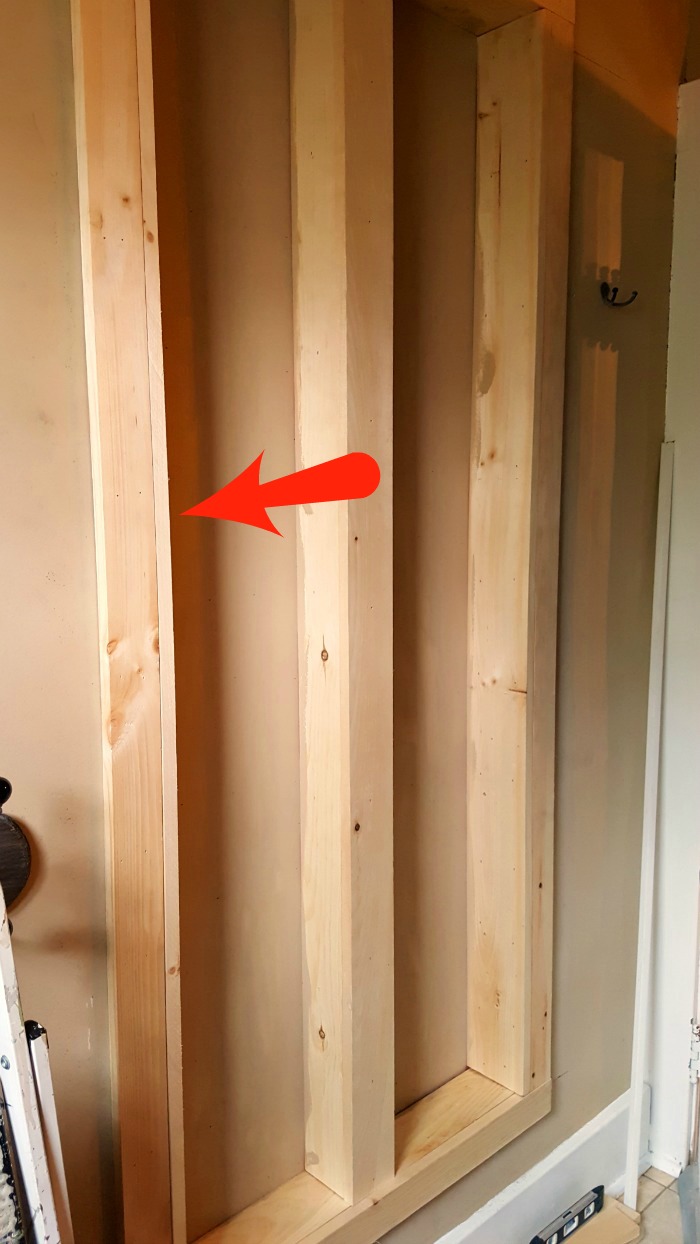
After we boxed the old wires in safely, we were able to begin working on the pantry.
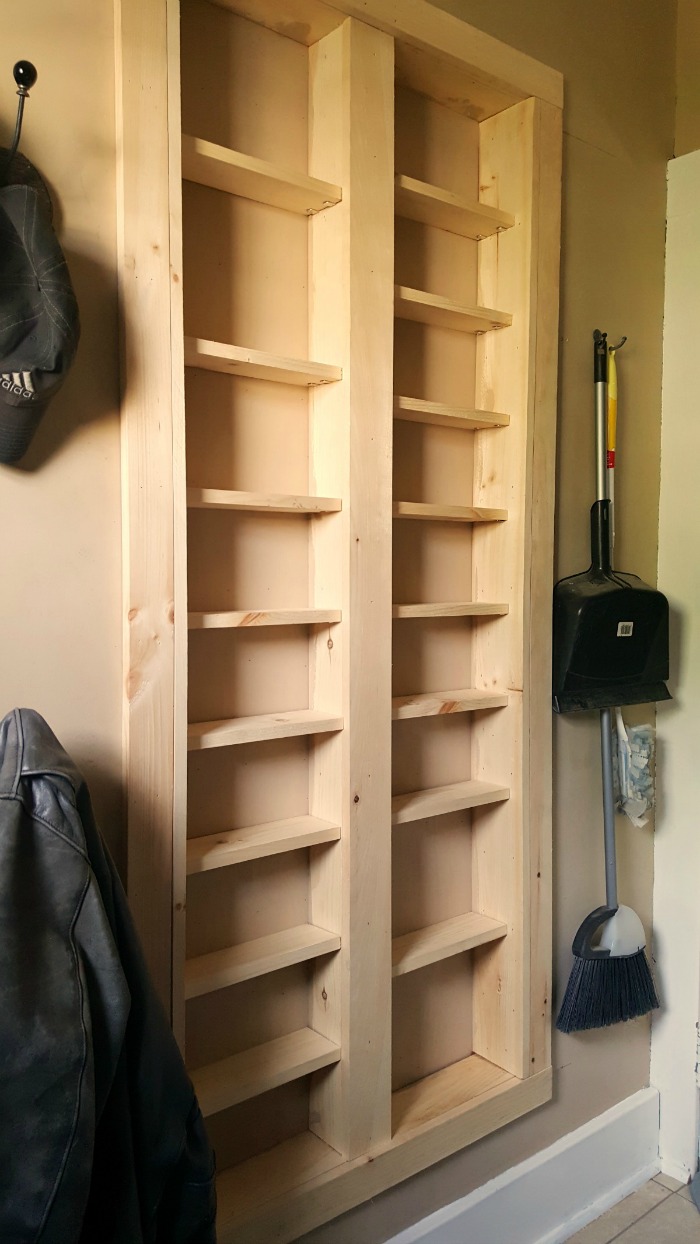
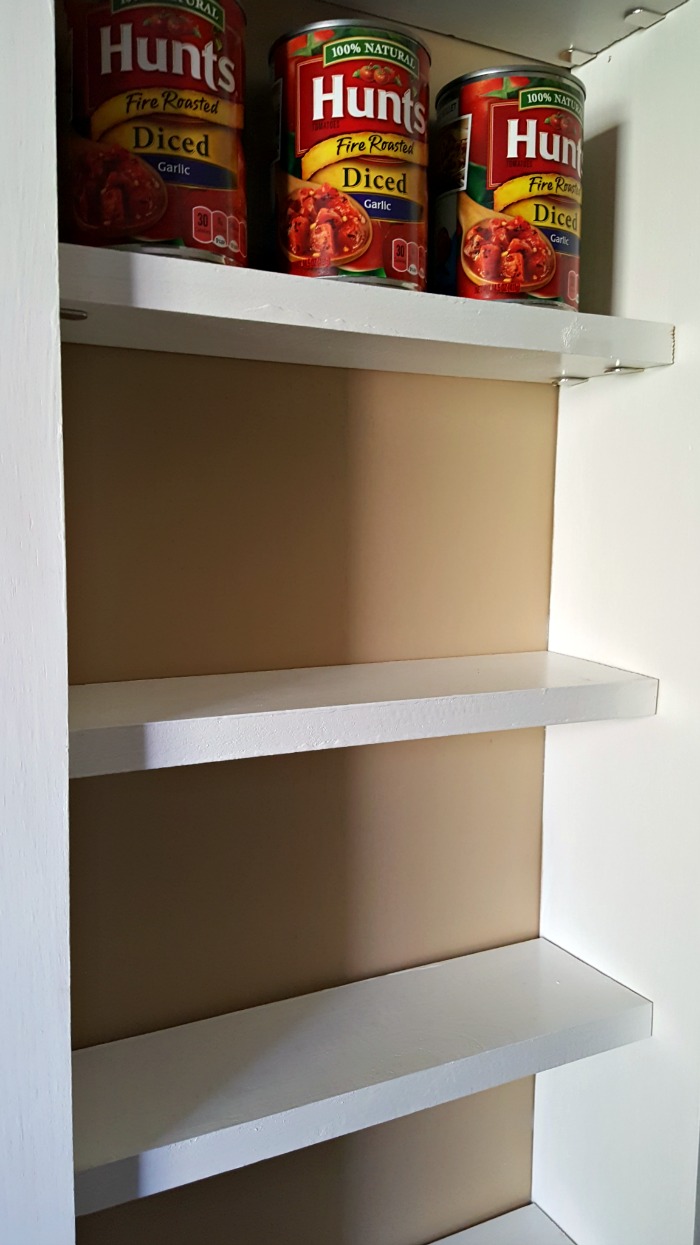
The correct way to do this would be to hide that side piece behind the molding for the pantry, but we kind of had to adapt to what we were working with. The back of the pantry is luan and the molding and shelves are 1 x 4″ and 1 x 6″ boards.
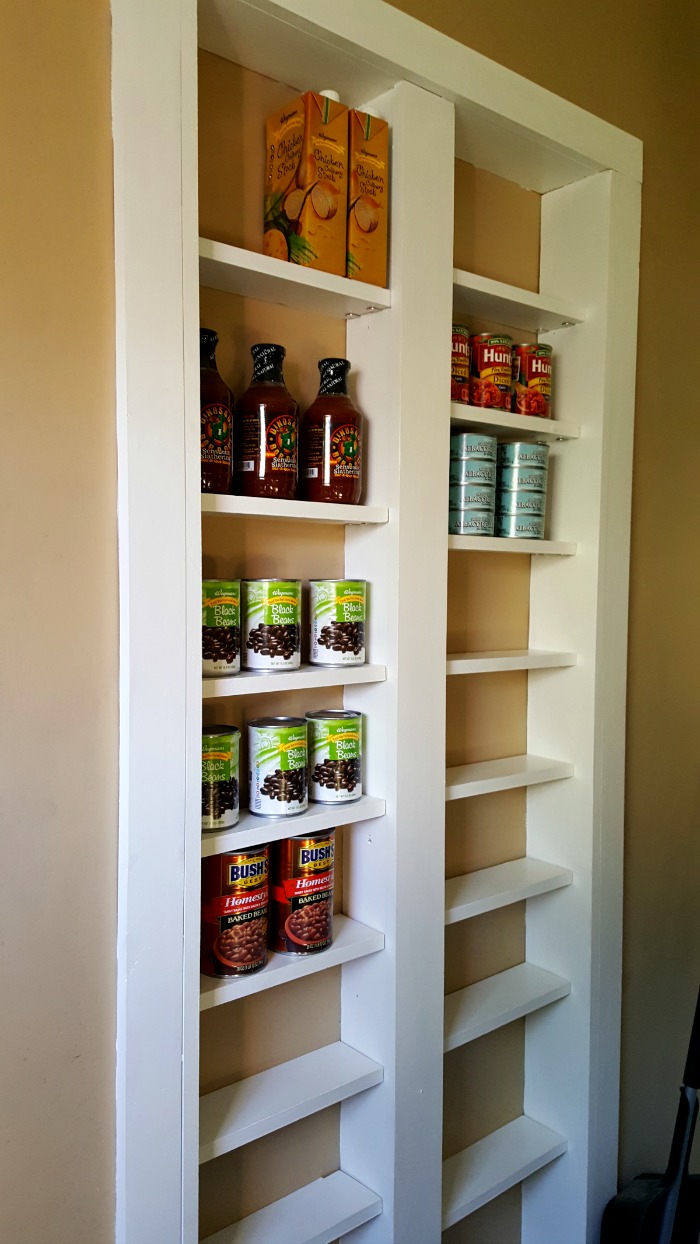
I painted the back the same color as my walls and the trim and the shelves went white which matches all the trim and doors in the house.
We used those little adjustable clips to hang the shelves, not because we wanted them to be adjustable, but because we discovered that L-brackets are about double the price. We needed so many that it would have made the hardware the most expensive part of the project. Crazy!
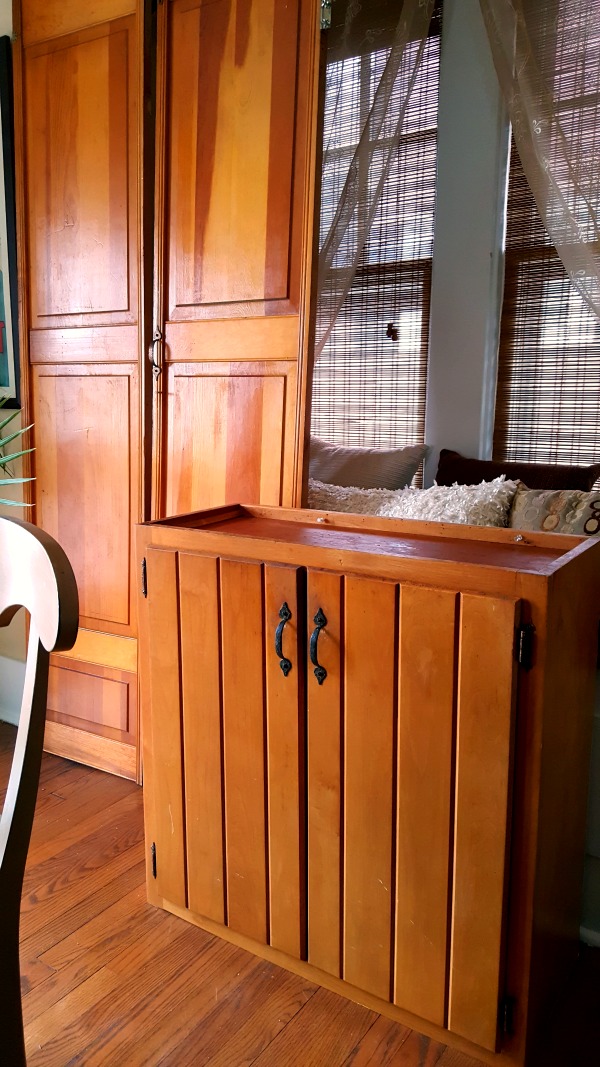
Once we had the shelves installed and everything painted, it was time to tackle the doors. Remember these babies?
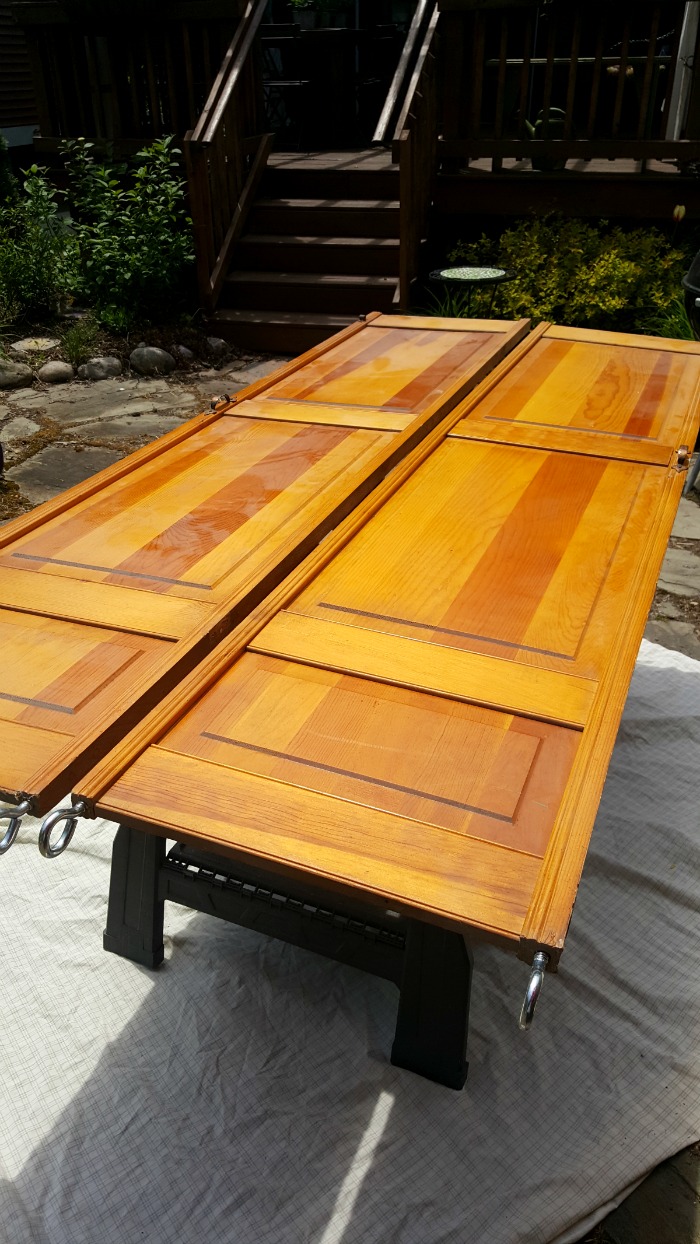
The 1970’s orange treasures from the ReStore were begging for a makeover, don’t you think? The kitchen cabinet became my DIY Liquor Cabinet and the doors were earmarked for this pantry project. They are pretty lightweight and just $10 each.
My original plan was to strip them and give them a dark stain similar to what I used on the DIY Wooden Crate Shoe Rack, because the pantry and the shoe rack are only about 3 feet away from each other. Unfortunately, the stripper didn’t work so well on the doors so I switched to Plan B – primer and white paint.
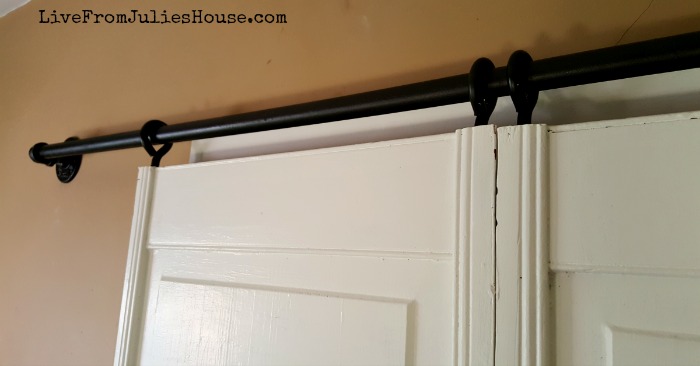
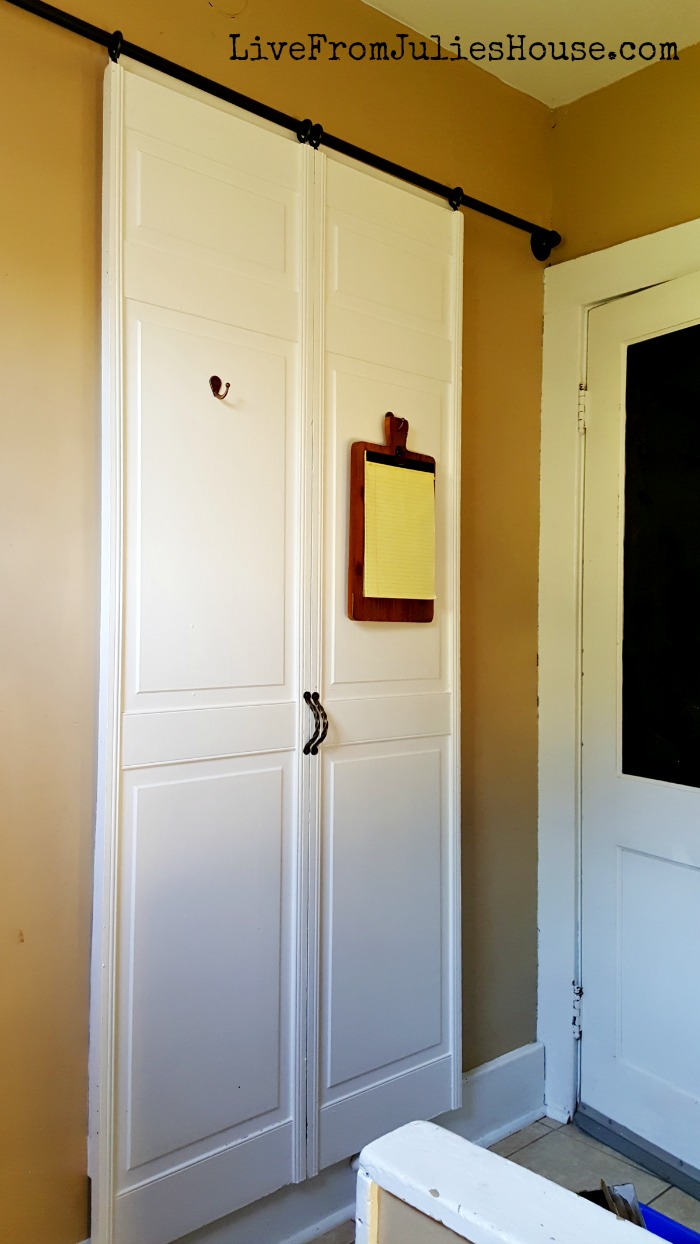
I wasn’t sure if we were going to try and put hinges on the doors or what…you have to remember that you’re somewhat at the mercy of the construction of your house when you’re doing this project. After eyeing the open pantry for several weeks, I came to the conclusion that hinges would look wonky and cobbed together because we didn’t have a proper door frame to fit them into. I thought a sliding barn door type design might work, so we picked up some black iron pipes and fittings from the plumbing aisle. I spray painted them oil rubbed bronze along with the giant eye hooks
HOT DIY TIP:
If you’re using galvanized or black iron pipes for sliding door hardware, grab a wad of waxed paper and rub the pipe down. You will be amazed at how much easier your doors will slide.
The doors had magnets on the sides where the two meet when I bought them, so I left them in when I removed the pulls and old hardware. They click together nicely when you pull the doors closed.
I added some new pulls from Hobby Lobby and a hook on each door. I was thinking about painting a regular clipboard to hold my grocery list when I remembered I had this cute cutting board clipboard I received as a gift and never hung. It fit perfectly, and I’m psyched that I have a permanent spot for my running grocery list.
(I picked up a little sign for the left side, but I didn’t love the way it looked – so I’m still working on that. 🙂 )
Pantry Between the Studs Supply List
- Large eye hooks
- Black iron pipe (make sure it fits into your eye hooks!)
- 2 elbows (make sure ALL hardware fits together – they come in different sizes)
- 2 nipples
- 2 mounting flanges
- Spray paint
- Wax paper
- Door(s) and pulls
- luan or beadboard (you want this as thin as possible – these pantries are not very deep and you don’t want to take up precious space)
- Wood for frame and shelves – we used 1 x 6″ for the frame and 1 x 4″ for the shelves and molding.
- Adjustable shelf clips or L-brackets
(The amount and the sizes of these supplies depend on the size of your particular project)
I absolutely LOVE my new pantry! I haven’t ever been able to really stock up on staples because of the limited storage in the kitchen, but this fairly simple project adds TONS of space for canned goods, condiments, pasta and boxes of chicken stock. Almost anyone could find a spot for something like this, so if you’re short on storage, think about a pantry between the studs.

