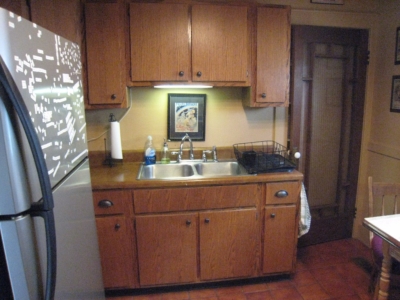
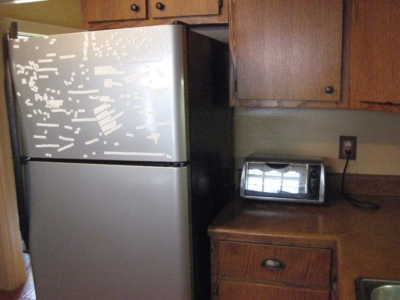
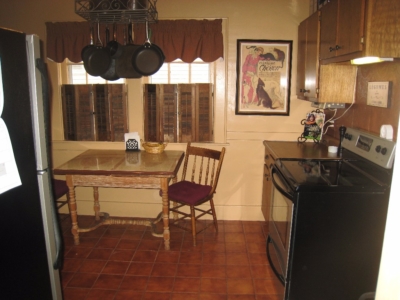
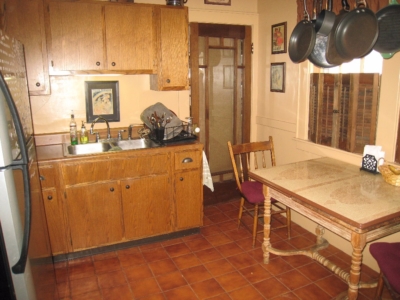
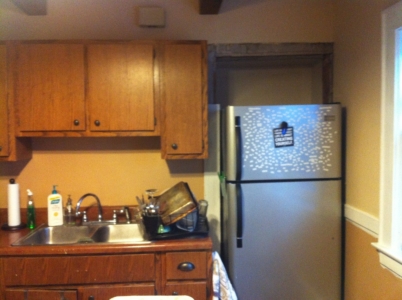
My kitchen is TINY….just 10′ x 10′.
And I must admit, when I first looked at the house – the kitchen made me pause:
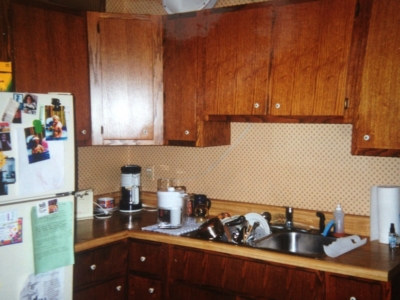
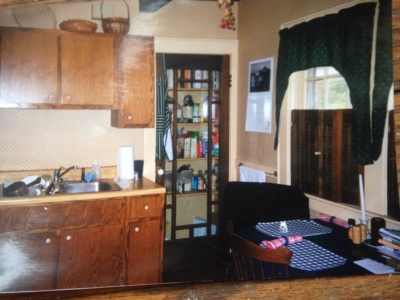
I hated the cabinets and the only prep area was that dark little corner between the fridge and the sink.
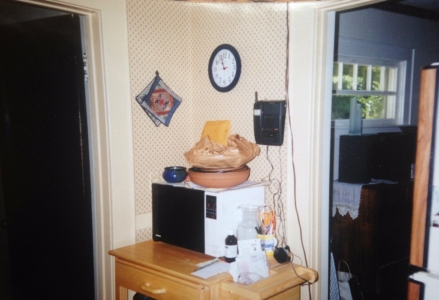
And how about that awful country wallpaper?
Oye….
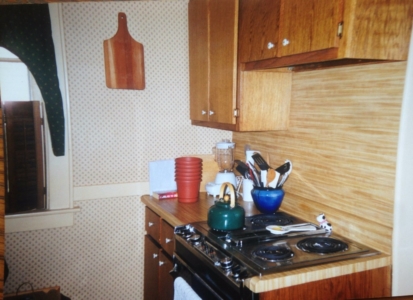
My original pass through the kitchen in the early to mid- 2000s looked something like this:
I stripped the god-awful wallpaper, painted the walls, added a textured copper wallpaper behind the stove to cover up the sheet of laminate (???), replaced the stove and fridge, covered up the pantry door, added a hanging pot rack for storage, changed out the cabinet knobs and faucet, and did a faux granite paint finish on the faux butcher block laminate.
(which held up great BTW…it about 4 years before it started showing wear)
It wasn’t great, but it was tons better than when I moved in.
I always struggled with prep space….because THERE WASN’T ANY.
And I like to cook.
So – I picked up the vintage metal top table at a flea market for $35 and used that when I needed more than 12 inches of space. Which was pretty much every day.
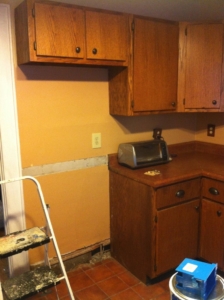
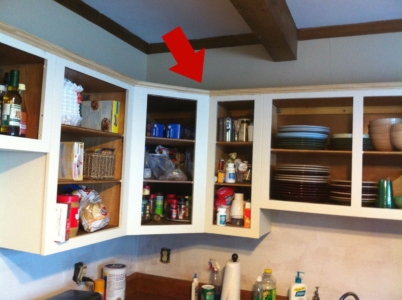
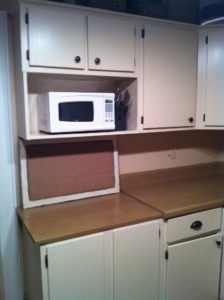
Eventually, I came up with the idea of relocating the fridge into the pantry, adding a cabinet above it and adding a shelf where the fridge was to house the microwave. If it worked, I would be able to add another base cabinet and it would give me a nice, continuous run of counter for prep. Not huge by anyone’s standards, but the best I was going to get in that space, since there just wasn’t anywhere to expand into. I still didn’t love the cabinets, but they were sturdy and in good shape, so my plan was to paint them to keep the budget as low as possible.
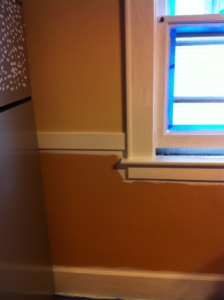
Phase 2 started in 2012, and my crazy idea ended up being a great solution. I removed the shelves from the pantry, added an electrical outlet and the fridge slipped in nicely. I was in the process of painting all the trim in the house a crisp white (a beast of a project, in case you were wondering), and I planned to add beadboard between the existing chair rail and the baseboard – which made the chair rail look like it was there for a reason.
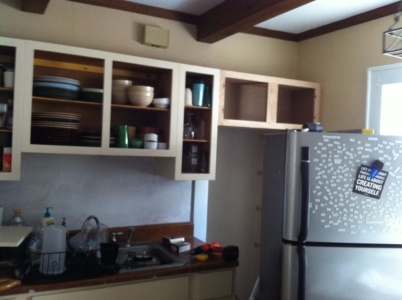
I added a new short upper cabinet above the fridge so that I would have a unified run of cabinets from the doorway to the corner and began the process of painting them all a warm cream. I’m really glad I painted the cabinets – it make a huge difference – but man….it really does take a level of commitment to get through the whole project.
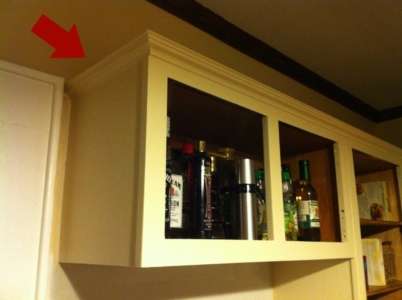
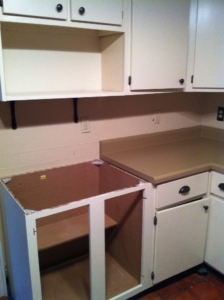
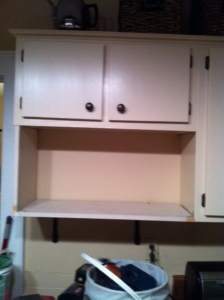
The next step was to add molding to the tops of the cabinets. I always felt the cabinets looked a little unfinished and the new molding really helped; I took two of the old pantry shelves and fashioned a shelf for the microwave. A new unfinished base cabinet went into the spot the fridge used to live in.
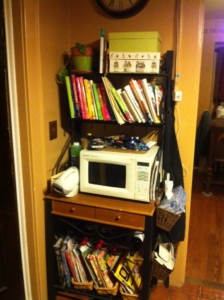
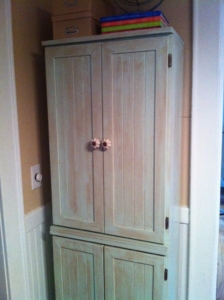
The bakers rack was a total disaster, so I replaced it with a set of painted cabinets for some much needed hidden storage. These weren’t great quality by any means – it was a set of 4 black laminate cabinets that I had picked up years before when I was living in an apartment with no kitchen cabinets.
(Who is the genius who moves into an apartment with no cabinets? ME.)
I painted them all and stacked two in the kitchen and two in the upstairs hallway. So much better!
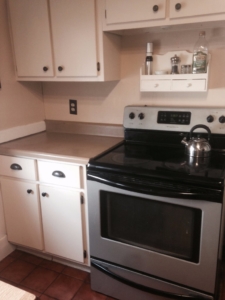
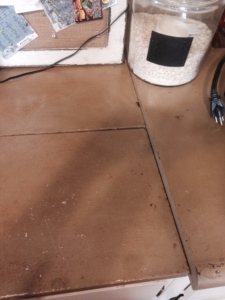
I slapped a coat of neutral paint on the laminate counters for what was supposed to be a temporary fix for a just a few weeks, and somehow that turned into three years.
Yep….THREE YEARS.
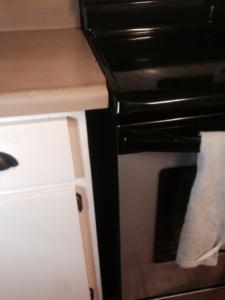
There was a weird space around the stove because the original was a built in convection oven. And that new unfinished base cabinet? Well…that was topped off with the other two pantry shelves which were also coated in my temporary fix paint job. It’s fair to say it looked like holy hell.
I’m usually like a bulldog once I start a project because I’m so anxious to finish, but painting the cabinets was no fun at all and I was kind of exhausted by that point. You know when you’re just OVER it?
But I totally blame Ikea and the internet.


