Hi friends!
My first “return to blogging” project was inspired by THIS post over on JessicaBSimmons.com – “How to Create a Goodwill Basket/Plate Wall”.
This post may contain affiliate links. You can find my full disclosure HERE.
I’ve never been inclined to hang plates on my walls… it usually looks a little formal and that just isn’t my style. But, I LOVED Jessica’s take – wicker placemats and chargers plus funky mismatched plates in a free-flowing arrangement. YES!
I thought it would go really well with my new decor direction and I knew I could easily find plates and baskets at the local thrift stores.
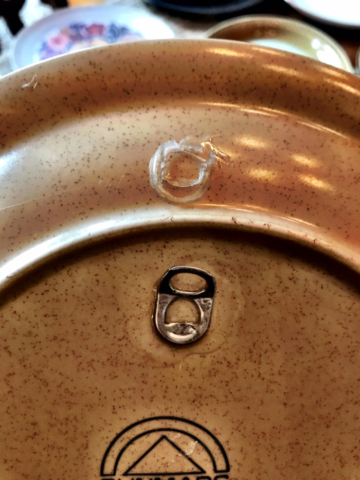
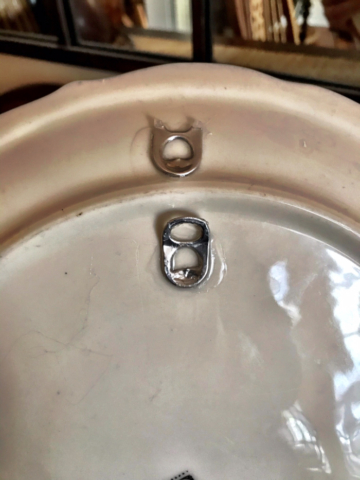
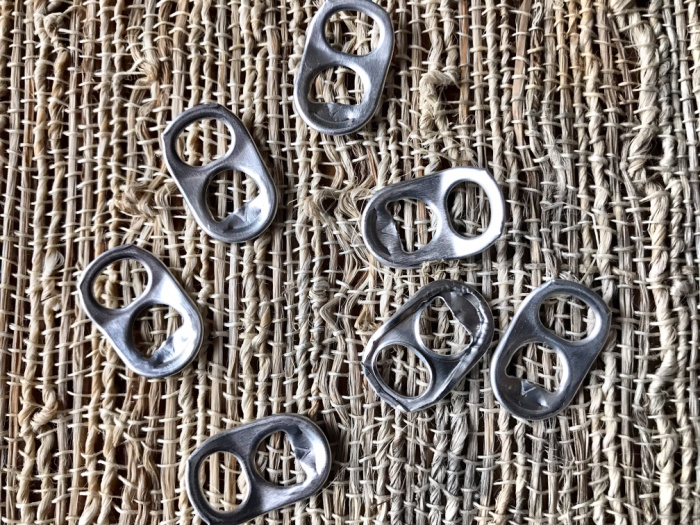
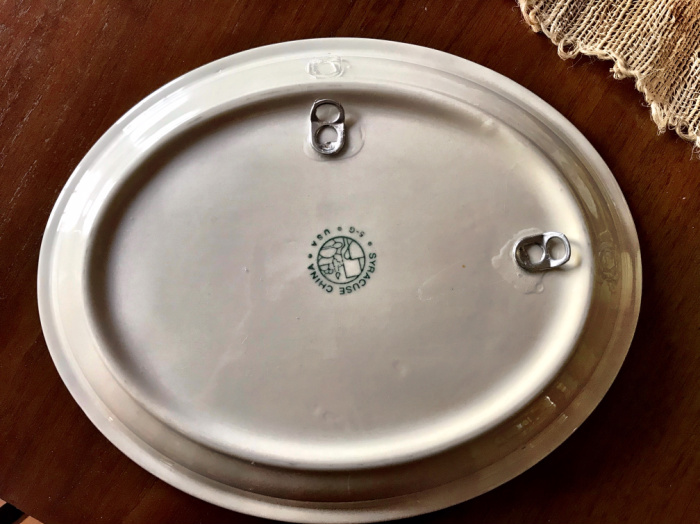
The one part of the project that gave me pause was attaching the plates to the wall without them crashing to the floor – probably at 3am. Jessica used hot glue with paper clips, but since I have a few hot glue mishaps under my belt, it made me a little nervous. I researched other methods before diving in and I ended up using pop-tops (from soda cans) for hangers and I attached them with E6000 glue.
It sounds weird, right? My husband doubtfully surveyed the sea of upside-down plates drying on every flat surface in the house as I explained what I was doing and shook his head. “THIS IS MADNESS”, he said.
Probably not the last time I’ll hear that.
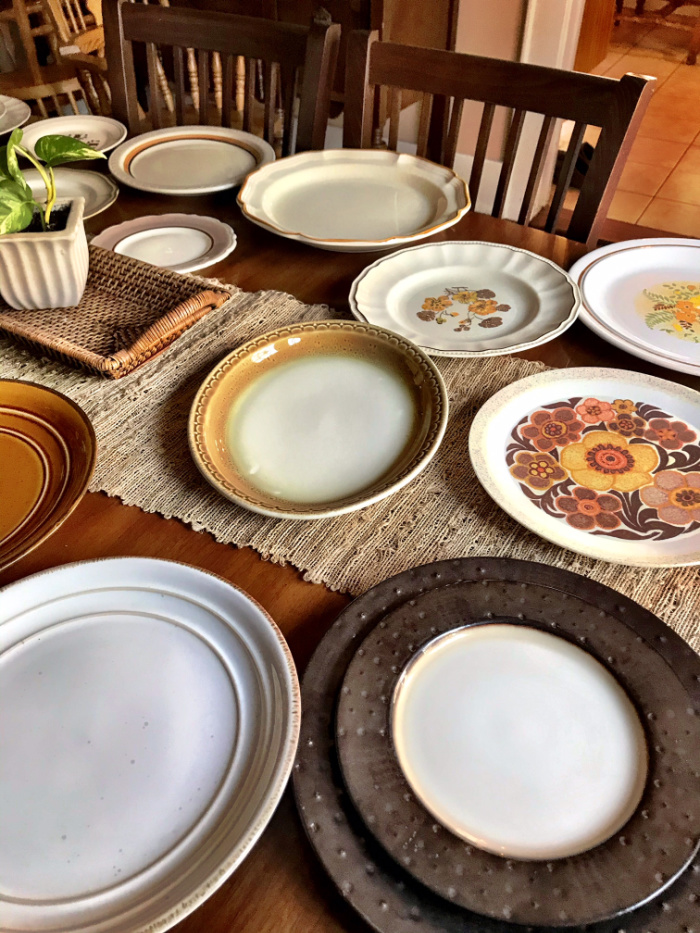
I took a whirlwind tour of 5 or 6 area Thrifty Shoppers in one afternoon and ended up with a huge haul of plates and baskets. I focused on 1970’s era plates and newer ones with that vibe and color scheme. I even scored several pieces of Syracuse China, a nostaligic local favorite that stopped production in 2009.
I had never used E6000 glue before, so I took a deep breath and trusted the Pinterest experts. I made a really stupid mistake right out of the gate, but it taught me a critical lesson about using this glue. The directions say to allow the glue to dry for at least 24 hours, but – and this is important – it may not be fully cured for up to 72 hours.
For some reason, I didn’t think about the right location for my pop-top plate hangers before I started, and I glued a bunch of them in the wrong spot. I had done them in batches, so when I realized my mistake they had been drying between 1-3 days. I tried to pull the pop-tops off and found that the plates that had been drying for 1-2 days came off fairly easily, but the plates that been drying for 3 days didn’t budge – all I could do was break off the top.
It’s hard, I know. Patience is NOT one of my virtues either.
I bent the pop-tops a little to make it easier to hang.
I started by hanging some round wicker placemats. I already had a few sets that I didn’t use much anymore, and I “splurged” on one new set from Marshall’s for $12 – the ones with the loopy border.
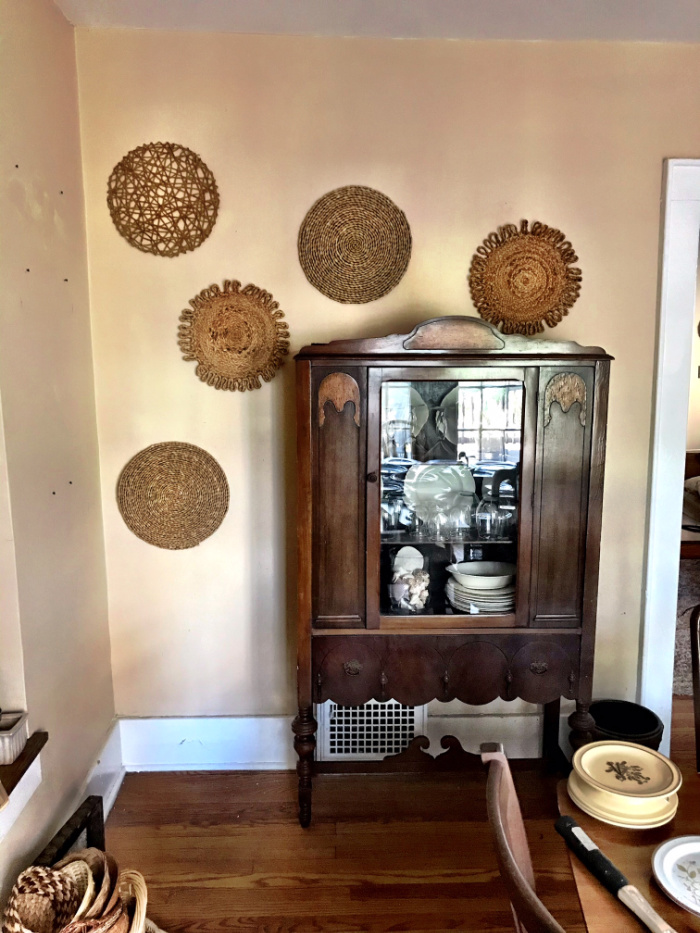
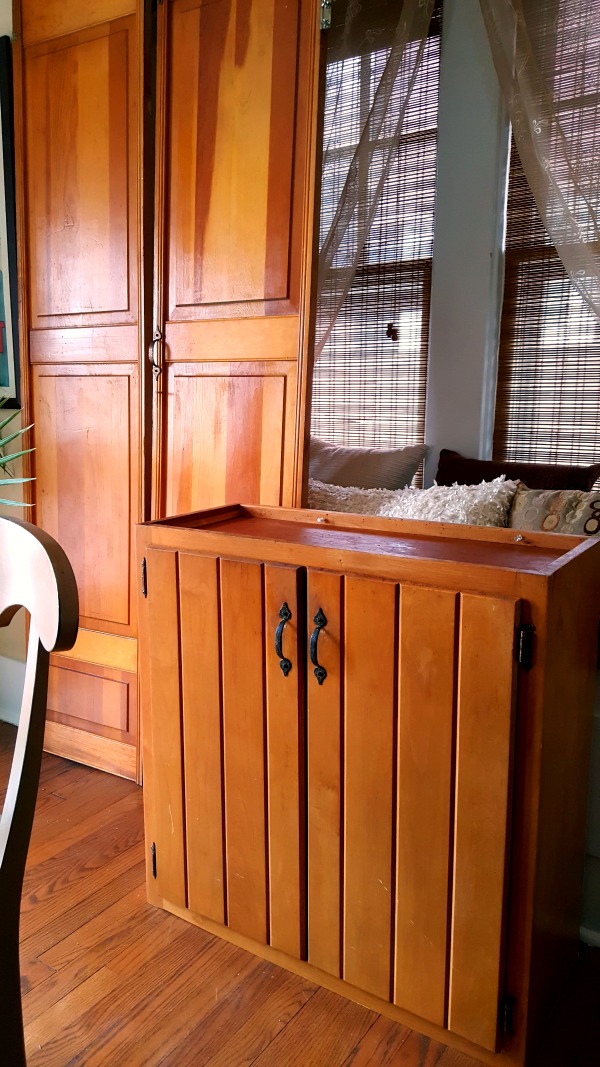
I’ve always struggled a little with this wall. My vintage china cabinet is on the small side (about 5′ tall) and never totally loved anything I’ve hung over or next to it.
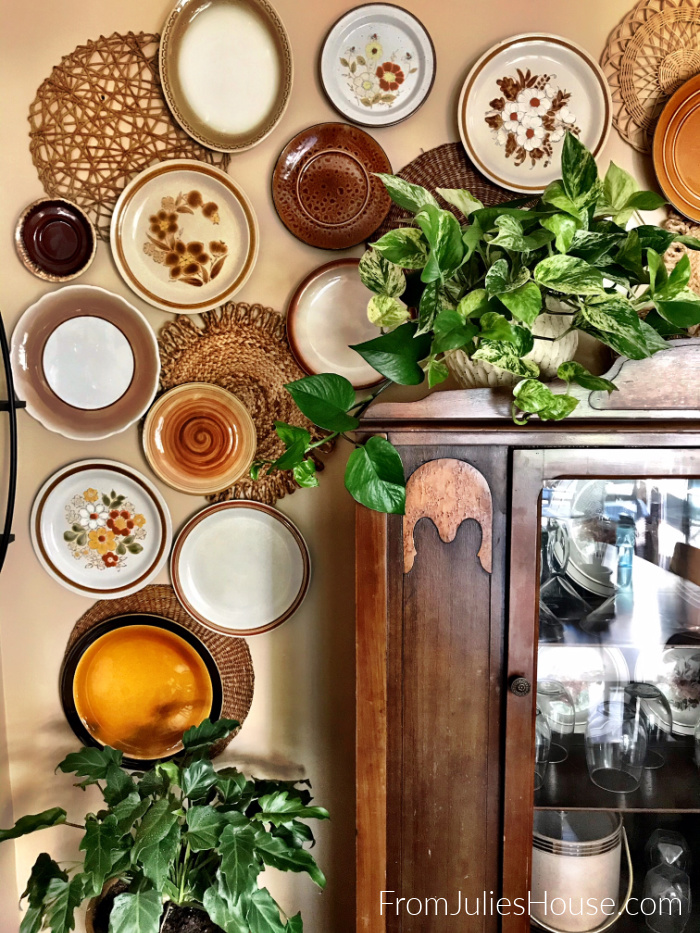
The placemats created a framework for my design, and in my opinion, they are 100% necessary to create this look.
Once they were up I started on the left side and began adding plates. I cherry-picked the ones I liked the best from my stash and tried to alternate plates with patterns and plates with just a border.
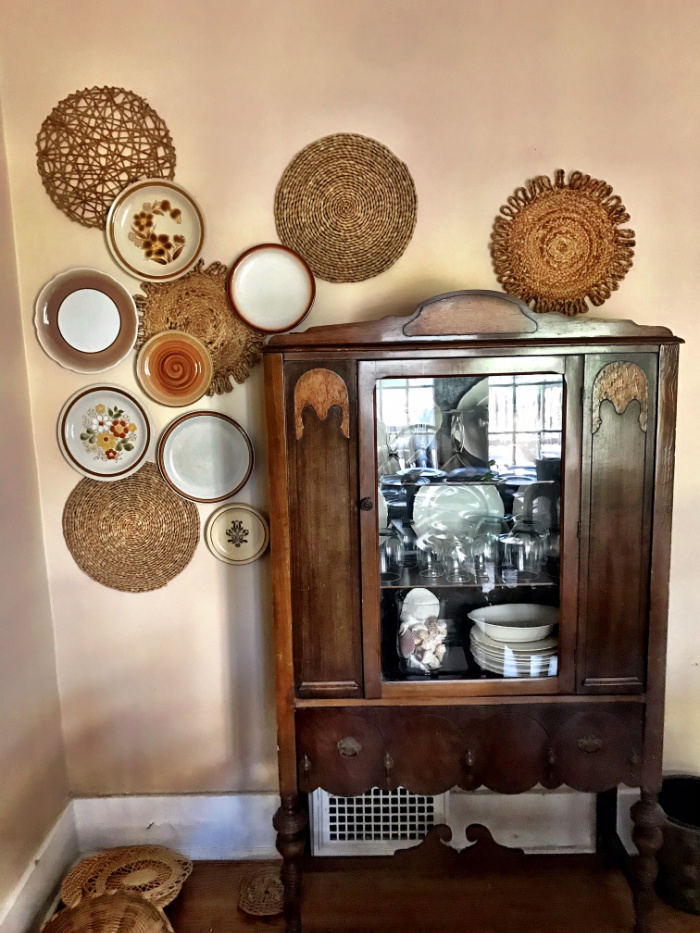
It was a process…I hung a couple, then stood back to study the effect. Then I let it sit for a day and went back and looked at it with fresh eyes. I subtracted a few plates, then added a couple more. I ended up not using any actual baskets – I’m going to save them for another project. I like the placements and felt like baskets would make the whole thing too busy.
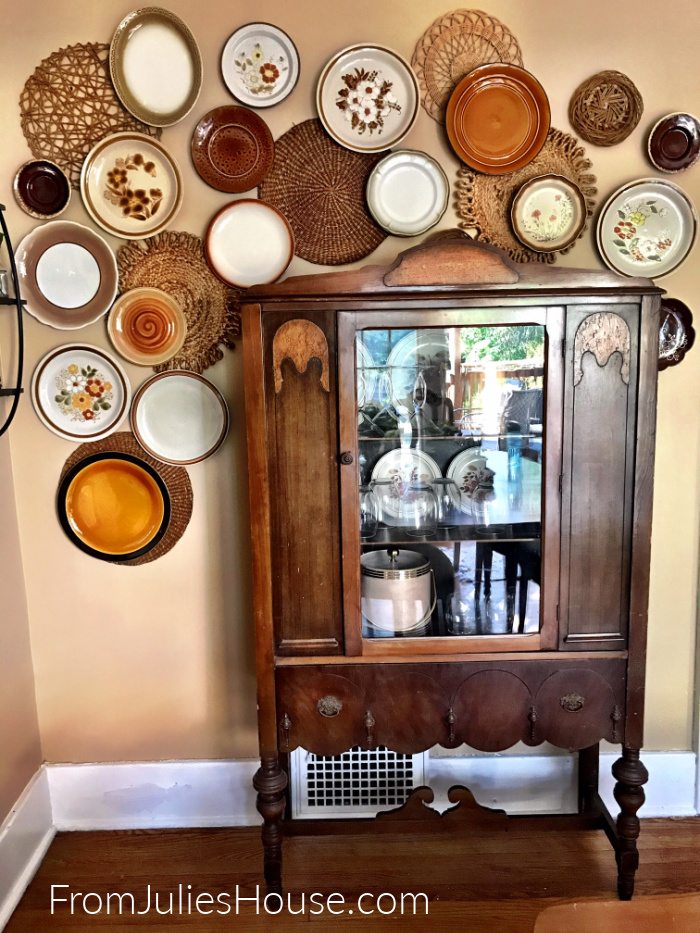
I wasn’t sure what I was going to do with the narrow area on the other side of the door. I tried a few different ideas but ended up making it a continuation of the bigger wall.
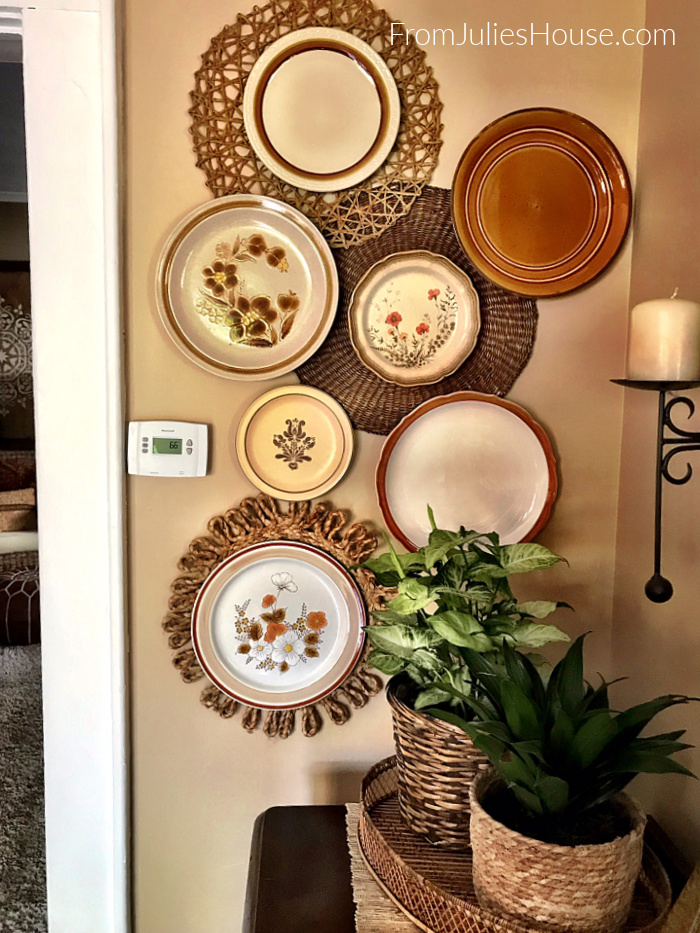
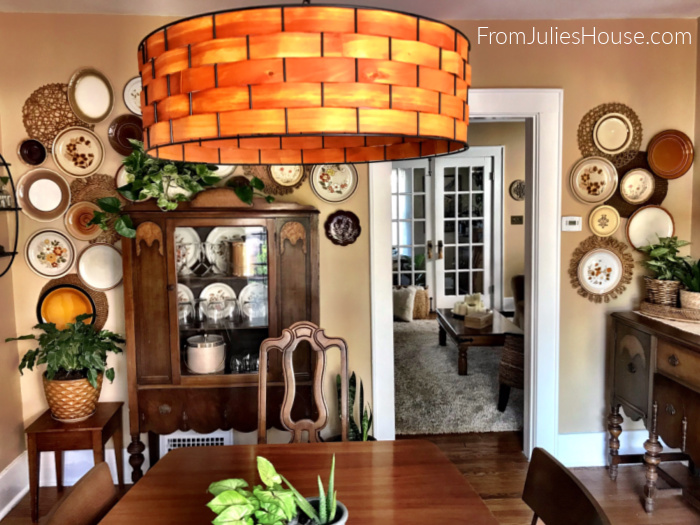
This is an easy and super-cheap project. The one thing you need to keep in mind is PATIENCE – and not just for the E6000 glue drying.
I scooped up every vaguely 1970’s plate in my color scheme that I came across, and in one afternoon found more than enough to complete my wall. I paid $1-$2 each. I glued the pop-top hangers, waited several days for them to cure, and arranged them on the wall. Then, in the course of the next week of thrifting, I found a bunch more that I liked better – more color, more patterns, and just overall more interesting.
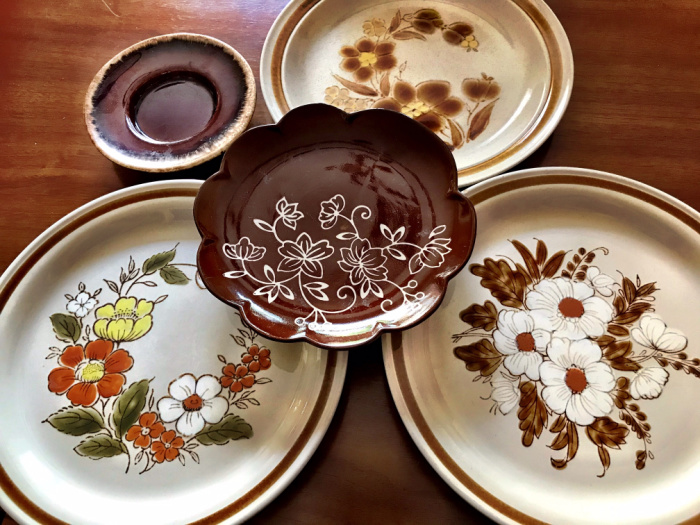
Sooooo… now I have enough plates to cover ALL the walls in my dining room. I don’t mind donating surplus supplies back to the Rescue Mission, but my plates all have a pop-top glued to the back, so it’s a little weird, right? My point is, be picky while you’re hunting for your plates. There’s no reason to try and do it all in one day. You don’t want to run short, but if I had given myself even a week to shop I would have saved myself from buying such a ridiculous surplus.
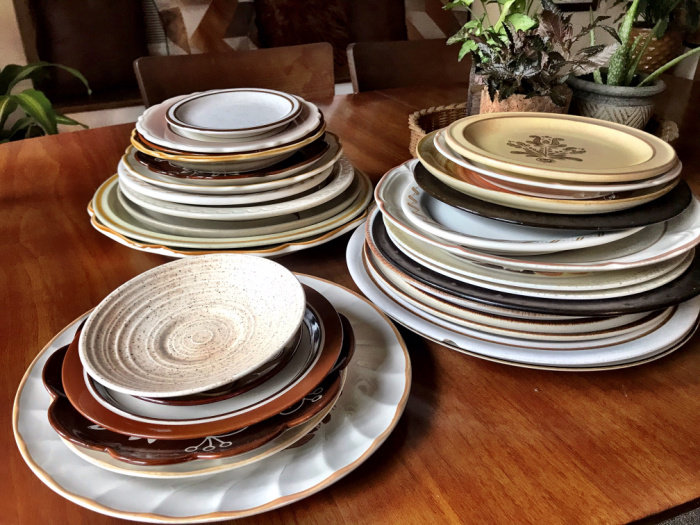
But, I am happy with the finished product. At some point, I’m going to swap out my depression-era china cabinet and buffet for something a little more MCM with cleaner lines, but I haven’t found exactly the right pieces yet. In the meantime, the plates give me something new and fun to look at.
Tips for creating a Gallery Plate Wall:
- Decide on your theme and/or color scheme for your plate wall and stick to it.
- Be patient thrifting for plates – wait for the best ones to turn up. This is a great project to have running in the background while you work on something else.
- While you’re shopping for plates, start collecting pop-tops. If you don’t go through a lot of soda in your house (or “pop”, depending on what part of the country you live in), it may take a while to collect enough for your project. Bending them slightly makes them easier to hang. You could use D-rings if you want to, but why pay for extra hardware if you don’t have to?
- Pay attention to where you glue the hangers – they should go on the flat part of the plate, not the curved area.
- Let the hangers cure a MINIMUM of 3 full days if you’re using E6000 glue.
- Allow yourself a few uninterrupted hours to hang your gallery plate wall. Step back often to study the arrangements and if you find yourself getting frustrated, walk away and come back later.
- Editing is critical here. After I “finished” the wall I removed a few plates and it improved the look immensely. I think you need to leave breathing room and let the placemats show to really get this look right.
- There is a lot going on with kind of installation, so be careful what you put in front of and around it. I tried putting accessories on top of the china cabinet, but it ended up looking like clutter in front of the all plates, so I stuck with plants on and around the cabinet.
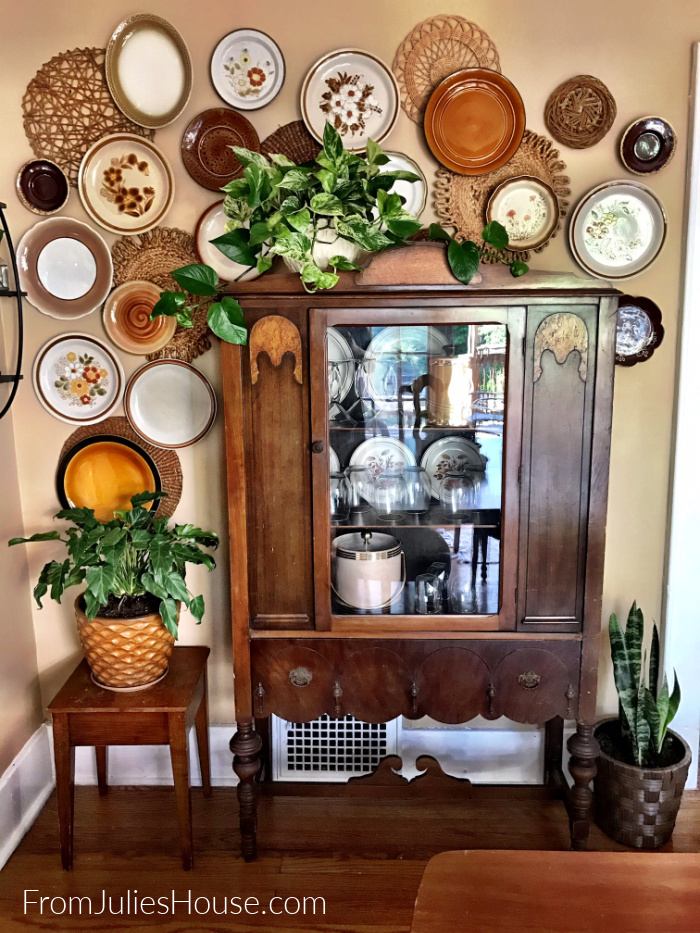
Can I just say – the e6000 is AMAZING! The plates have been up for several weeks now and there has been no hint of anything crashing to the floor. I am a true believer.
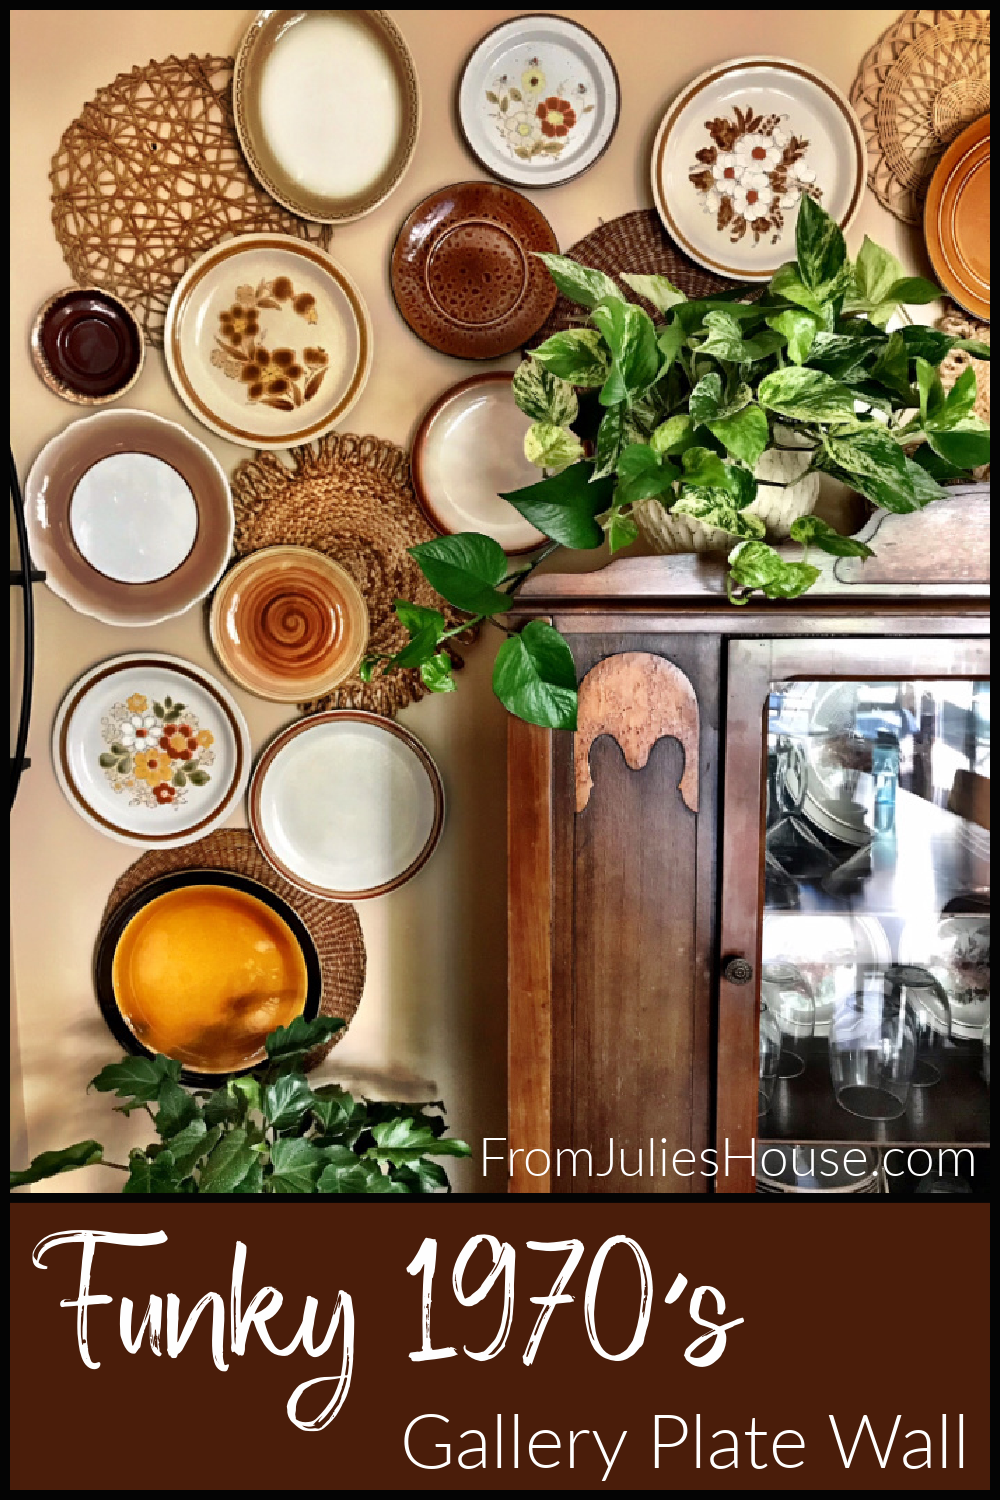
What do you think? Do you like this “deconstructed” gallery plate wall, or do you prefer a more traditional layout?


