Hi Friends!
Did you see my recent post about the 1970’s Gallery Plate Wall I installed in my dining room? If not, you can find it HERE.
After I hung the plates on the wall around the vintage china cabinet, I struggled with what to put IN the cabinet. With so many plates on the wall, putting more inside the cabinet seemed like overkill, you know?
This post contains affiliate links. You can find my complete disclosure HERE.
Before I began updating this room, I was using my depression-era cabinet to store a set of delicate, ivory dishes. I almost never use them, so I decided to get rid of that set and use it to store barware and glasses. The problem was, the cabinet has a very dark wood finish and it just looked like a black hole – you couldn’t see the clear glassware at all.
I tried putting some of my 1970’s plates on the plate rail just to have something behind the glasses, but it was kind of grandma-looking:
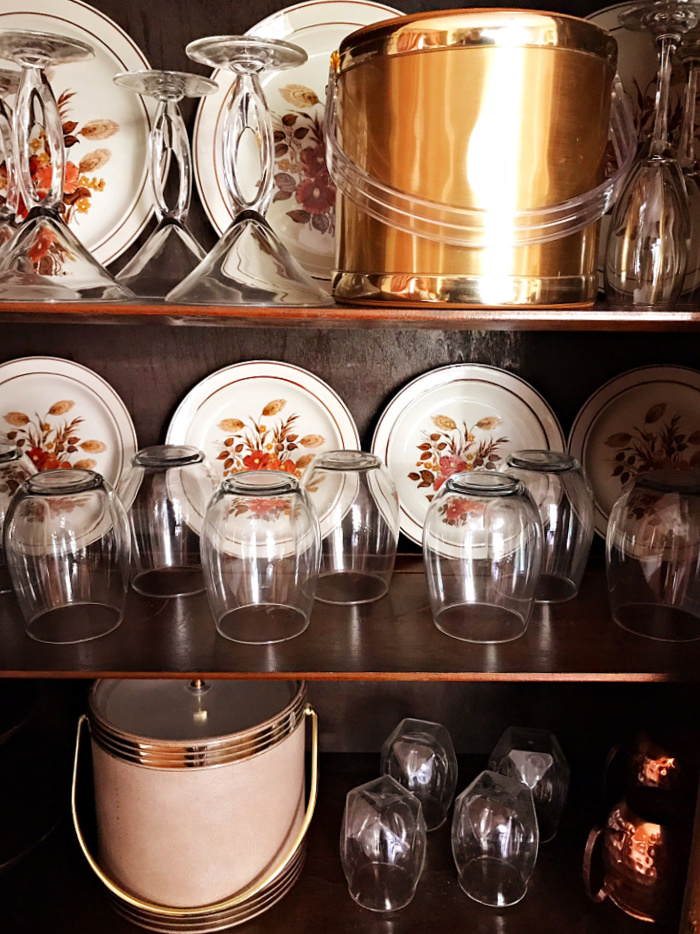
Nothing against grandma, but cocktail glasses and barware should be SASSY and FUN… just waiting for your next party.
My long-term plan is to find a larger and more open MCM style piece for this wall, but mid-century modern furniture being so popular right now, the prices are going up – and it’s just not in my budget.
In the meantime, I thought I could jazz up my existing cabinet by putting fabric or patterned paper on the back.
I’ve been on Etsy a lot lately buying digital downloads for the gallery wall in my living room (details coming soon!) and found some digital prints from GiGi Thomas Designs that had the 1970’s vibe I was looking for:
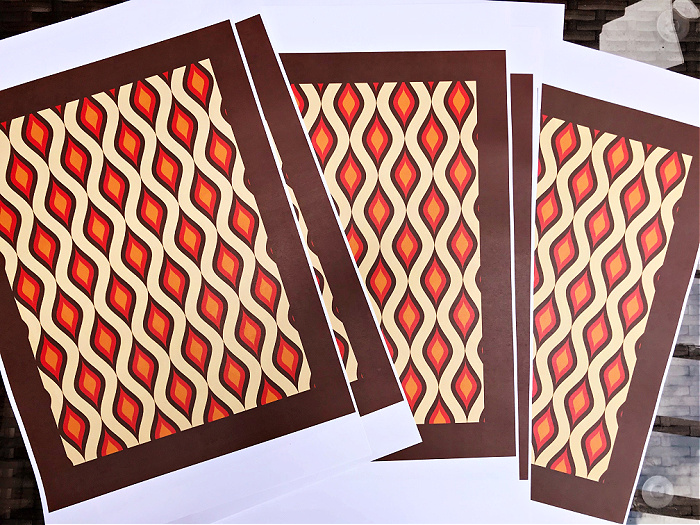
The digital download was $5.25, and I needed about 13 11×17 prints, so the project came in at about $13. If you like this design, you can find it HERE.
I originally thought I would attach the paper to a piece of foam core, but realized after I cut the foam core to size that I couldn’t get it into the cabinet without mangling the whole thing. So, I ended up just piecing it together directly onto the back of the cabinet. I cut the brown border off and I just used loops of painter’s tape to adhere it – I didn’t want to do anything permanent.
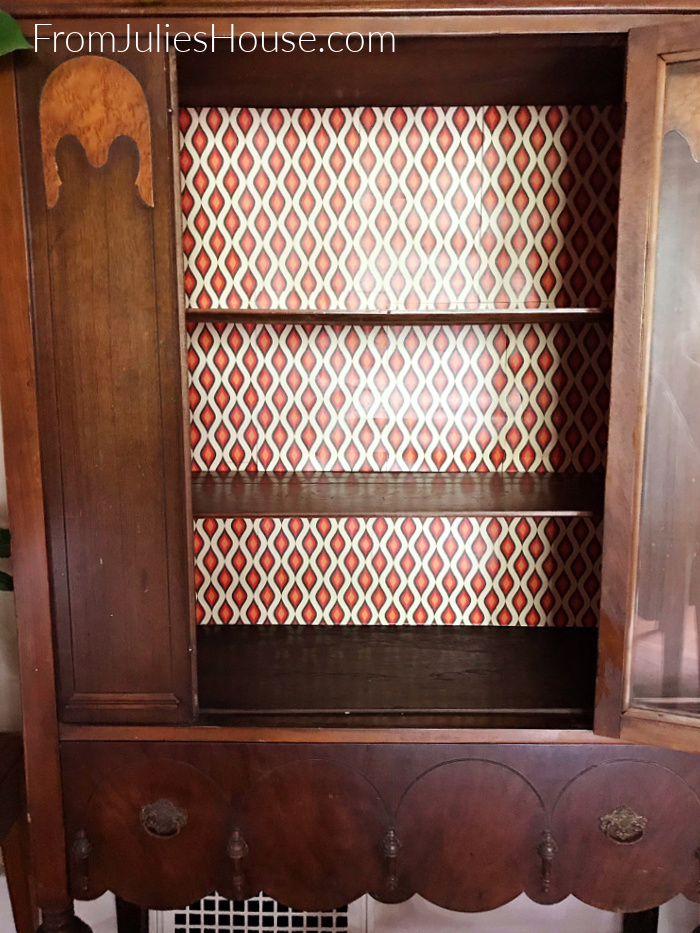
It takes a little patience to match up the pattern, but it wasn’t too bad… it’s just like matching up wallpaper, and I got it done in about 30 minutes. You could save yourself the trouble by using wrapping paper, wallpaper, or contact paper.
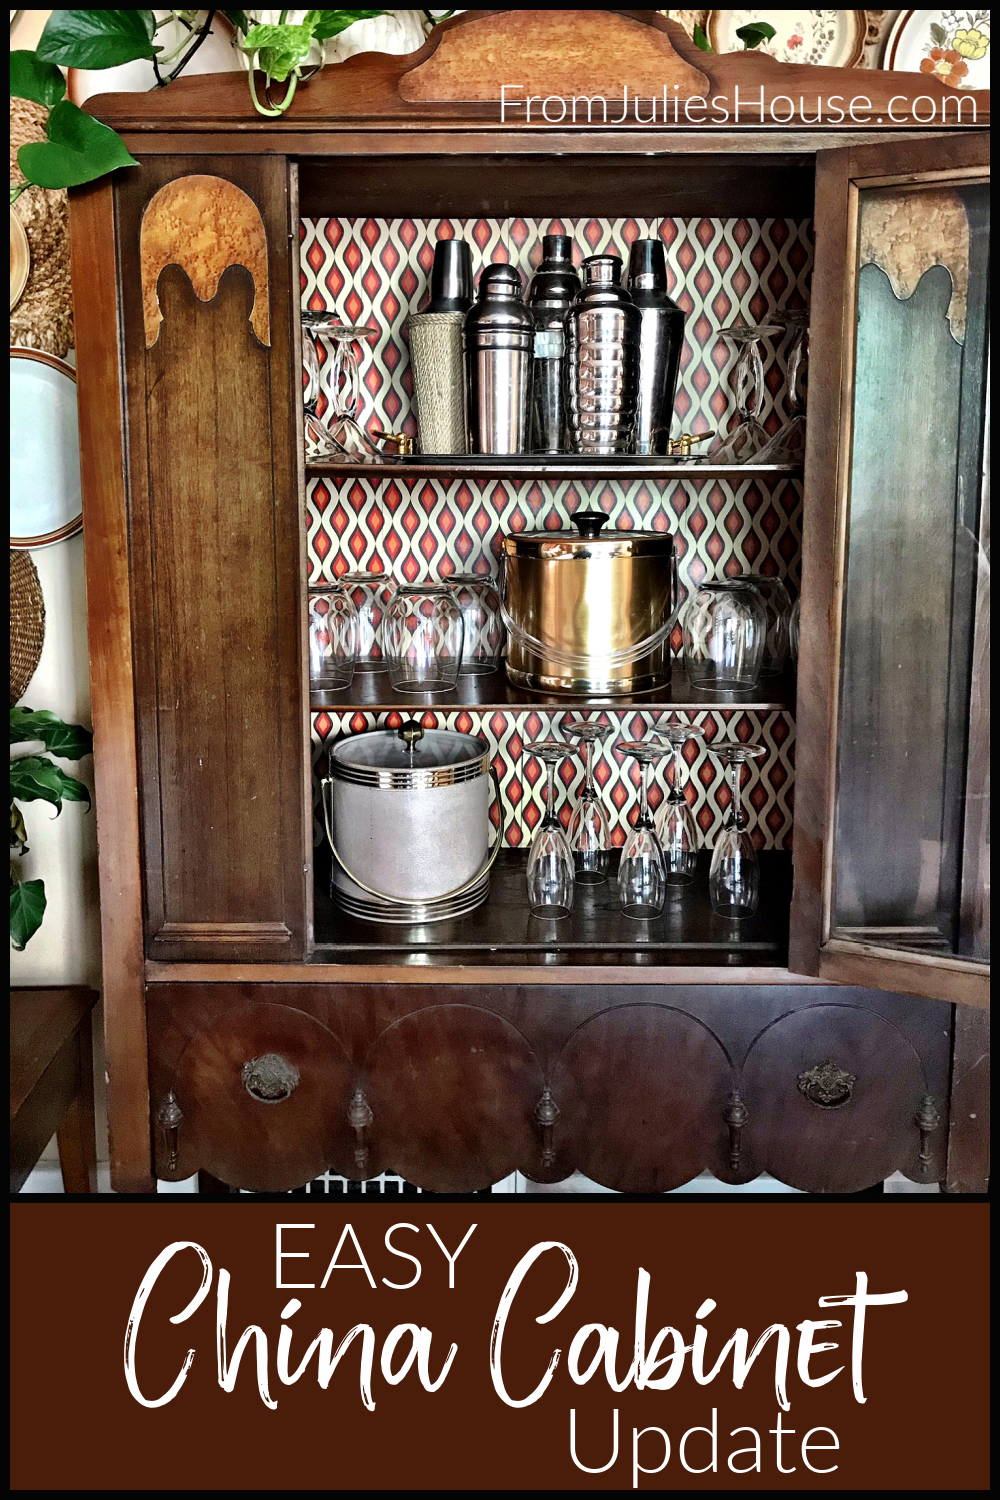
I filled the cabinet with my extra wine, martini, and champagne glasses, along with a couple of vintage ice buckets (one of my weirdo thrifting obsessions) and my little collection of cocktail shakers.
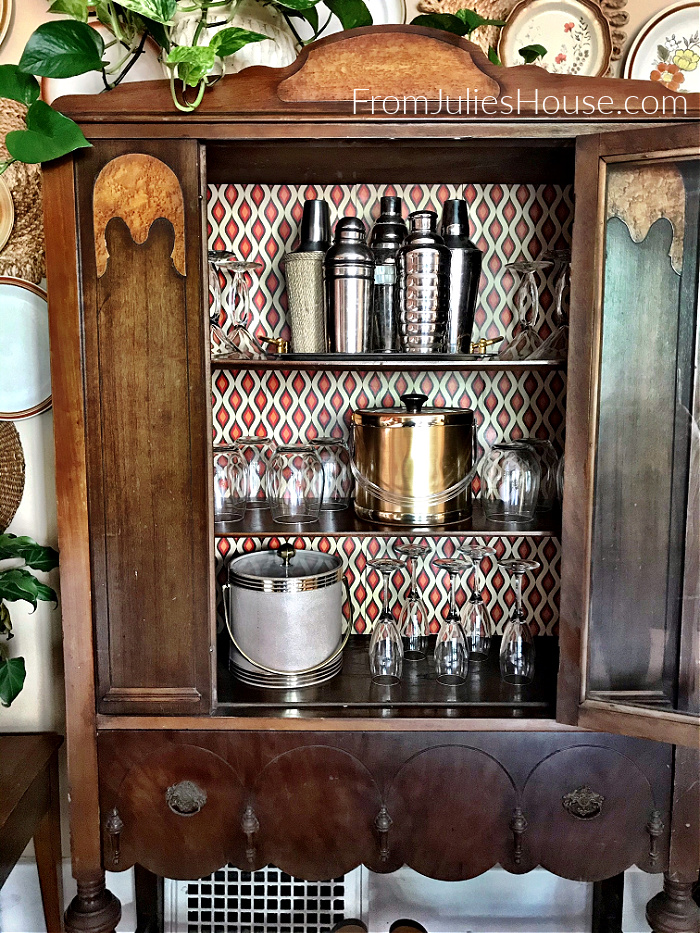
So much better! It no longer looks like a colorless black hole and the orange and brown pattern makes it pop.
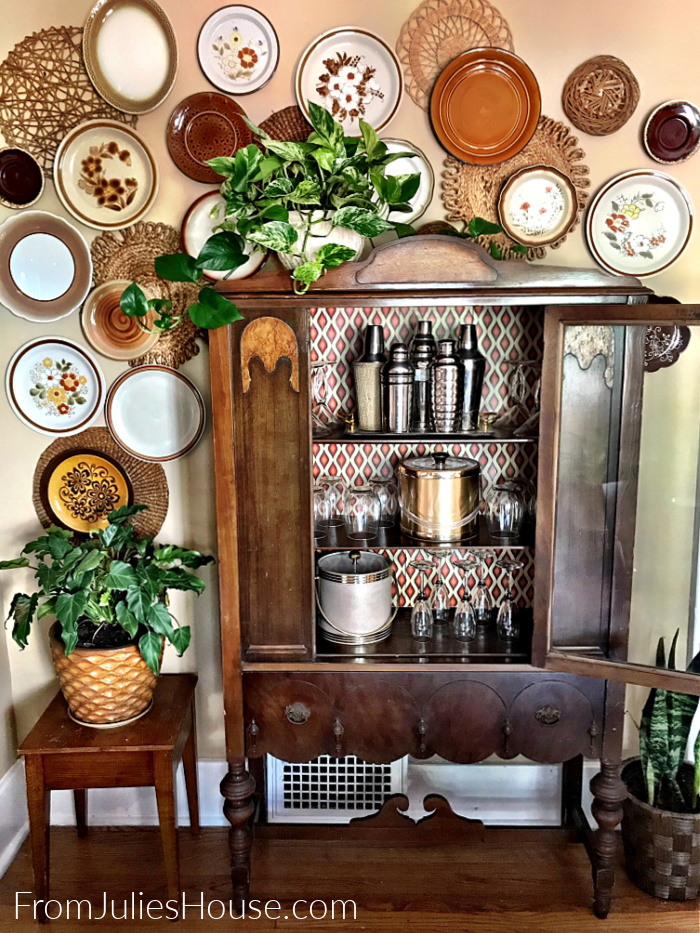
This is such a cheap and easy solution for any set of shelves that needs a little shot in the arm… in fact, I’m looking for a pattern to use on the built-ins in my living room.
