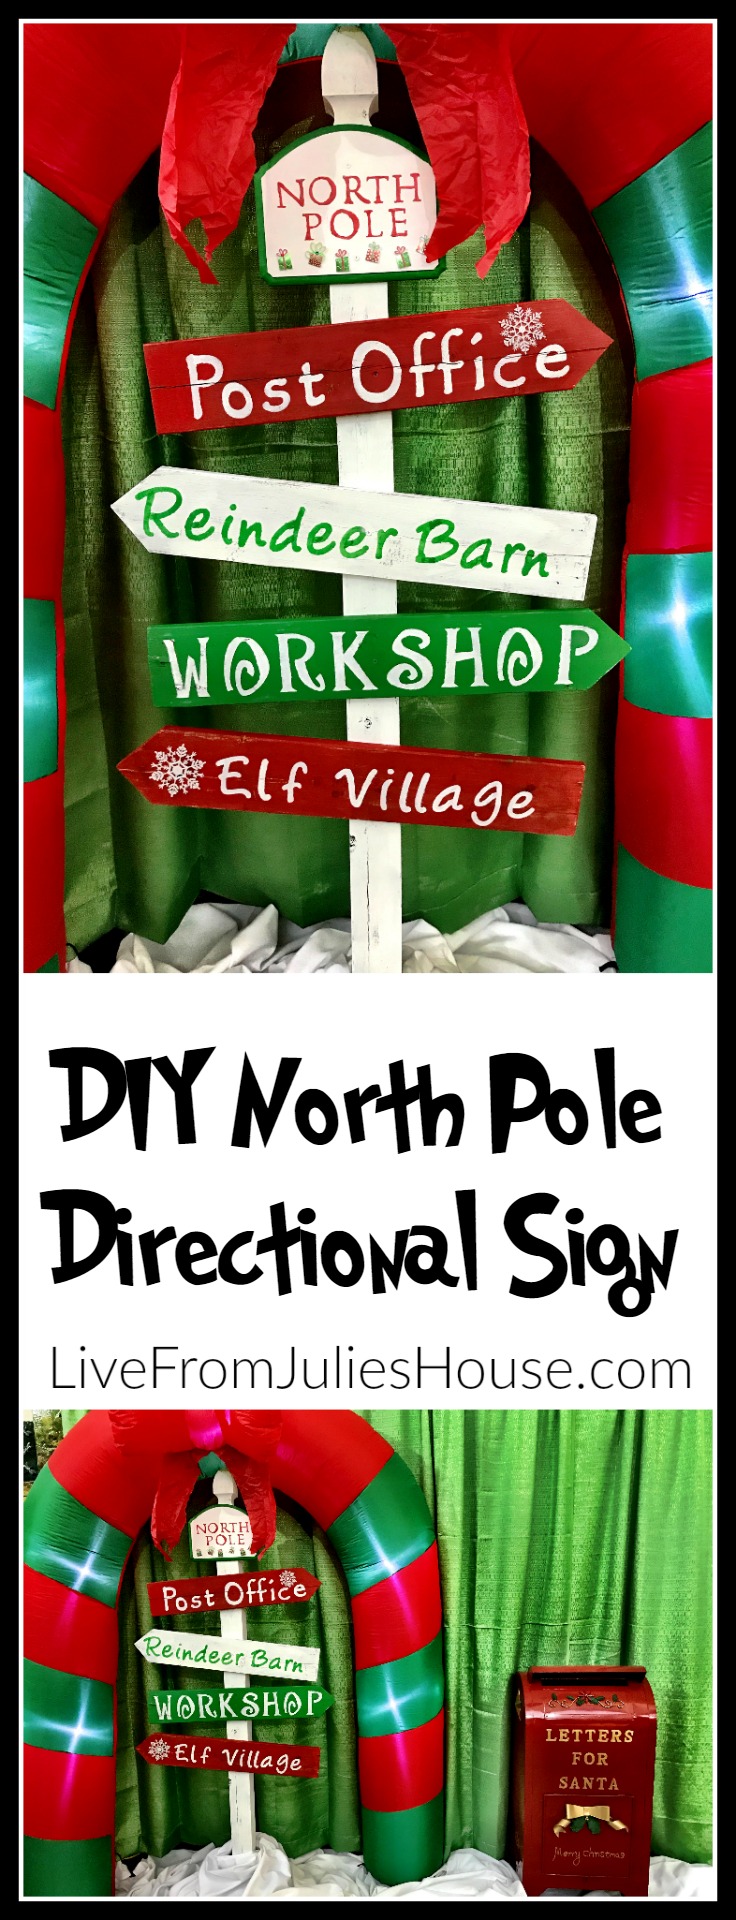
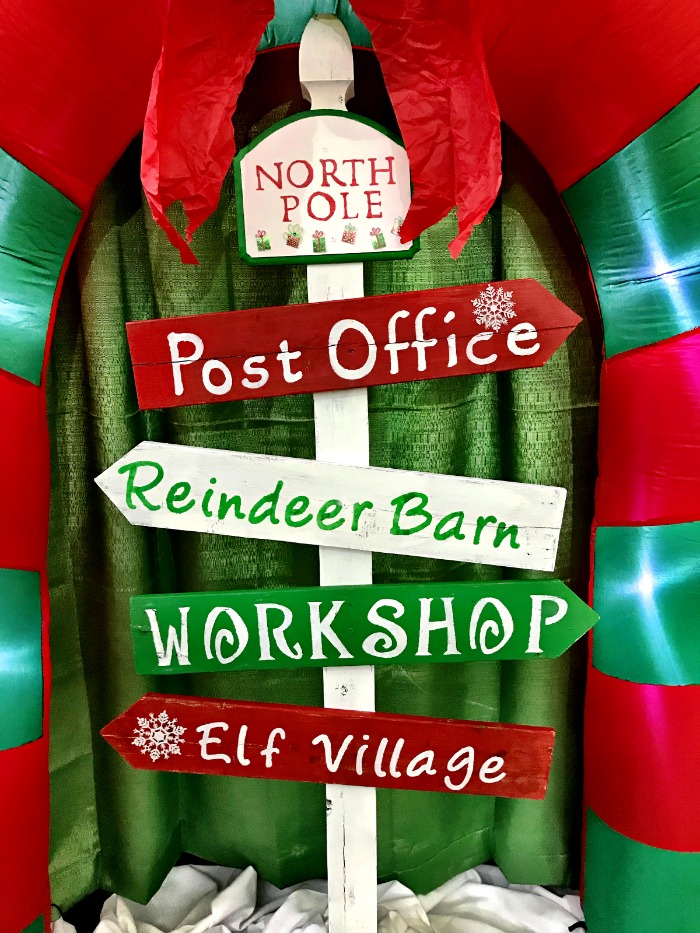
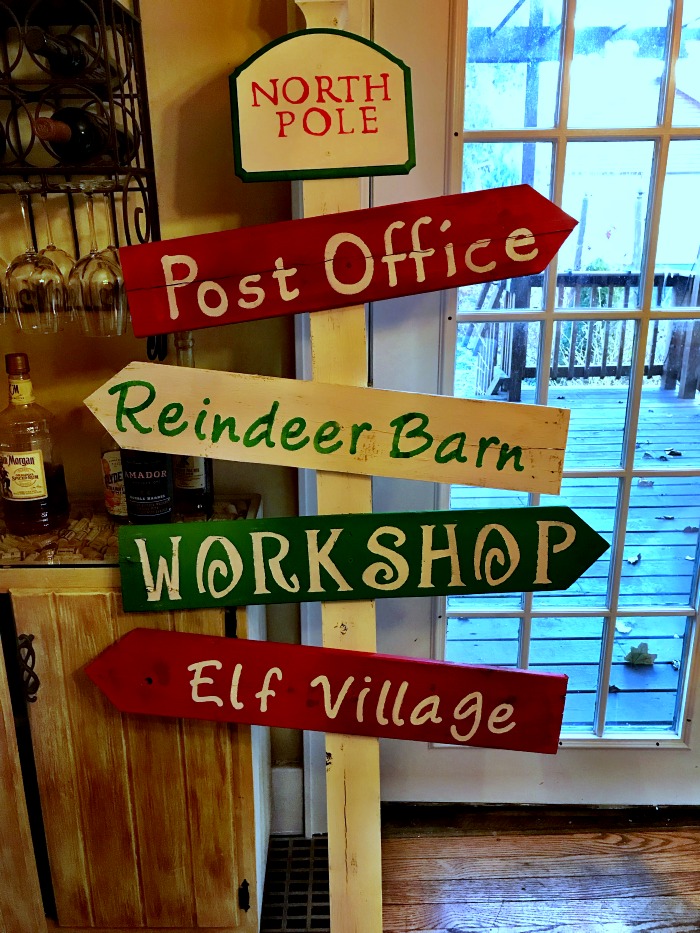
Last week I made a super-cute prop for our annual Breakfast with Santa event at work. This fun project makes a BIG impact and it would be a charming addition to a holiday-themed front porch at home. My North Pole Directional Sign was fast, easy and very cost effective – all good things!
About a year ago I started working at our local zoo as the event manager. The main focus of my job is to book corporate events and weddings in our event spaces, but I’m also responsible for creating and running internal fundraising events. I am employed by a not-for-profit that exists solely to raise money and support the work of the zoo.
I see these holiday directional signs in stores all the time, but they tend to be pretty tiny. I wanted something chunky and substantial to make a BIG impact.
How to Make a DIY North Pole Directional Sign
I made the signs out of some pallet wood I had in the garage. I cut one side into a point using a chop saw to make a simple arrow.
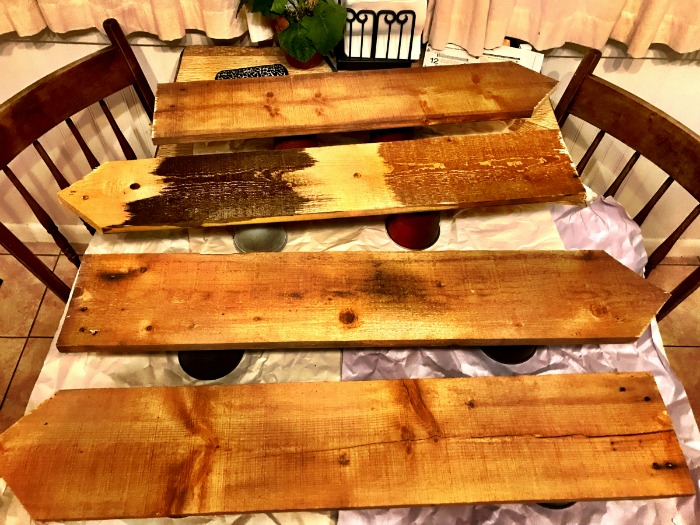
Apparently, I was testing stain colors on one of them…oops!
As you can see, my tiny kitchen does double duty as a workshop. 🙂
Next, I brushed on the base colors using acrylic paint.
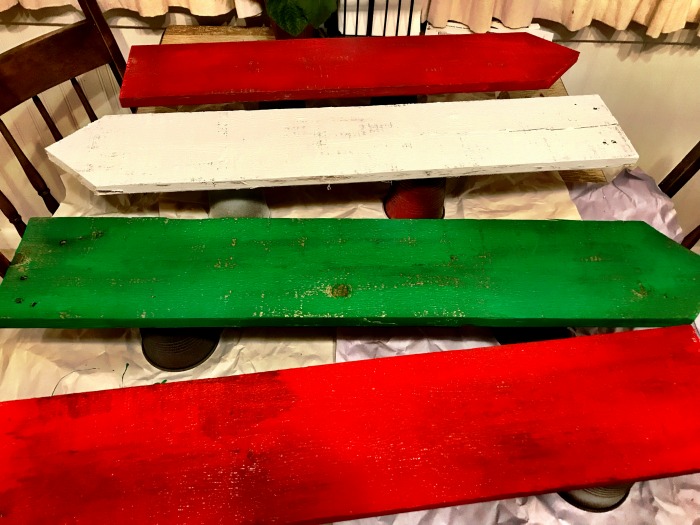
I just did one coat, because I wanted them to look a little worn with the grain showing through.
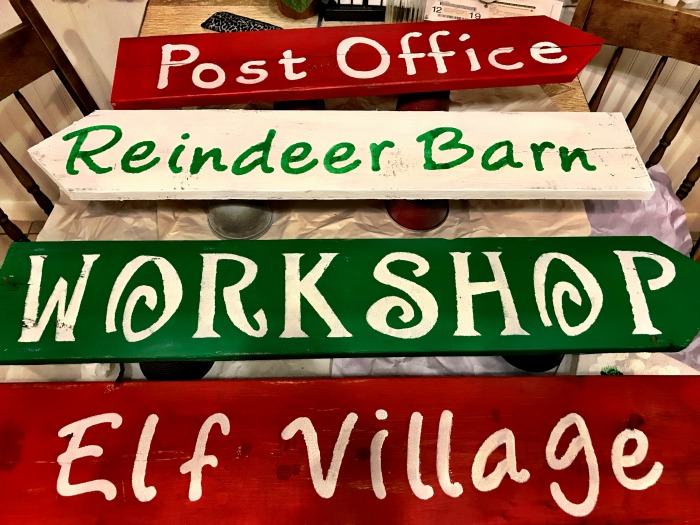
For this project, I think think it looks better to use different fonts on each sign.
I got a little stuck at this point because I couldn’t figure out what to use for the pole. A trip to Lowe’s didn’t turn up anything promising until the DRG suggested I look at fencing area. I found a 6′ tall fence post that was perfect for what I was doing – it even had a nice finial at the top. And the price was right – about 13 bucks.
My next dilemma was coming up with a sturdy base. I was pressed for time (seriously, when am I not??) so I didn’t want to get into a big carpentry project. I was thinking about sinking it into a large flower pot with some sand, but then I landed on the idea of using a Christmas tree base. I had one in my basement and it worked like a charm!
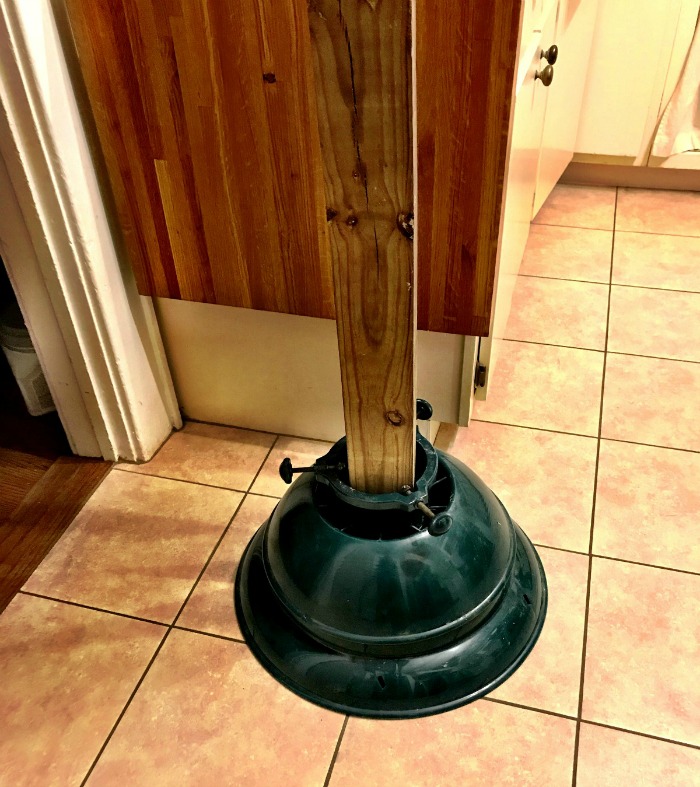
I gave the post a quick coat of white paint and added a small “North Pole” sign to the top using an unfinished wooden plaque I had in my basement.
It’s probably not an accident this is propped up next to my liquor cabinet. 😉
I carted the whole thing into work and added some flat snowflake ornaments and stickers to disguise my wonky spacing on the North Pole sign. We put an inflatable candy cane arch over the top and paired it with an adorable “Letters to Santa” mailbox. White tablecloths on the floor disguise the tree stand and give the illusion of snow.
This was a fast and easy project, you could definitely tackle it in an afternoon.
Where will you put YOUR North Pole Directional Sign?