Hi Friends!
I have so many DIY projects going on right now that it’s getting a little overwhelming… I’m sure a lot of you can relate, right? I’m forcing myself to wrap up the smaller projects before I dive into anything new, and I wanted to share a quick update I did this weekend on the pallet table we have on our deck.
This post contains affiliate links. You can find my complete disclosure HERE.
I built the pallet table about 7 years ago from 2×4 and 4×4 scraps left from building our deck and pergola. Basically, I build a frame from the pressure-treated wood and the tabletop was a large rectangular pallet. It was a super-simple project, you can find the details in THIS blog post. A few years later I decided to add a large mandala stencil design, you can find the details HERE.
The table held up great for about 6 years, but last year the pallet wood finally rotted and fell apart. The pressure-treated frame was fine, so we just had to replace the pallet. Luckily, I still had a few hanging around in my garage.
Last week I decided to add a mandala design to the new top. Unfortunately, the huge stencil I used the first time around was inadvertently destroyed in my basement, so I used a smaller one I originally bought for THIS project. You can find it on the StencilsLab Etsy shop HERE.
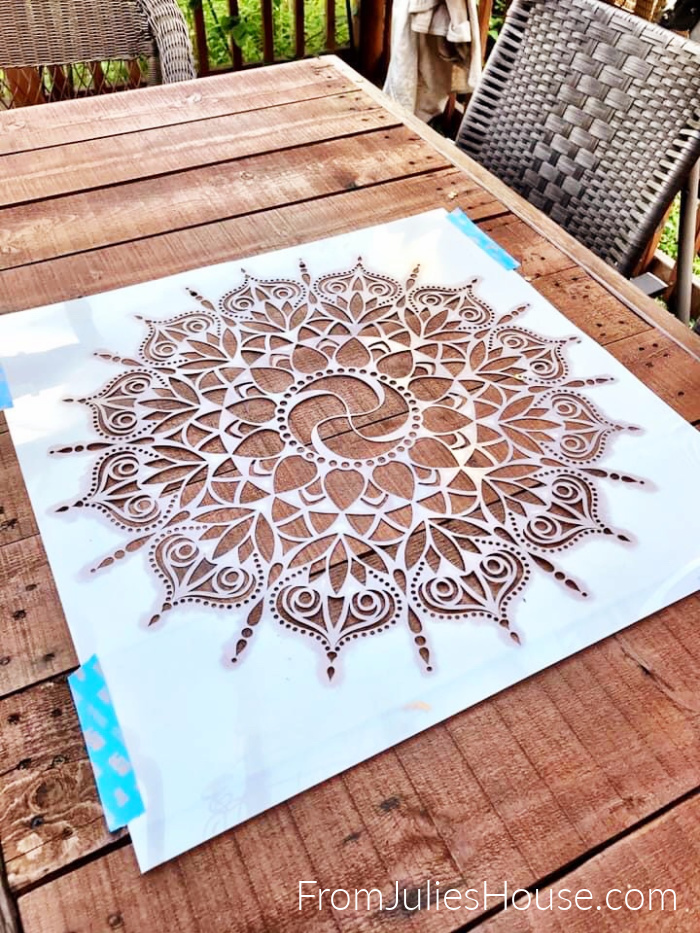
I used exterior paint and a stubby stencil brush for the design.
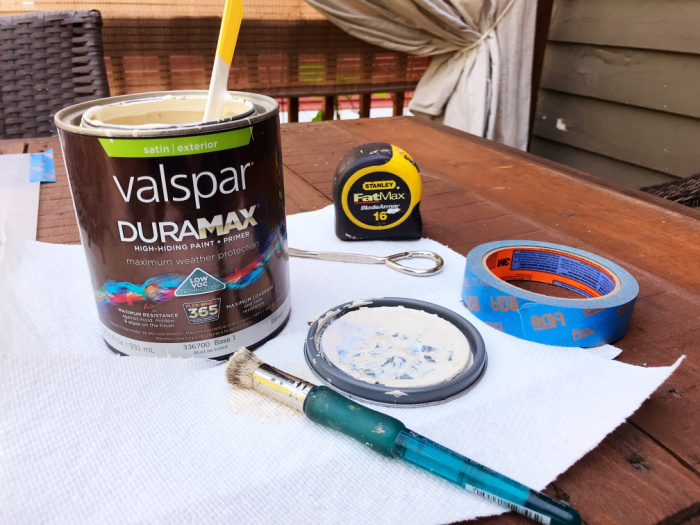
I am by no means a stencil wizard, but from my experience, the key to success is taking your time and making sure to dab your brush on a paper towel or rag before applying it to your piece – it’s definitely a dry brush technique. If you try to add a lot of paint at once it will look blobby and messy.
Once I got the mandala in the center done, I played around with possible design ideas. I originally thought I would do a random pattern of smaller mandalas, but then I found a bunch of Moroccan-looking border patterns in my stencil stash. I originally used them on the risers on the steps to my deck.
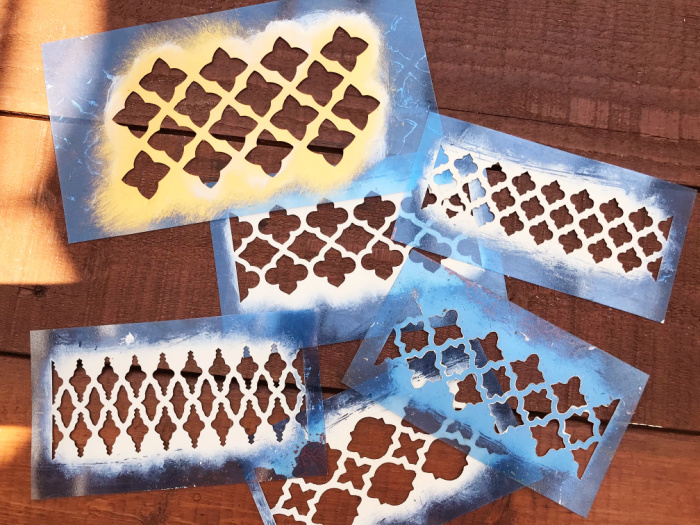
My one piece of advice if you’re stenciling a border pattern is to start in the middle. The first row I did is the top one in the photo below. I started at the end and worked left to right. When I finished, I realized it makes more sense to start from the middle, that way your design will run off the edges on both sides instead of just one.
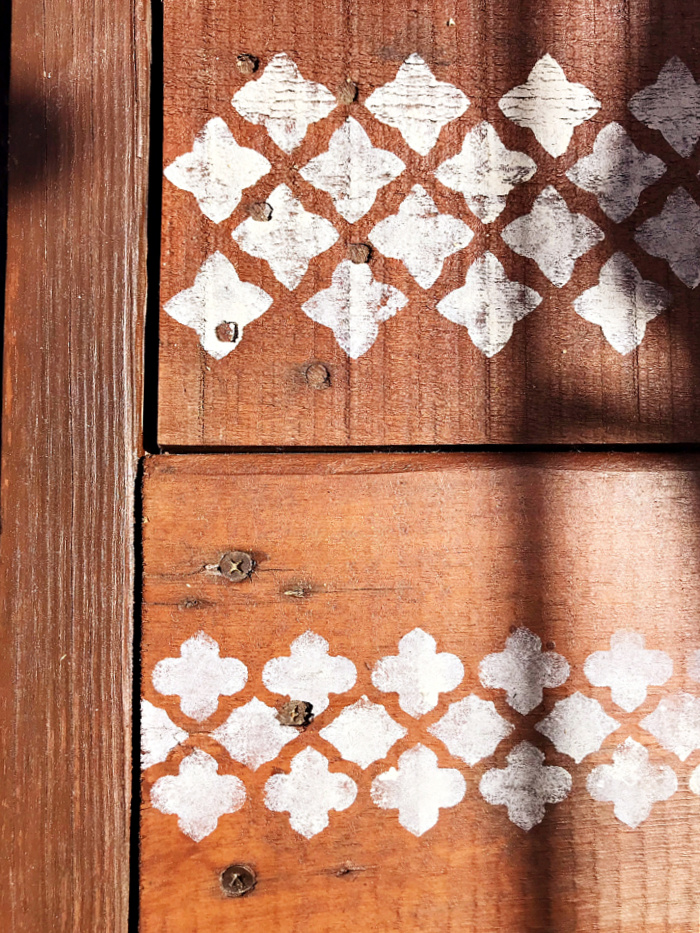
All done!
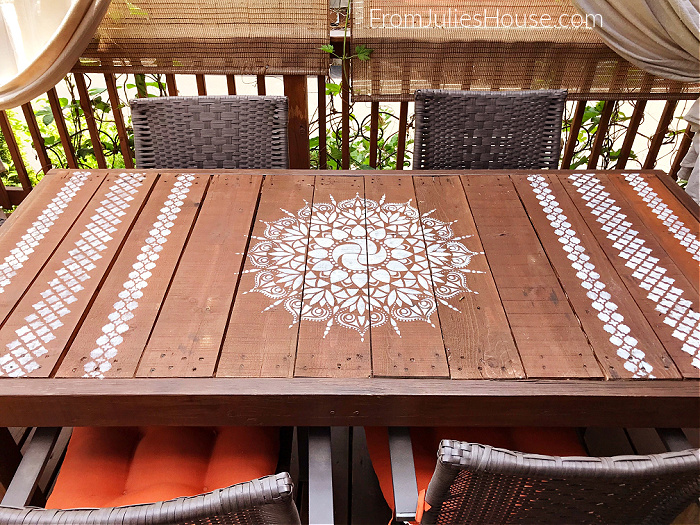
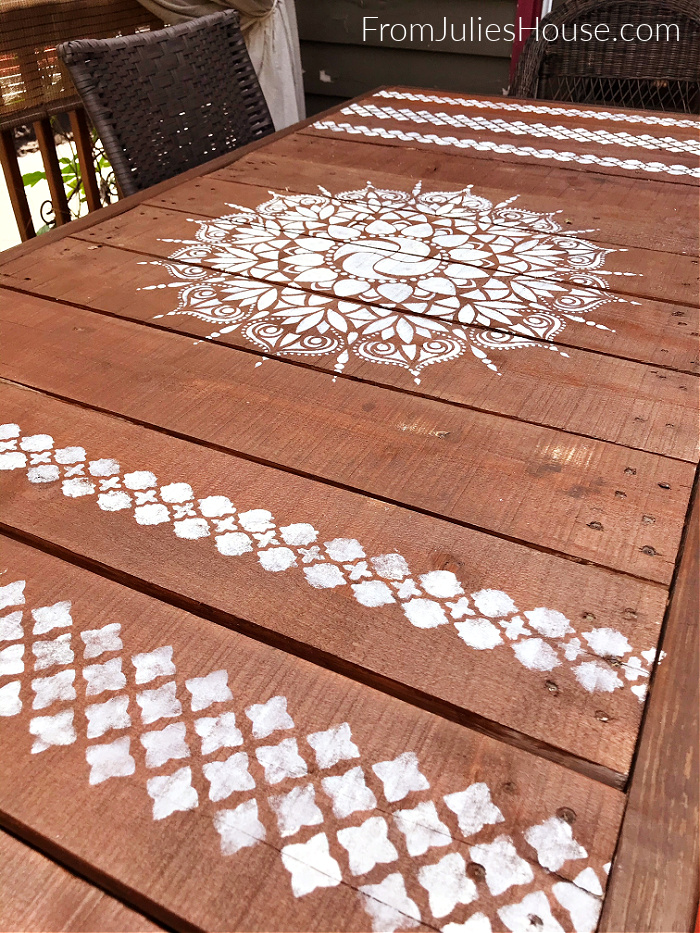
You gotta love easy projects you can knock out in an afternoon.
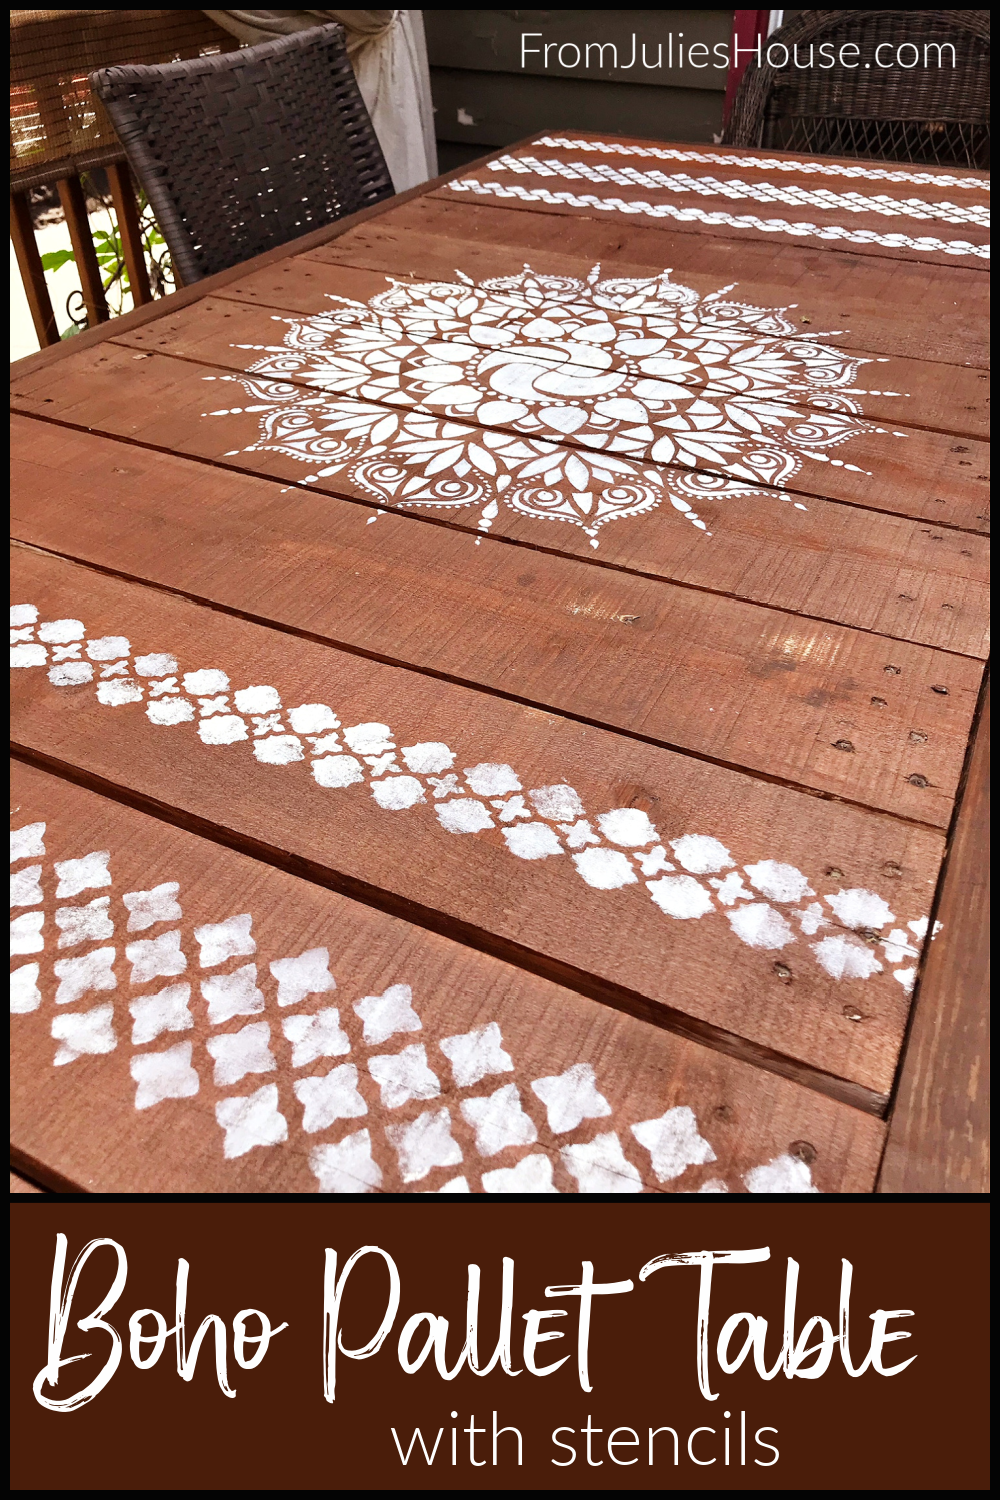
We eat dinner out here every night in the summer as long as it isn’t raining, so I’m THRILLED to get this crossed off my To-Do list.
I’ve got a few more little deck projects coming your way soon… in the meantime, enjoy the spring sunshine!


