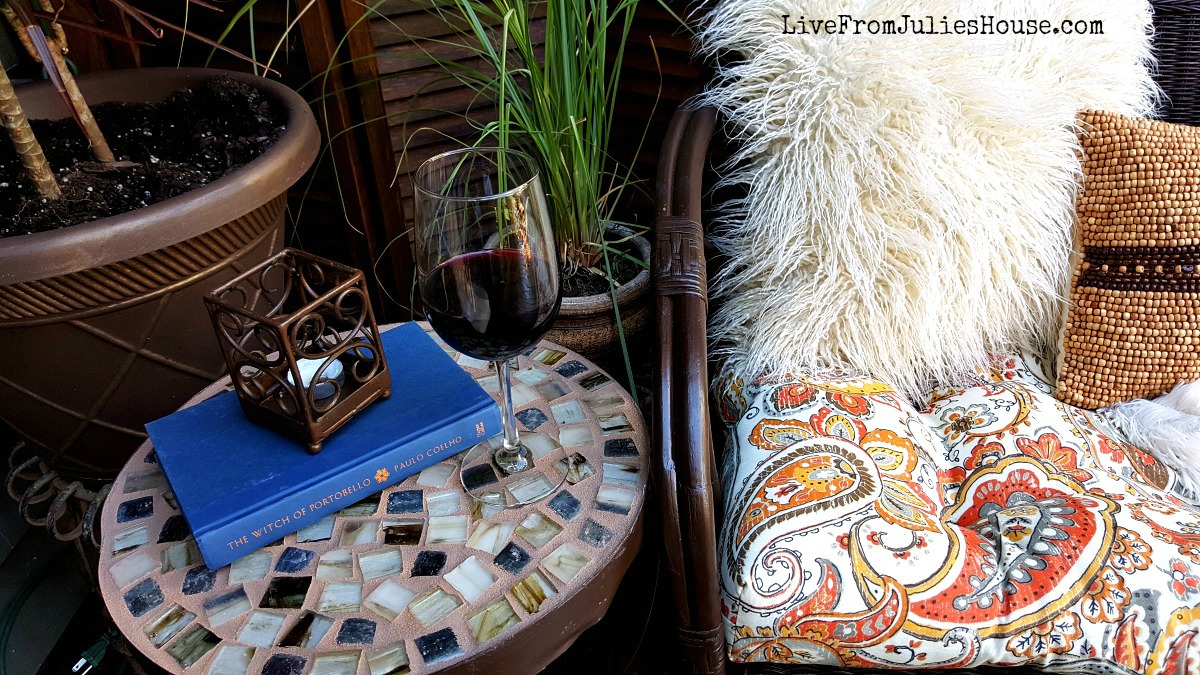
The weather is still touch and go here in Central New York, but I’ve been sneaking in a little time in the garden when the temperature is reasonable. Spring clean up is NO FUN, but I love it when it’s done and I know I can look forward to another gorgeous season drinking wine or mojitos on my deck. While my entire house changed drastically since I bought it, the transformation of my backyard is probably the most dramatic, so I thought I would share my 13 Best Gardening Tips I’ve learned along the way.
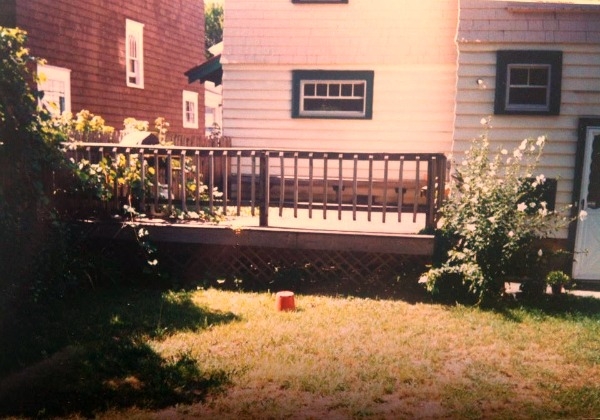
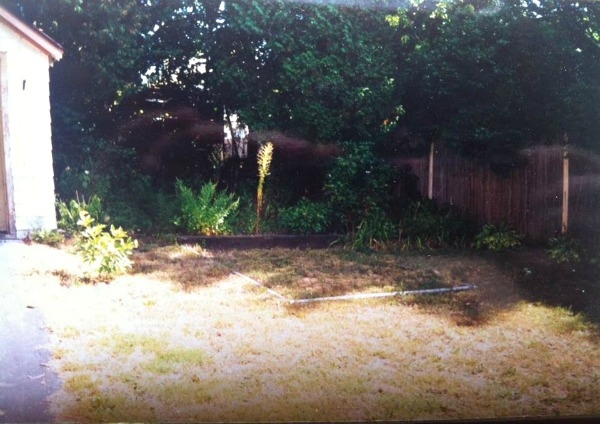
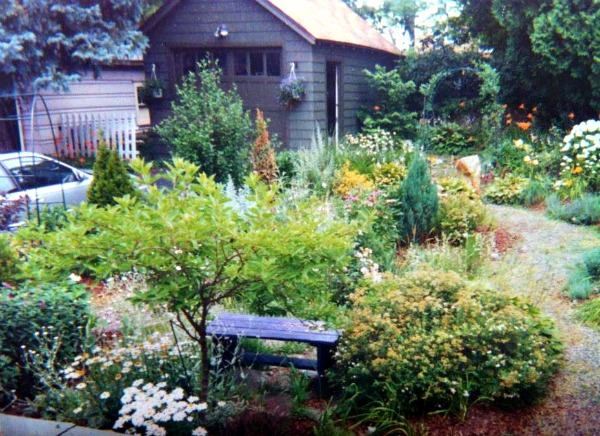
This is what the backyard looked like when I bought the house – and please excuse the quality of these photos….they were probably taken on a disposable camera!
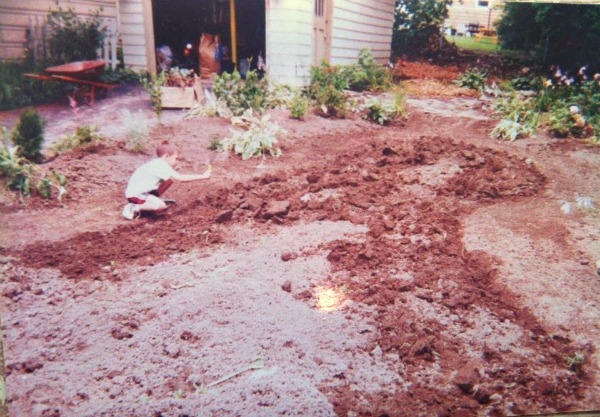
My narrow city lot featured a scrappy looking lumpy lawn with tons of weeds, some ugly railroad ties, bad drainage and a deck that was not connected to the house. After contemplating the situation, I decided the crappy “lawn” was not worth salvaging, so my first summer there I made the entire yard a garden with winding gravel paths.
The little boy in the picture is my 6′ 4″ 22 year old son. 🙂
I did this entirely by myself with a rented rototiller and many, many wheel barrels of gravel and mulch. My new neighbors thought I was insane…and they may have been right. The gravel came from a friend down the street who was getting rid of it, so it was free – I just had to wheel it down the block. You know, not looking crazy or anything.
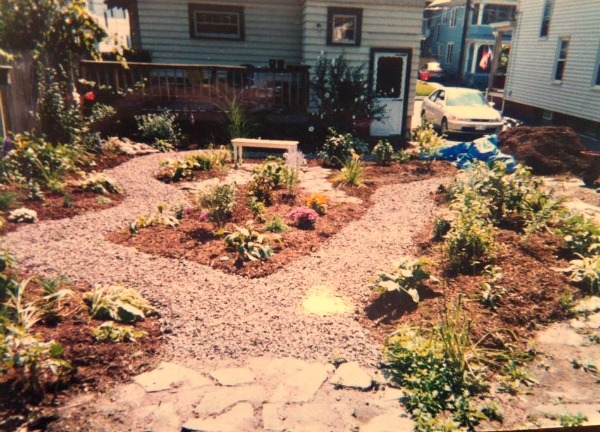
This photo was taken a year or two later – everything was filling in nicely.
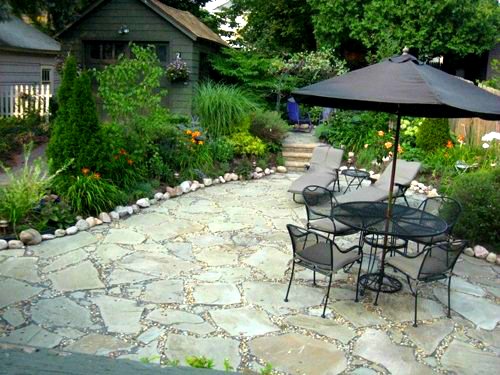
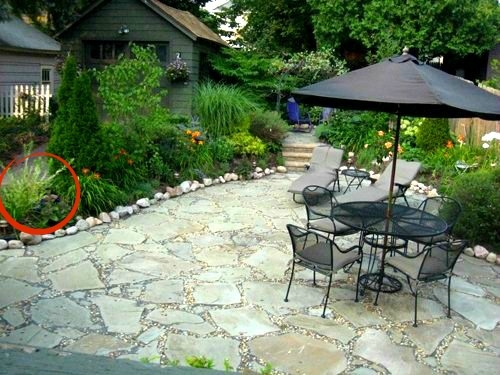
A few years later, I was feeling like I wanted more usable space to entertain back there, so I decided to eliminate the middle island and install a flagstone patio up to the borders around the perimeter. This is what it looked like right after I put it in:
I did this mostly by myself too, other then some help with a BobCat from a friend leveling out the yard and installing the 3 steps in the back – I couldn’t figure out how to do that for the life of me.
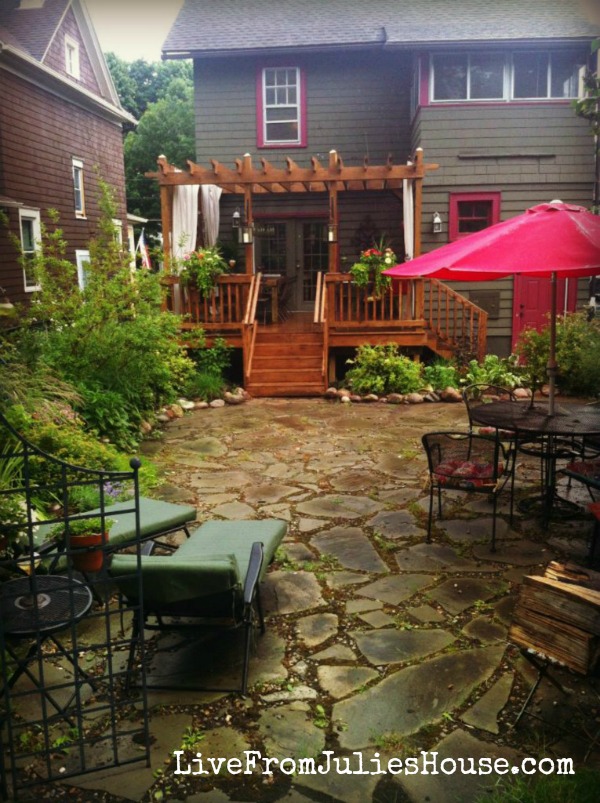
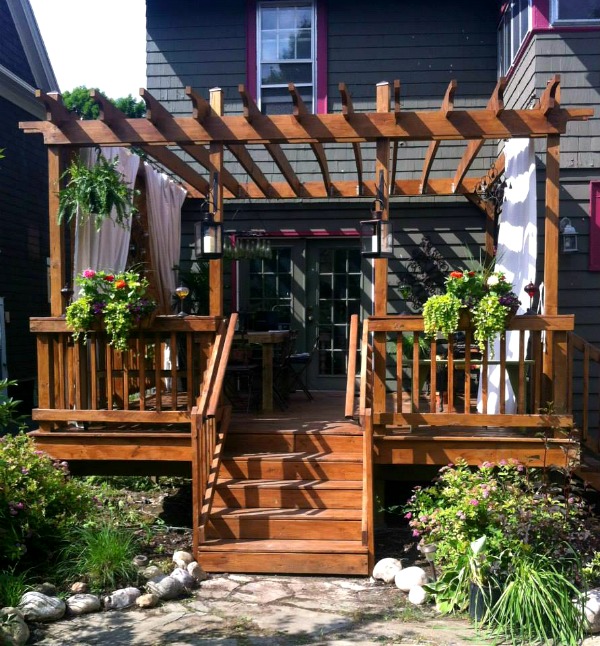
In 2013 I had to redo the deck, which was awful to begin with and had begun to actually fall apart. I added a pergola to the project, which is one of my best decisions ever.
I will say this – my “no turf” front and back yards were pretty controversial in my neighborhood when I did all this. Every house on the block had a postage stamp sized front yard with turf, a few overgrown boxwoods planted too close to the house and that awful orange colored mulch. The old guard on the street was not impressed with my efforts, but over the years other neighbors have been inspired to do similar things in their front yard and I think the neighborhood is better for it. Don’t be afraid to think outside the box and create your own version of a garden paradise – you might just start a new trend!
My 13 Best Gardening Tips
My little urban lot has come a LONG way, and I’ve taught myself a ton through lots of trial and error. Here are a few things I’ve learned going from a novice green thumb to the owner of a full lot garden:
1.STOP – Before you put ANYTHING in your garden, be VERY sure it’s not aggressive or invasive. There are a lot of plants that I bought in the early days that I’m still wrestling with today – like mint, lily of the valley, St. John’s wort and bugleweed. I’m actually shocked that they don’t put warning labels on plants like this. If you love them and want them anyway, put them in containers so they don’t take over your garden.
2. CHECK YOUR ZONE – Research what grows well in your area and buy THAT. We have arctic winters and a pretty short growing season here and exotic plants just don’t do well without a lot of coddling. Luckily I was going for a cottage look, so tough native plants fit in perfectly and once established need almost no maintenance. Embrace whatever conditions you’re working with.
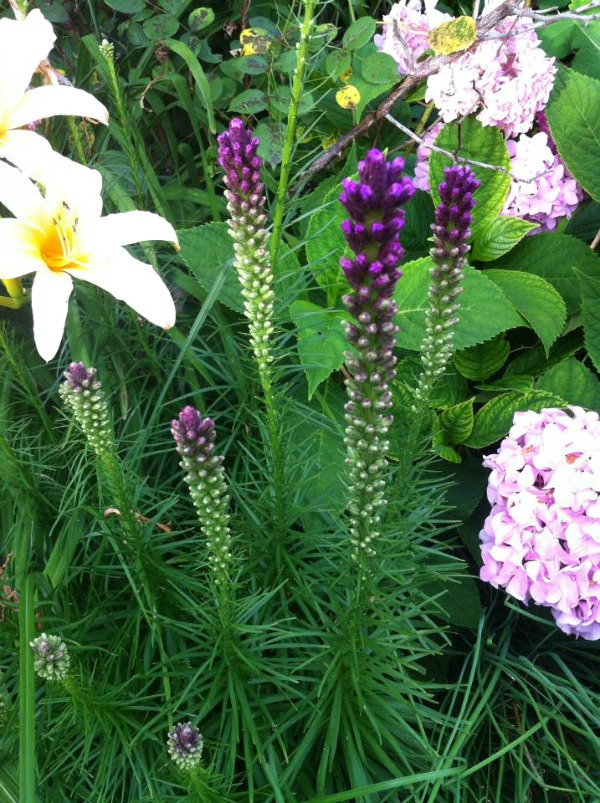 3. BUY LOCAL – Make friends with your local farmers. We are lucky to have a really terrific farmers market in Syracuse and I made friends with a couple who owns a farm just outside of town. I ended up getting the majority of my plants from them and they couldn’t have been more helpful with their advice. Over the years I discovered that the plants that came from local farmers tended to do better than than the ones I got from big box home improvement stores, plus they were often cheaper. It’s important to support your local farmers, so if you have a farmers market in your town – go check it out!
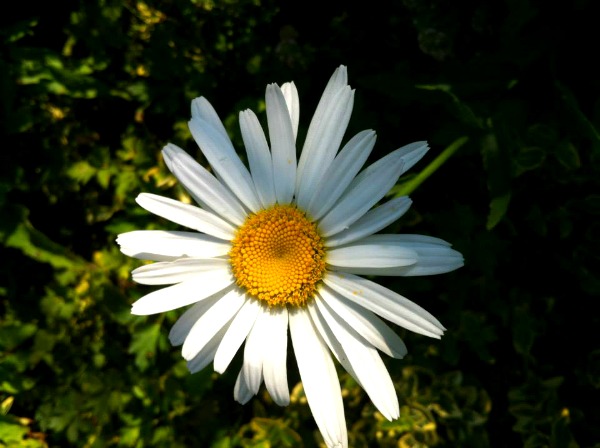
4. REPEAT REPEAT REPEAT– Repetition is your friend. When you’re just getting started gardening you want ALL THE FLOWERS. Curb that impulse, trust me. I used to buy one of everything, and not surprisingly my garden eventually looked like a chaotic mess. Garden beds look best when there are plants that are repeated throughout the design, it gives them a nice rhythm.
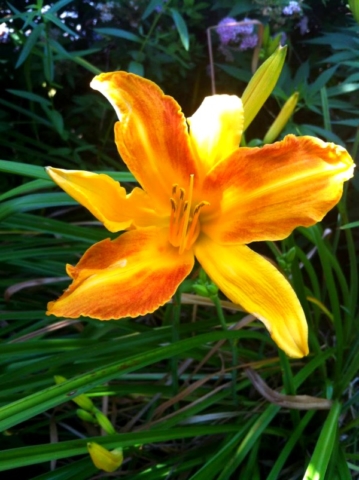
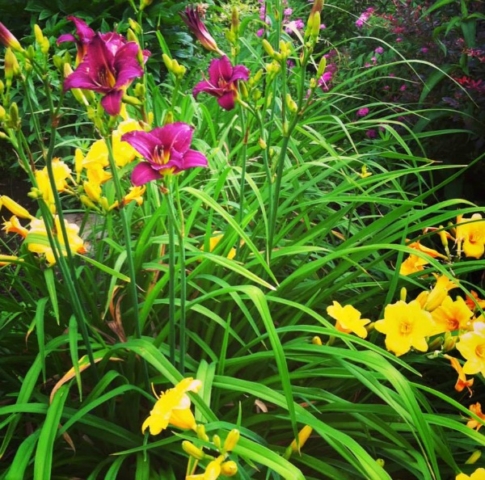
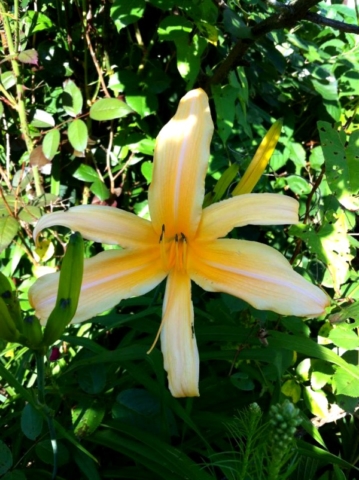
5. DAYLILLY OVERLOAD – Find out what plants spread quickly and can be divided. I bought tons of daylillies, which I love, but many varieties grow so fast that pretty soon I ran out of places to put them. It’s awesome when you’re trying to fill in new garden beds, but eventually you’re going to have a surplus. Which leads into my next 2 tips…
6. SLOW DOWN – Don’t rush to fill the bed. Plants take time to fill in and if you cram everything in right off the bat, you’re going to have a bigger project the following year when you have to thin everything out. And buy the smaller plants! Most gardeners feel plants do better when you put them in younger and smaller, plus they are cheaper. Some plants can be divided every couple years, so your patience will be rewarded with FREE flowers.
7. SHARE THE LOVE – make friends with other gardeners and you can swap out the daylillies or purple coneflowers that you have too many of in exchange for something she has that you’re coveting. Gardening can be VERY budget friendly if you play your cards right. Some towns have organized swaps too.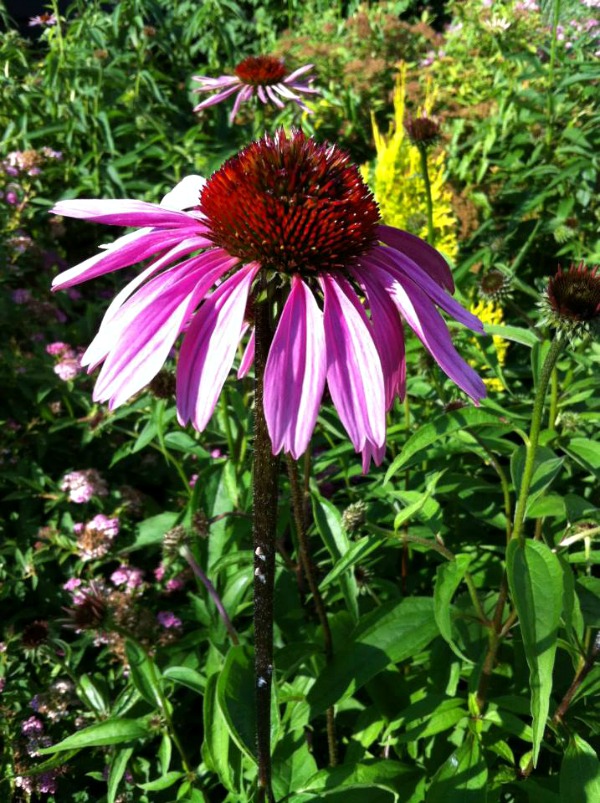
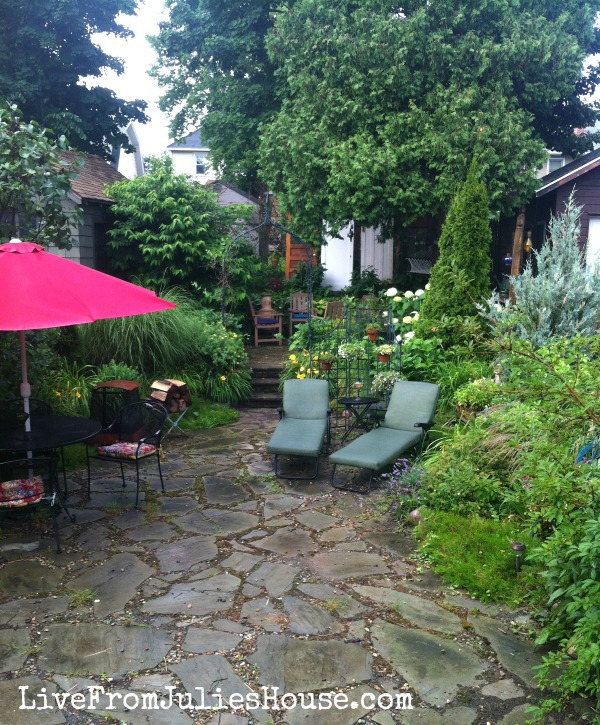
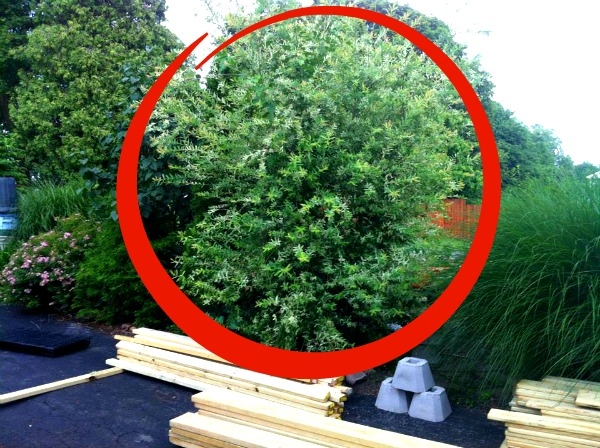
8.CHECK IT – Be sure to factor in how big something is going to be before you put it in, especially if it’s a shrub or tree. See that little willow shrub I put in when I installed the patio? The 2nd picture is just a few years later. I love the privacy that it provides, but I do not love the maintenance – I have to hack the sh*t out of this 2 or 3 times every summer so that it doesn’t swallow my house, and it’s absurd that I have it in a bed this small. Ornamental grasses are another issue. They grow fast and look gorgeous swaying in the breeze, but some varieties become ginormous and they are nearly impossible to move or divide after a few years without a jackhammer or heavy machinery. They can become an unruly beast, so make sure you’re putting them in a spot where they have plenty of room to just do their thing.
9. MULCH – If you need a lot of mulch it’s much cheaper by the yard, but the bags are sometimes easier to handle. Mulching a bed will instantly make it look better and keep weeds down to boot. As your garden beds fill in you will need to use less, but plan on some every spring. Some communities have free mulch available, but be careful – my experience with it included weird mold and mushrooms growing in my garden…..ewwwww!
10. SAVE THE RAIN – My city has a program that offers free rain barrels for city residents in an effort to conserve water and cut down on storm water overloading the sewers. They are easy to install and you’ll save money on your water bill by recycling your rain water for your garden and potted plants.
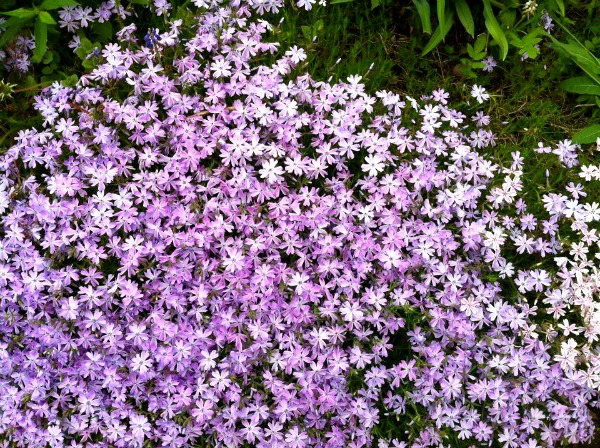
11. ANNUALS – Perennials are awesome because they spread and come back every year, but most perennials don’t bloom for very long (like this purple creeping phlox, one of my spring favorites). I like to add bright annuals that bloom all summer long to add color to my beds when my perennials aren’t doing much. You can hang them on hooks or come up with creative DIY ways to display them and move them around wherever you need a shot of color.
12. NEW BEDS – If you have an area where you want to put a new garden bed, the easiest way I’ve found to kill grass and weeds is to cover the area with newspaper or cardboard (a good thick layer), spray down with your garden hose, and cover with a few inches of mulch. If you do this in the fall, your new bed will be ready to plant by spring.
13. WEED PATROL – If you’re new to gardening, be super cautious in the spring when you’re weeding. It’s really easy to pull up plants when they are just sprouting up because some of them look like weeds. I know I accidentally pulled up a ton of plants before I realized this.
For more details about the budget friendly outdoor DIY projects in this space, check out:
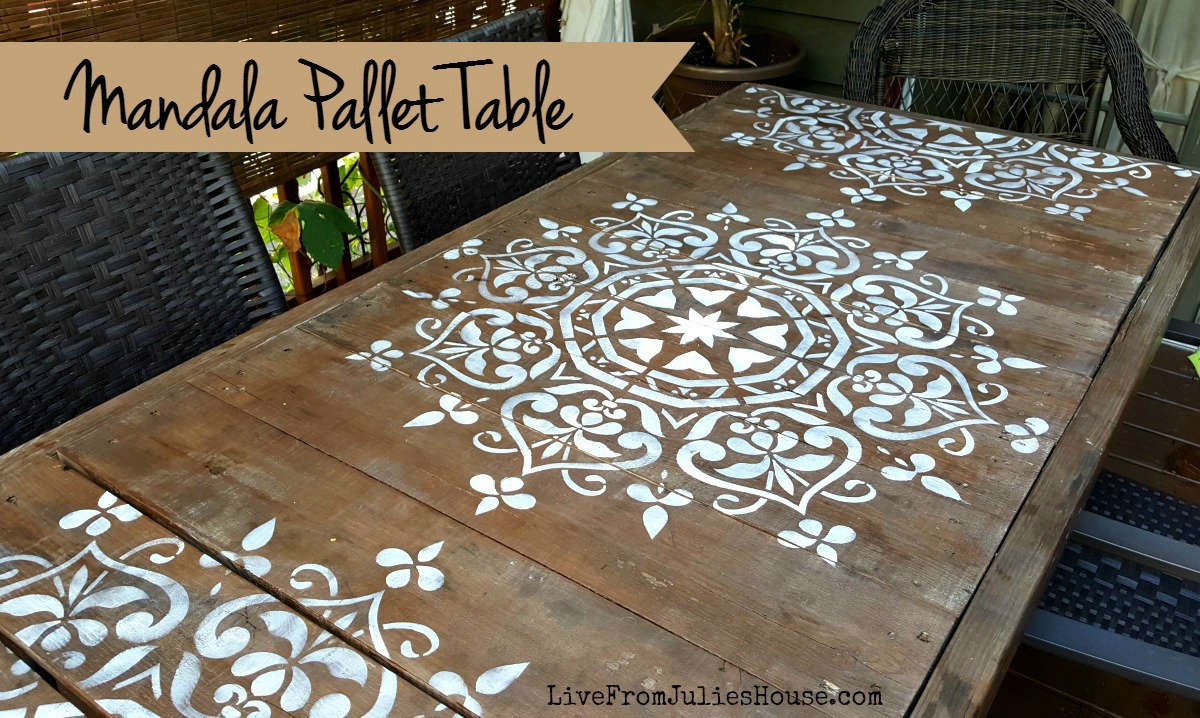
DIY Pallet Table + 13 Easy Outdoor Projects & Upcycles
Finally, don’t get discouraged. Sometimes plants don’t make it for whatever reason, and even well established plants and shrubs can take a nosedive after a tough winter or very dry summer. Your garden will grow and evolve and that’s part of the fun.
So what is YOUR favorite gardening tip?
I’m linking this project up at some terrific blog parties – you can find my complete list of places I party HERE.


